As a dedicated barista at the Boat Basin Cafe in Downtown New York, I, John Bird, have spent ample time mastering the art of brewing a perfect cup of coffee. From French press to drip, espresso to pour-over, I’m well-versed with practically every brewing method there is. However, there’s one method that continues to hold a special charm for me — using the percolator.
Introduction
In an era marked by sophisticated espresso machines and fancy brewing gadgets, the humble stovetop percolator often gets overlooked. After all, how long to percolate coffee definitely sounds like something our grandparents pondered over, right?
However, the bold and robust flavor it imparts to the coffee, combined with the enticing aroma that fills the room during the brewing process, make the percolator worthy of reconsideration. Whether you’re a camping enthusiast in need of a quick percolator for your morning joe by the campfire, a homebrewer craving a stronger cup, or simply someone with a flair for vintage coffee-making gadgets, the percolator is sure to add a unique character to your coffee brewing repertoire.
Understanding Percolators
How Percolators Work
But before we dive into the specifics of percolator brewing time or figure out how to adjust percolation time for the perfect cup, let’s get our basic understanding in place.
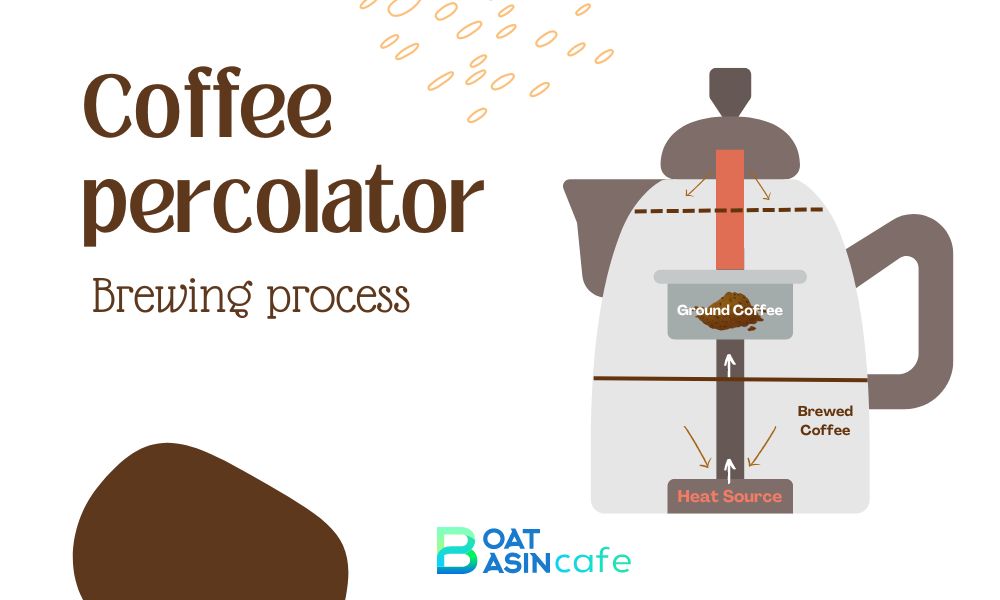
A percolator consists of a pot with a small chamber at the bottom, close to the heat source. A vertical tube leads from this chamber to the top of the percolator. Place your coffee grounds in the perforated top chamber, water in the bottom, and set your percolator on the heat source.
As water heats, it travels up the tube, spills over through the perforations, and percolates through the coffee grounds, taking with it all the robust flavors and oils. It then trickles back down into the water chamber, to repeat the process. Therein lies the charm of percolation. The cycle repeats, brewing the coffee continuously and extracting a robust, bold flavor profile that’s hard to replicate in other coffee brewing techniques.
Common Mistakes to Avoid
Now, it might seem easy, you’d say. After all, how hard can it be to set a timer and wait for the coffee to brew? Well, there’s where the majority of us trip up. Sure, setting up the percolator is rudimentary, understanding the process, relatively simple, but it’s the percolator brewing time that’s the tricky part.
Percolation is a powerful extraction method, and if left unrestrained, the end product can range from worryingly weak to alarmingly bitter. Bitter coffee is typically the result of over-extraction, where the percolator brewing time extends for too long. Under-extracted coffee, on the other hand, might leave you questioning the strength of your coffee roast rather than looking at your brewing techniques.
Mistakenly brewing your coffee longer with the intention of getting a stronger cup, changing the heat source mid-brew, or failing to consider the water temperature can also lead to sub-par percolation results.
Perfecting the Percolation Time
But don’t get disheartened just yet. Although tricky, once you’ve mastered the art of controlling your percolator brewing, the satisfaction of a well-brewed cup is unparalleled.
The golden rule of percolation: 7 to 10 minutes — No more, no less. However, if you prefer your coffee a tad stronger, extending your percolation time by a minute or two should do the trick. Similarly, for those who prefer a lighter cup, decrease the brewing time. But remember, severe alterations to the recommended percolation time might land you right back with the common issues we discussed above — over-extraction or under-extraction.
Mastering any art form requires practice, attention, and the openness to make mistakes and learn, and brewing coffee in a percolator is no exception. Fine-tuning your percolation time, playing around with different coffee bean roasts and grinds, maintaining a steady heat source, and monitoring your water temperature will help improve your percolation results.
In case you wonder if I’m rambling, may I redirect you here, where I go into the nuts and bolts of brewing coffee using a percolator, an article that includes a particularly memorable afternoon experimenting with the percolator brewing setup in the back room of the Boat Basin Cafe.
Comparing Percolators with Other Brewing Methods
| Brewing Method | Description | Signature Flavour | Best for |
|---|---|---|---|
| Percolator | A pot with a small chamber at the bottom and a perforated top chamber where coffee grounds are placed. The water heats, percolates through the coffee grounds and trickles back to the bottom chamber, repeating this process. | Bold, robust, strong. | Those who prefer stronger coffee, convenient for camping trips. |
| Pour-over | This method involves pouring hot water over coffee grounds in a filter. The water passes through the coffee grounds just once. The speed of the water dripping down (controlled by the size of your coffee grounds) influences the flavor extraction. | Lighter, smoother. | Those who prefer a lighter cup of coffee, good for single servings. |
| Drip Brew | Involves slowly adding water for a one-time, thorough soak of the coffee grounds. It is a largely hands-off process. | Clean, smooth. | Those who value convenience and prefer a milder cup. |
| French Press | This method involves steeping coffee in hot water for a longer period before it is strained. | Rich, bold. | Good for beginners as it is straightforward to use, delivers a strong cup of coffee. |
| Espresso Machines | These are specialized machines that produce a concentrated and highly flavorful shot of coffee. | Bold, intense. | Coffee enthusiasts who value taste depth and intensity, and are willing to invest in specialized equipment. |
Percolation vs. Pour-Over
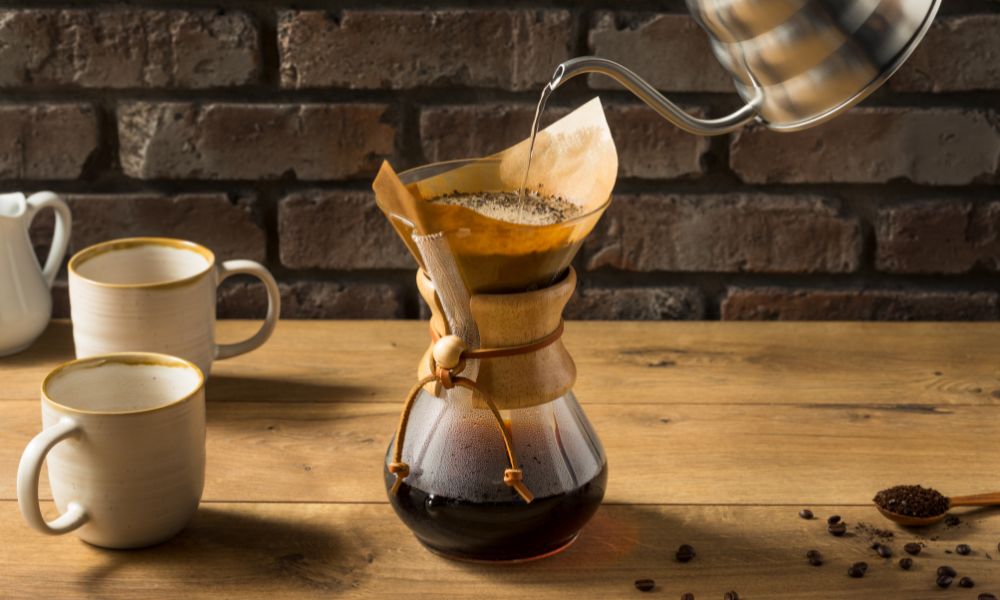
The pour-over method, on the other hand, involves pouring hot water over the coffee grounds held atop a filter. Unlike a percolator that cycles the water through the coffee grounds multiple times, in a pour-over set up, the water passes through the coffee grounds just once. The flavor extracted depends greatly on the rate at which the water drips down, controlled, in turn, by the size of your coffee grounds for maintaining a balanced flavor extraction.
So, if you like rich, full-bodied coffee with strong flavors, the percolator remains your coffee accessory of choice. But for those who prefer a cup of lighter, smoother coffee, the pour-over presents an ideal choice.
Percolator vs. Drip Brew
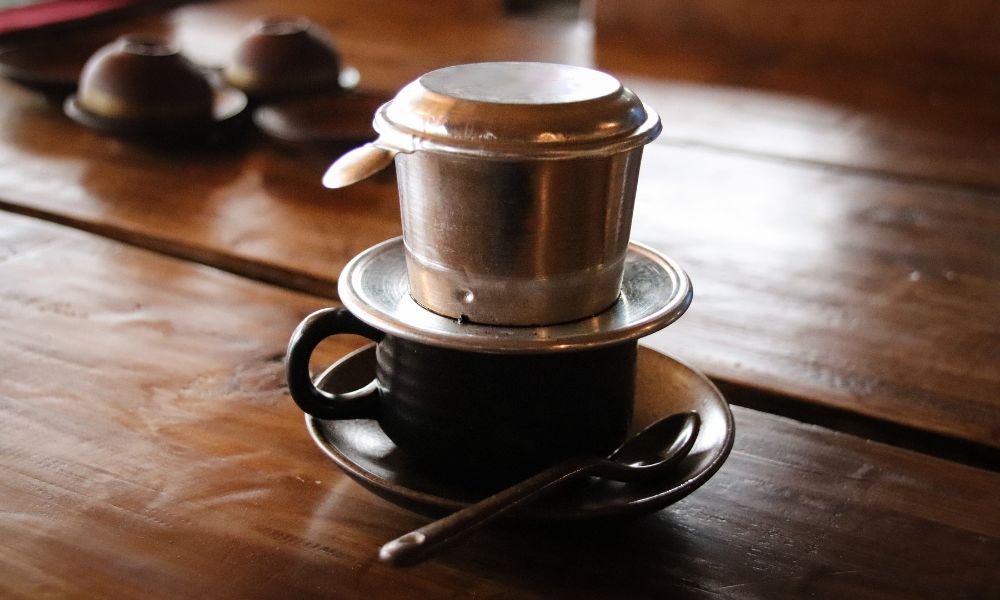
A drip brew, perfect for coffee drinkers who like a clean, smooth cup, isn’t as bold or strong as a percolator’s concoction. But it’s easy to use, convenient, and virtually hands-off! So, if you prize convenience over super-strong coffee, a drip brew machine may be a better fit.
But for someone looking for a robust, strong coffee, particularly during camping trips or power outages, the stovetop percolator will not disappoint you.
Exploring Other Brewing Techniques
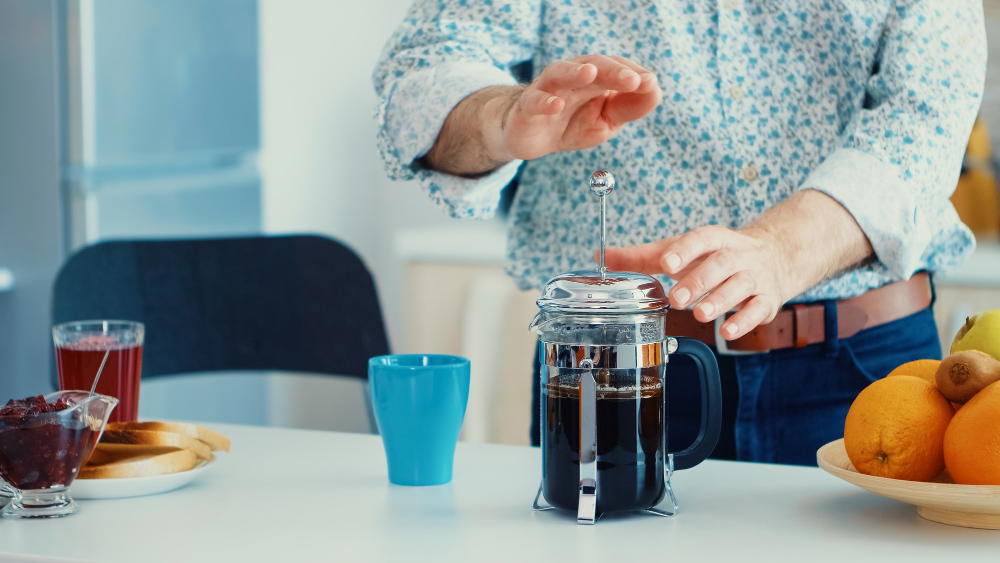
While we’ve largely been discussing the percolator, let me acquaint you with some other brewing techniques that I’ve come to relish over the years of my brewing.
French Press: With a French press, even the most novice coffee brewers among us can make a delicious, strong coffee on their first attempt. Here, coffee is steeped in hot water for long periods, then strained, resulting in a rich, bold coffee.
Drip Coffee: Drip coffee brewers provide an incredibly smooth, clear cup of coffee, low on acidity and bitterness. The greatest advantage? You just fill it, start it, and forget it.
Espresso Machines: For a concentrated and highly flavorful coffee shot, nothing beats an espresso. Although an espresso machine can be a costly investment, it’s totally worth it for coffee enthusiasts who appreciate the bold, intense flavor it delivers.
All these methods deliver unique flavor profiles and have their charms and quirks. I encourage you to try all of them, not just the percolator, and find out what tickles your taste buds.
Brewing With a Percolator: Expert Tips and Tricks
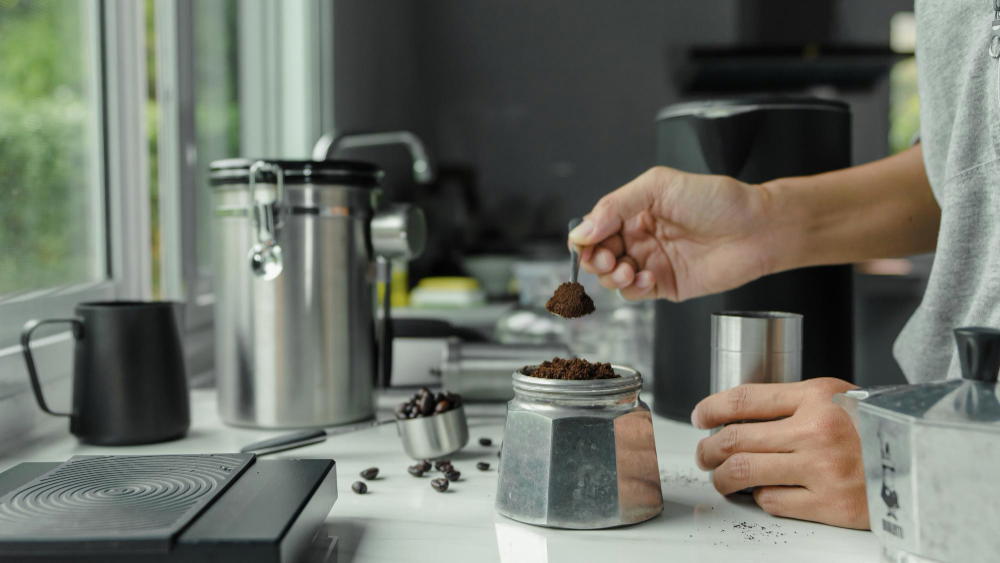
Delving deeper into brewing coffee with a percolator, let’s take a moment to share some expert advice that can help you find your perfect brew. These handy tips and tricks, gleaned over years of professional barista work, can dramatically shift your brewing experience.
1. Choose your Beans Wisely: The choice of coffee beans greatly impacts the intensity and flavor of your brew. For a rich, full-bodied coffee, percolate a medium to dark roast for 9-10 minutes. On the other hand, if your heart is set on light roasts, aim for a slightly shorter percolation time of 7-8 minutes to accentuate their unique flavors.
2. Eyeball Your Coffee Grounds: Apart from the roast, the grind size of your coffee also matters. A common rule of thumb is to use coarser coffee grounds for your stovetop percolator, very much like kosher salt. A coarse grind will ensure the water passes through at a steady rate, resulting in balanced and flavorful extraction.
3. Ensure Optimal Water Temperature: The temperature of your water plays a critical role in percolation. To avoid ending up with a bitter aftertaste, ensure your water temperature doesn’t exceed 205°F. An overly hot brew can over-extract the flavors, leaving a bitter, burnt taste in your mouth.
4. Freshness Counts: Remember, coffee is a perishable item. It’s best to store your beans in a cool, dark place and grind it just before brewing for maximum freshness.
5. Be Patient: Resist the urge to peek at your brew while percolating. Opening the lid allows heat to escape and disrupts the brewing cycle. Have faith in your timer and allow the process to complete uninterrupted for the most flavorful cup.
6. Experiment, Experiment, Experiment: Never be afraid to tinker with your brewing process. Adjust the coffee-to-water ratios, tweak your brewing time, switch roasts, or try flavored blends — the beauty of home brewing lies in the endless possibilities!
7. Outdoor Brewing Tips: Heading out for a camping trip? In addition to your trusty percolator, remember to pack pre-ground beans. This will save you the hassle of grinding coffee in the wilderness and help keep your packing light.
And there you have it, a seasoned barista’s trade secrets to perfect percolator brewing. Keep these tips in mind and don’t shy away from a bit of experimentation. Discovering your ultimate coffee flavor profile is an adventure in itself, so embark on your brewing journey with an open mind and a love for coffee.
FAQs
What is a coffee percolator?
A percolator is a type of pot used for the brewing of coffee. It continually cycles the water through the coffee grounds to extract its flavor. The continuous cycling process results in a richer, full-bodied coffee taste.
What is the perfect percolator coffee brewing time?
The golden rule of percolation is 7 to 10 minutes. However, the perfect brewing time can vary depending on your preference for coffee strength.
How can I adjust the strength of my percolator coffee?
The strength of your coffee depends on how long it’s allowed to percolate. If you prefer a stronger cup, you may want to extend the percolation time by a minute or two. For a lighter coffee, reduce the brewing time, but remember to stay within the recommended 7 to 10-minute range.
How does percolator coffee compare to other brewing methods?
Each brewing method yields a different flavor profile. Percolators are known for producing strong, full-bodied coffee. In contrast, pour-over and drip brew methods usually produce a cleaner, lighter flavor.
Can I brew different types of coffee in a percolator?
Yes, you can use a percolator for brewing different types of coffee. The key is to adjust your brewing time and coffee ground size to suit the specific variety you’re using. Some experimentation may be required to discover the optimal set-up for your preferred taste.
How does a percolator work?
A percolator heats water in a lower chamber, causing it to move up a tube and spill over into a top chamber filled with coffee grounds. The water then filters down and the cycle repeats, continuously brewing the coffee and enhancing its flavor.
Is it easy to make a mistake while using a percolator?
While the process of using a percolator is quite simple, there can be a learning curve. Common mistakes include over or under-extraction, both of which can lead to unsatisfactory taste results. Proper brewing time and technique can usually avoid these issues, leading to a more pleasing cup of coffee.
Conclusion
As we conclude, let’s revisit the key takeaways — percolator brewing provides a simple, convenient, and effective method, particularly suited to those who prefer bold, strong coffee or are off on camping trips. Understanding the principles of how to percolate coffee can make the difference between a perfect brew or a disappointing cup.
Remember, experimentation is key. Play around with your brewing times, try different roast beans, tweak the grind size, and remember, there’s no such thing as the ‘perfect cup’ in coffee. It’s all about finding what makes the ‘perfect cup’ for you.
Coffee brewing is a versatile art form, with the potential to bring distinct flavors and experiences based on the brew method. The journey towards that perfect cup is a path of discovery, enjoyment, and plenty of good coffee. So, go on, grab that percolator (or any other coffee maker), experiment, enjoy and remember to savor the journey, one cup at a time!
[Bio: John Bird is a former barista at the Boat Basin Cafe in Downtown New York, who, after many years of professional brewing, has turned his attention to exploring and sharing various coffee brewing techniques. He thrives on sharing his extensive knowledge and firsthand experiences, encouraging coffee enthusiasts to experiment and enjoy their journey in pursuit of their perfect blend.]