The Ultimate Recipe to Cooking Sirloin Steak in Crock Pot

Sirloin steak in crock pot? Hmm, that’s something we usually don’t come across when we look for steak recipes. It’s either a heavy skillet or pan that’s most commonly used when it comes to cooking steak. Or even a recipe that shows how to make slow cook sirloin steak in the oven.  

But you’d be surprised to know that slow cooking in crock pot results in juicy pieces of sirloin steak. These have all the seasoning and ingredients’ flavors infused to the core. 

You see, a slow-cooked sirloin steak not only retains the full flavors of the meat and other ingredients. Slow cooking also gives you time to do other chores. You can zone out from the kitchen and do other work or nothing at all! Now that’s what we call the best of both worlds!

So, to find out how to cook sirloin steak in crock pot, read on to discover the ultimate recipe!
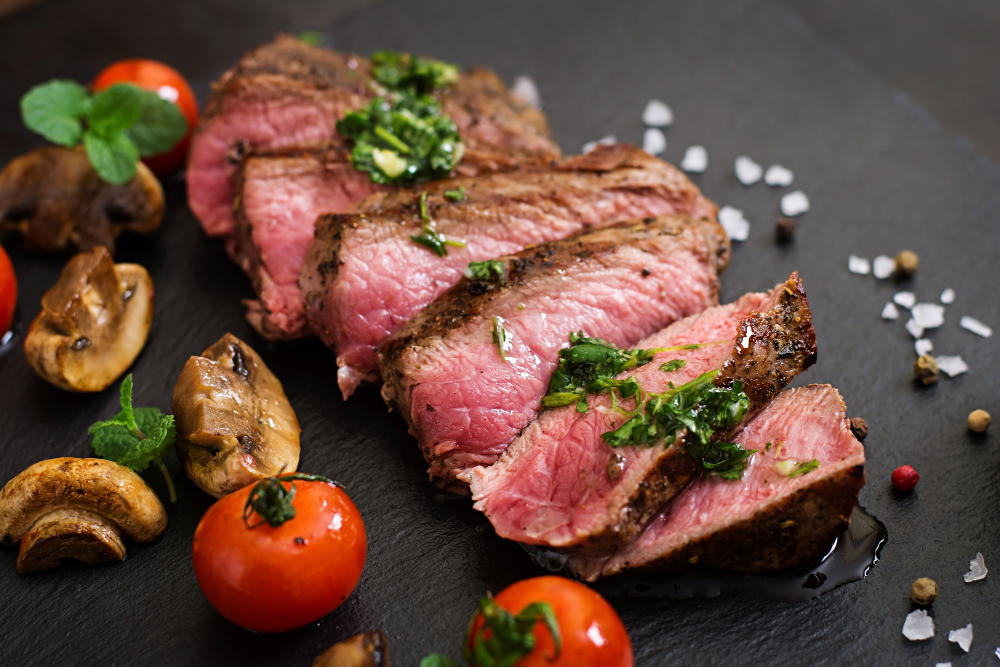
Slices of steak

How To Cook Crock Pot Sirloin Steak

There are a few ways you can cook crock pot sirloin steak. Apart from the meat and seasoning, you can play around with the other ingredients for more flavor and gravy. 

However, the slow cooking method and the cooking time remain more or less the same.

Follow the recipe below for the perfect slow cook sirloin steak in crockpot.

Crock Pot Recipe 

For this steak sirloin crockpot recipe, you will need the following ingredients:

  • Top sirloin thinly sliced – 2 pounds for serving a family of 4 to 6. If you’re planning to serve 8 people, then 3 pounds of sirloin should be good. 

We recommend the top sirloin as this part is more tender and will suck in all the flavors from the condiments. 

  • Ranch seasoning – 1 Packet (1 oz or 3 Tablespoons is equal to 1 packet)
  • Au Jus seasoning – 1 Packet (1 oz or 3 Tablespoons is equal to 1 packet)
  • Water – 2½ cups

Time 

Prep time is very reasonable for this sirloin steak in a crock pot recipe. The cooking time varies as per the flame. Overall, it’s a delicious steak dinner where the slow cooker does the main job without having you sweat over it. 

Prep Time: 10 to 15 minutes.

Cooking Time: 4 hours on high flame. 

Plating Time: 5 minutes.

Total Time: 4 hours 20 minutes.

Cooking Instructions 

For a simple, straightforward sirloin steak, follow the steps below. 

  1. Place the sirloin steak slices at the bottom of the crockpot. 
  1. Sprinkle the Au Jus and Ranch seasonings to cover the steak slices. 
  1. Add the water and stir while making sure all the sirloin steak pieces are covered well. 
  1. Cook on a high flame for 4 to 5 hours or on a low flame for 8 to 10 hours. Don’t forget to give an occasional stir. 
  1. Serve with a side dish of your choice. 

Many prefer to have their steak sides seared first before adding to the crockpot. In that case, take two tablespoons of vegetable oil and sear each side of the steak slices for about a minute. Then take them out and let them steep in the seasoning and water inside the slow cooker. 

If you want to add some more flavors and nutrition to your sirloin steak, throw in some celery, carrots, and bell peppers into the crockpot. 

Slow-Cooked Sirloin Steak With Gravy Recipe 
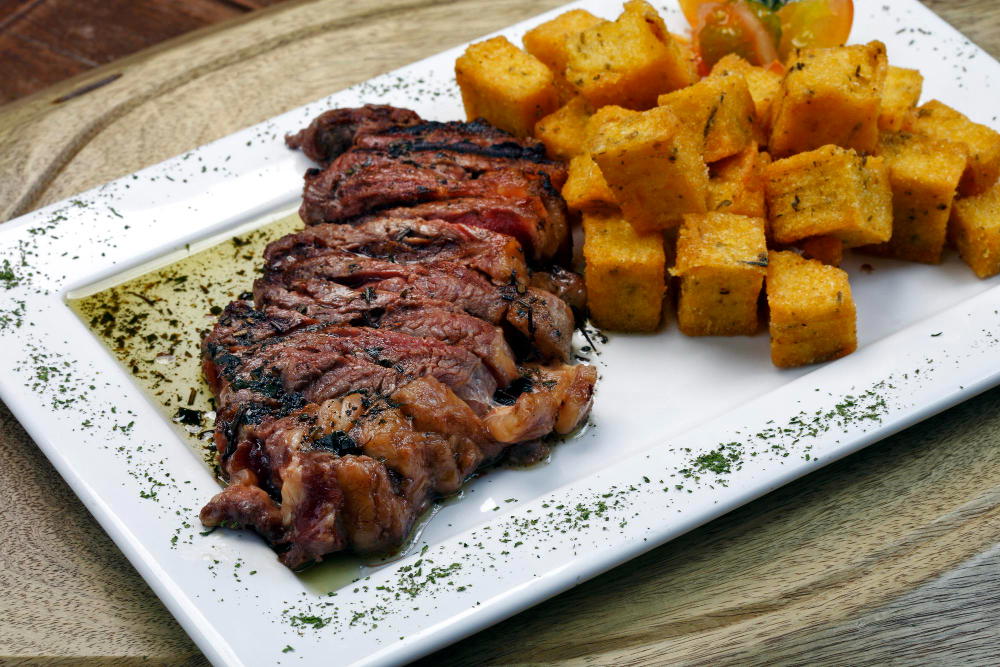
roast beef

Craving for some gravy? Then you’ll need a few more ingredients besides at least 2 pounds of sirloin steak slices and 3 cups of water. These additional ingredients are:

  • ¼ of an onion, diced
  • 1 Beef bouillon cube
  • ½ teaspoon garlic powder 
  • ½ teaspoon onion powder 
  • ¼ teaspoon black pepper
  • Steak seasoning of your choice
  • ¼ cup flour 
  • 2 tablespoons vegetable oil 

Step-by-Step Process

  1. Sprinkle any steak seasoning, salt, and pepper on the sirloin steak pieces – according to your taste.
  2. In a pan, add the vegetable oil over a medium-high flame and sear the sirloin steak slices to give them a nice crust. Now remove the steak pieces from the pan and put them in the bottom of a crockpot. 
  3. Into the hot pan, add two cups of water and a cube of beef bouillon. 
  4. Let the water come to a boil and the beef bouillon cube dissolve completely. 
  5. In the meantime, take a bowl and mix the flour, onion powder, garlic powder, and black pepper with a cup of water. This is what’s going to thicken the gravy. 
  6. Now pour this mixture into the pan and stir while you pour. Allow the gravy to come to a simmer. 
  7. When you get the desired gravy consistency, remove the pan from the stove and slowly pour the gravy over the steak slices in the slow cooker. 
  8. Now add the diced onions to enhance the steak and the gravy flavor. 
  9. Cover with a lid and cook on high flame for 4 hours. 

Note: You can substitute flour with cornstarch. Both serve well as thickening agents. 

Also, instead of a beef bouillon cube, you can use a can of low-sodium beef broth and ¼ cup of Worcestershire sauce for a more beefy gravy. 

For a subtle herbal flavor, you can use dried herbs like dill and thyme. 

Perfect Side Dishes for Sirloin Steak

If you don’t want to have slow-cooked sirloin steak all by itself, here are some ideas for the perfect side dish to go with it:

  • Mashed potatoes
  • Salad
  • White rice
  • Dinner rolls
  • Baked sweet potatoes
  • Pasta
  • Boiled or sauteed veggies
  • Green beans
  • Boiled peas 

If you’re health-conscious, dump the side dishes that are full of carbs like dinner rolls and pasta or rice and just go for the greens. 

Conclusion 

Nothing is more comforting than a family coming together over a dinner of slow-cooked sirloin steak in crock pot. This heart-warming meal takes its own time to cook while freeing you up to spend more time doing things you love. 

Even the prep time is minimal unlike when you want to slow cook sirloin steak in the oven. 

In this post, we have shared a basic recipe and a variation that adds gravy to it. You can experiment by adding ingredients that you like. 

Here’s to chilly nights warmed by cozy family time and a crock pot full of hearty and slow-cooked sirloin steak!

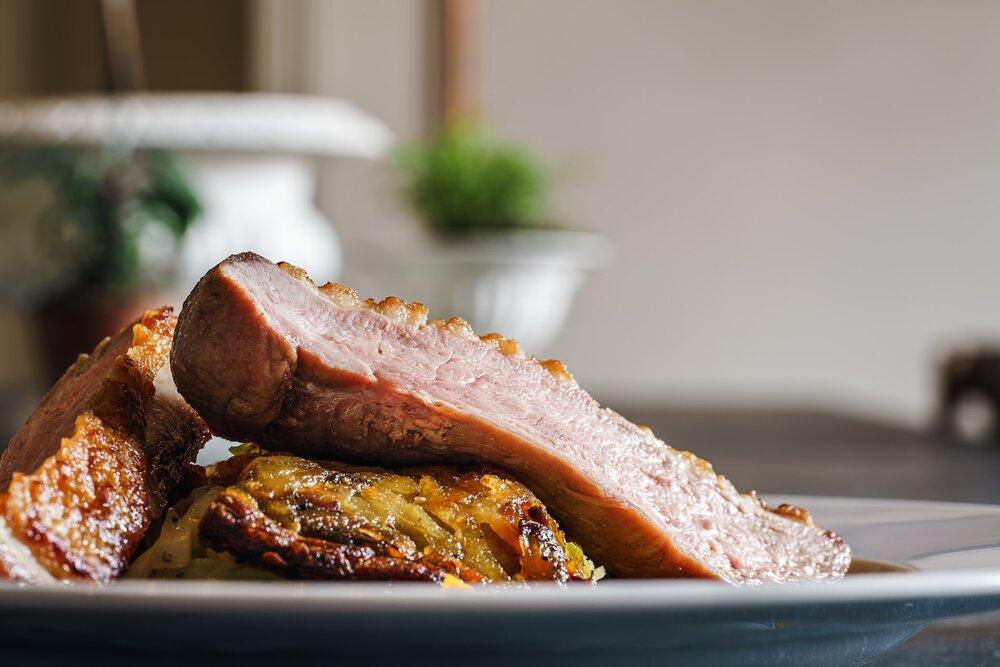
Easy Dutch Oven Corned Beef and Cabbage Recipe

No Dutch oven corned beef and cabbage recipe is complete without talking about the origin of this dish and its connection to St. Patrick’s Day.

The Origin of Dutch Oven Corned Beef and Cabbage 

Celebrated on March 17th, St. Patrick’s Day is a religious festival that marks the passing of the Irish patron saint. The Irish immigrants in the US turned St. Patrick Day from a purely religious celebration to one that commemorates everything Irish. Down to the corned beef and cabbage meal that’s part and parcel of this special day although among the immigrant population only. Back home in Ireland, the preferred meat is bacon or lamb. 

The Irish were not traditionally beef-eaters. They raised cattle for working the farms and for milk. They did not kill their cattle for food unless they stopped giving milk or became too old. 

Ireland used to export live cattle to England as the latter loved to eat beef. But this came to an end with the Cattle Acts of 1663 and 1667. Ireland had a surplus of cattle. Fortunately, the salt tax in Ireland was 1/10th times lower than that in England. 

This meant that top-quality salt was used to preserve the premium quality Irish beef. The salt crystals were the size of corn kernels and so, the term “corned beef” stuck. 

And that’s how the Irish corned beef came into being. As far as cabbage is concerned, it was the only affordable vegetable that the Irish immigrants could afford. Torn by war and famine, the Irish were forced to flee their land and settle in the USA. 

Their fate was similar to that of the Jewish immigrants in the USA. Both the Jewish and the Irish communities forged friendly relations and the recipe of corned beef and cabbage has some Jewish influence. 

Now that we know the origin of the dish, let’s move on to the more important part – how to cook corned beef and cabbage in the oven!

How Long does it Take To Cook Dutch Oven Corned Beef 

All good things take some time and so does corned beef and cabbage in a Dutch oven.

Since we’re talking about the meat from the front part of the cattle, it takes some time to penetrate through the brisket and make it tender, flavorful, and forkable. And nothing short of 5 hours of slow cooking does the job. 

Ingredients 

  •  2 to 4 pounds of flat or point-cut beef brisket.3.5 pounds is enough for a family of five. 

While it’s easier to fork a point-cut, you’ll find it more convenient to slice through a flat cut of brisket. 

  • 1 tablespoon Steak seasoning. 
  • Seasoning packet that comes with the beef brisket. 
  • 2 bay leaves.
  • 1 large onion, cut into quarters.
  • 4 large carrots, cut into chunks.
  • 1 cabbage head, cut into wedges.
  • 6 large potatoes, quartered. 
  • 2 bottles (12 oz) dark beer or light beer.
  • 10 cups beef or vegetable broth or water for 4 pounds of corned beef. You need to adjust the amount of liquid depending on whether you’re going to add beer or not. 

Preparation

person slicing green vegetable on brown wooden chopping board

You can reduce the prepping time for the Dutch oven corned beef and cabbage in the oven recipe.

While you preheat the oven, you can tackle the brisket by washing, drying, and removing excess fat. 

While the brisket is being boiled in the first hour, you can use that time to chop the vegetables. 

So overall, the prep time is:

  • Washing and trimming the fat from the beef brisket – 10 minutes.
  • Peeling and chopping vegetables – 10 minutes.

Dutch Oven Corned Beef with Cabbage Recipe

beef slices

This traditional recipe of the Irish-American meal served on St. Patrick’s Day is a finger-licking experience for the whole family. Just one serving of corned beef with cabbage and other vegetables will make your heart and your tummy very happy!

Step-By-Step Instructions

If you’re wondering how to cook corned beef in the oven, the following steps will help you make this dish for St. Patrick’s Day or any other day. 

  1. Take out the corned beef brisket piece from its packaging and allow it to reach room temperature. 
  1. Trim off excess fat but if it’s a pointcut with some fat cap, you should leave it as fat adds flavor to this one-pot dish.
  1. Wash thoroughly and pat to dry.
  1. Preheat the oven to 350 degrees Fahrenheit. 
  1. Layer the bottom of the Dutch oven with the quartered onions. You can add the potatoes and carrots at this point or add them to the pot after three hours of cooking. 

If you’re a fan of herbs, add some rosemary at the bottom of the pot with the onions. Choose a sprig of the herb to place on the beef brisket. 

  1. Place the corned beef brisket on the onion layer and sprinkle seasoning from the packet and the bay leaves over it. 

In case you don’t get a seasoning packet with the brisket, use pickling spices.

  1. Add water or broth or beer until everything is submerged well. 
  1. Put in the oven and let cook for an hour until the corned beef is boiled. 
  1. If you see scum rising to the top of the Dutch oven, remove it with a spoon and refill it with liquid. 
  1. After one hour, reduce the heat to 300 degrees Fahrenheit and let it cook for two hours. 
  1. Turn over the corned beef piece and add to the pot carrots and potatoes with more seasoning like salt and pepper or the seasoning that came with the brisket. 
  1. Add the cabbage wedges and cook for another 30 minutes to one hour without the lid. 
  1. Remove the Dutch oven corned beef and cabbage wedges and other vegetables and wait for a few minutes. 
  1. Single-serve in bowls with your choice of a side dish. Remember to remove the bay leaves before serving. 

Top Ten Tips

Follow these tips to cook a great Dutch oven corned beef with cabbage. 

  1. Use a 7-quart Dutch oven so that all the ingredients are well covered by the liquid. 
  1. If you want to shred the corned beef, choose a point-cut beef brisket as the fat in this cut makes it easier to shred. 
  1. Instead of water, you can use beef broth or light or dark beer. Beer also acts as a tenderizer.
  1. To know if the corned beef is done, put a fork in the center. The meat should feel tender. 
  1. Don’t make the potato pieces too small as they will become mushy. If you have cut them into small cubes, add them in the last one hour of cooking. 
  1. It’s best to leave the potatoes whole but make sure to pierce them from all sides with a fork so that they absorb all the juices and flavors. 
  1. For the cabbage to be crispy, add the pieces in the last hour of cooking in the Dutch oven. 
  1. You can cook corned beef and cabbage in a crockpot but in that case, you should slow cook for 10 hours. Otherwise, the meat won’t be done to perfection. 
  1. Don’t throw away the broth after serving the Dutch oven corned beef and cabbage. Use it to make soup or stew later. 
  1. Cut slices against the meat grain to make it fork-tender. 

Traditional Recipes

Traditional recipes didn’t use corned beef at all but boiled bacon. However, with the change in circumstances, there was a birth of a new traditional way of making corned beef with cabbage. 

It has become a tradition to use red potatoes as these retain their texture and shape unlike the other types of potatoes. It’s important to prevent the potatoes from getting mixed and mashed into the beef brisket broth and losing their taste. 

Although you can add any vegetables you want, the traditional Irish recipe added carrots. Both potatoes and carrots are ingrained in the Irish diet. 

Nowadays you get the ready-to-cook beef brisket from stores. But to follow a traditional recipe, you need to brine the beef brisket at home with pink curing salt, salt, warm water, and brown sugar. 

To neutralize the sharp salty taste of corned beef, some recipes add brown sugar to make the beef sweet. However, if you prefer not to have the veggies taste sweet, you can leave out the brown sugar. 

Modernized Recipes

Sandwich, Julesandwich, Svinekam, Roast Pork

You can give a twist to the basic recipe of Dutch oven corned beef and cabbage to make it more modernized. 

For example, you can stir up corned beef and red cabbage sandwiches.

Corned Beef and Red Cabbage Sandwich Recipe

Here are the ingredients you’ll need to make 8 corned beef and red cabbage sandwiches::

  • 16 slices of bread of your choice.
  • Softened butter as required.
  • 8 slices of cheese.
  • 7.9 oz of red cabbage, thinly sliced.
  • 35.3 oz corned beef.
  • 1 cup red wine vinegar. 
  • 1 teaspoon sea salt flakes. 
  • Freshly ground black pepper as per taste.
  • 1/4 cup brown sugar. 

Step-by-Step Process 

Just follow the steps mentioned below for a yummylicious corned beef and red cabbage sandwich. 

  1. Preheat a slow cooker with 1½ cups water, vinegar, brown sugar, salt, and pepper in it. 
  1. Put the beef brisket in the center of the pot and arrange the red cabbage slices.
  1. Cook for 6 hours with the lid covered. 
  1. After the beef is done, put it on a large plate, wait for 10 minutes, and cut it into slices. 
  1. Strain all the liquid from the cabbage. 
  1. Spread butter on the bread slices and grill each side for a minute. 
  1. On each of the 8 pieces of bread, put a slice of cheese and grill until the cheese melts. 
  1. Top the melted cheese side with slices of corned beef. 
  1. Add the red cabbage slices and top with the remaining 8 slices of bread.

Side Dishes to Enjoy with Dutch Oven Corned Beef and Cabbage 

If you’re thinking about which side dishes go perfectly with your corned beef and cabbage meal, here are a few ideas. 

  • Dutch oven bread
  • Beer bread
  • Irish soda bread
  • A dipping sauce of spicy mustard

Conclusion 

Once you have made Dutch oven corned beef and cabbage, you’re likely to make it a few more times throughout the year. 

The tenderest and juiciest block of beef brisket along with the flavorful veggies is sure to win the hearts of everyone in the family. 

You have the option to make the dish in a Dutch oven or a crock pot or a pressure cooker. 

Plus, you can tweak the traditional recipes and make a more modern version that would appeal to everyone. 

All in all, it’s a flexible meal, both in terms of ingredients and the cooking method and you can’t go wrong with it!

How to Cook Frozen Chicken Nuggets in the Air Fryer: Get Crispy and Juicy Nuggets Every Time!

If you are looking for a snack that is quick and easy to make, you can’t go wrong with frozen chicken nuggets! The word ‘healthy’ is not often paired with fried chicken nuggets. However, if you make these frozen treats in the air fryer, the nuggets will turn out both healthy and tasty!

Deep frying anything on the stove is not only difficult but also messy and dangerous. The oil splatters are hard to clean and can end up burning your skin.

And let’s not forget how they usually either come out completely burnt, uncooked on the inside, or an unholy mixture of both.

This is why air fryers are a necessity for fried food lovers. You get healthier snacks with the least hassle. So without further ado, let’s look at how to make the crispiest and juiciest frozen chicken nuggets with an air fryer.

How to Cook Frozen Chicken Nuggets in the Air Fryer: Get Crispy and Juicy Nuggets Every Time! 1

The Process of Cooking Chicken Nuggets in Air Fryer

How to cook frozen chicken nuggets in an air fryer? If you love frozen fried food, you may be tempted to invest in a dedicated deep fryer. A deep fryer helps make the process of frying frozen food easier and you always get better results. But if you are interested in keeping your diet healthy, an air fryer will always be the best option.

The process of cooking chicken nuggets in an air fryer is fast and so simple that even your children can use it! Try the following steps for making delicious air fryer frozen chicken nuggets:

  • Apply a light layer of oil into the detachable food basket of the air fryer. Do not use aerosol cooking spray as they have chemicals that can damage the insides of your machine.
  • Add a single layer of frozen chicken nuggets. Make sure the nuggets are spaced out. Adding too many will give you poor results.
  • You don’t need to add oil to an air fryer. However, if you want to give the nuggets a drizzle of olive oil, sesame oil, or butter, you can.
  • Set your temperature at 400°F, and “fry” for 6 minutes. After 6 minutes, you can choose to flip them over. Cook for another 6 or until they are done.
  • These air fryer chicken nuggets can be super hot, so you must be careful while taking them out. Use a tong to remove them from the basket one at a time.

Additional Tips for Making Chicken Nuggets in the Air Fryer

Some people are so scared of air fryers that they would rather cook their frozen chicken nuggets in an oven. While you will get decent results if you do it right, nothing can beat air fryers in terms of health and convenience.

If you are still afraid to use this fast and handy machine, these additional tips can make it easier for you:

  • Most people don’t know that you need to preheat your air fryer. Set the desired temperature and preheat for four to five minutes to get the best results!
  • Consider applying a light layer of oil at the bottom of the air fryer food basket to avoid the food getting stuck to it.
  • Do not use an aerosol cooking oil spray as they have chemicals that can damage the inside of the air fryer. Use an oil mister-type bottle for a light spritz.
  • Space out the frozen chicken nuggets so that they don’t get stuck to each other when they are cooking.
  • Don’t defrost your chicken nuggets before placing them in the machine. Pull them apart if they are stuck together and add them as is.
  • Air fryers have a notorious reputation for drying out food and making it rubbery. The moisture that is frozen to the chicken nuggets will help keep it moist on the inside and crispy on the outside!
  • You can flip them over halfway through if that makes you feel better. However, it is unnecessary.
  • Can you cook chicken nuggets and fries together in the air fryer? You absolutely can! Potatoes take a longer time to fry, so add them five to six minutes ahead of the chicken. Make sure you space them out so that everything cooks evenly.
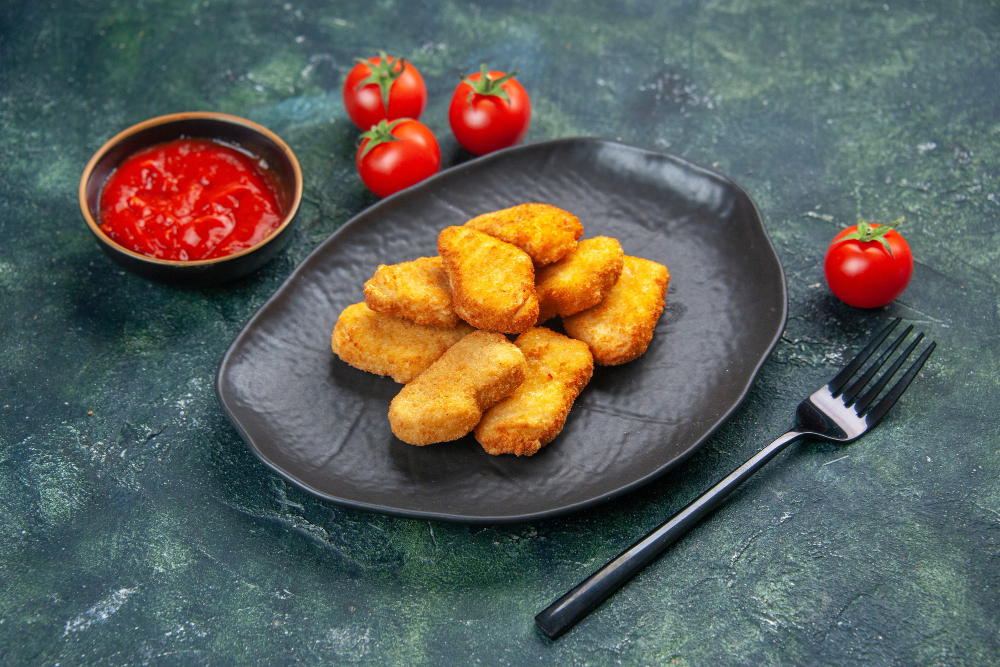
chicken nuggets

How Long to Put Frozen Chicken Nuggets in the Air Fryer

If you were wondering how long to cook frozen chicken nuggets in an air fryer, you will be surprised to know that you can do so in under 15 minutes. This is almost as fast as making a pot of drip coffee!

Fry the nuggets in the air fryer at 400 degrees Fahrenheit for around 10 to 12 minutes. If you are using vegan chicken nuggets, only cook them for six to eight minutes. Remember that it’s plant-based (not starches like potatoes!) items take a shorter time to cook!

How to Make Your Air Fryer Chicken Nuggets Extra Crispy

An air fryer uses hot air to make fried food crispy. A minute or two extra in the air fryer will give your fried food a crispier skin.

The dual power of hot air and oil can also help you make your frozen chicken nuggets extra crispy. So spray a light layer of oil on the frozen nuggets and cook at them for a few minutes longer to get that crispy golden skin.

How to Reheat Chicken Nuggets in the Air Fryer

You made a batch of chicken nuggets that you couldn’t finish and now they have gotten all cold, soggy, and tasteless. But, don’t worry. You can easily reheat the chicken nuggets in your air fryer!

Preheat the air fryer to 350 degrees then add your chicken nuggets, making sure not to stack them on top of one another. Lay them out in a single layer on the food basket and leave some space between them. Cook for four to five minutes and eat them while still hot as you don’t want to let them get cold again!

What Sauces and Dips to Serve with Your Air Fried Chicken Nuggets

Chicken nuggets pair well with almost any type of sauce, so you can eat it with any of your favorite dips. Here are a few sauces and dips that work well with air fryer frozen chicken nuggets.

Honey Mustard Sauce

Looking for something simple and easy to serve as a dipping sauce with your air fryer chicken nuggets? Whip up a dipping honey mustard sauce with four simple ingredients! Take a cup of mayo, salt to taste, one teaspoon of mustard, and a generous drizzle of honey. Mix them, and you will get your honey mustard sauce.

Indian Tamarind Chutney

Want something sweet, tangy, spicy, and simply exotic for your chicken nugget dip? Try making tamarind chutney, a local favorite dipping sauce that pairs well with fried food like samosas and pakoras.

Throw the ingredients in a fast blender and give them a mix, and you will have an exotic dip ready within seconds!

Ingredients:

  • Tamarind pulp or paste
  • Jaggery powder or maple syrup
  • Cumin powder
  • Ginger powder
  • Red chili powder
  • Black salt
  • Coriander paste (optional)
  • Green chili paste (optional)
  • Salt

Sriracha or Sweet Chili Sauce

The Thais have some of the best dipping sauces on the planet. If you want a sweet and spicy sauce for your chicken nuggets, try having it with their sweet chili sauce.

However, if you want a punch of heat that is tart yet not sweet, sriracha sauce is your best bet. You can also mix up sriracha with mayo to make a fusion dip that will tone down the extremeness of sriracha. This sauce also pairs well with grilled delights, so try serving it at your next barbecue party.

Bottom Line

Now that you know how to make frozen chicken nuggets in an air fryer, you don’t have to worry about the hassle of making frozen food on the stovetop again! 

Delicious Side Dishes to Enjoy with Lobster Tails

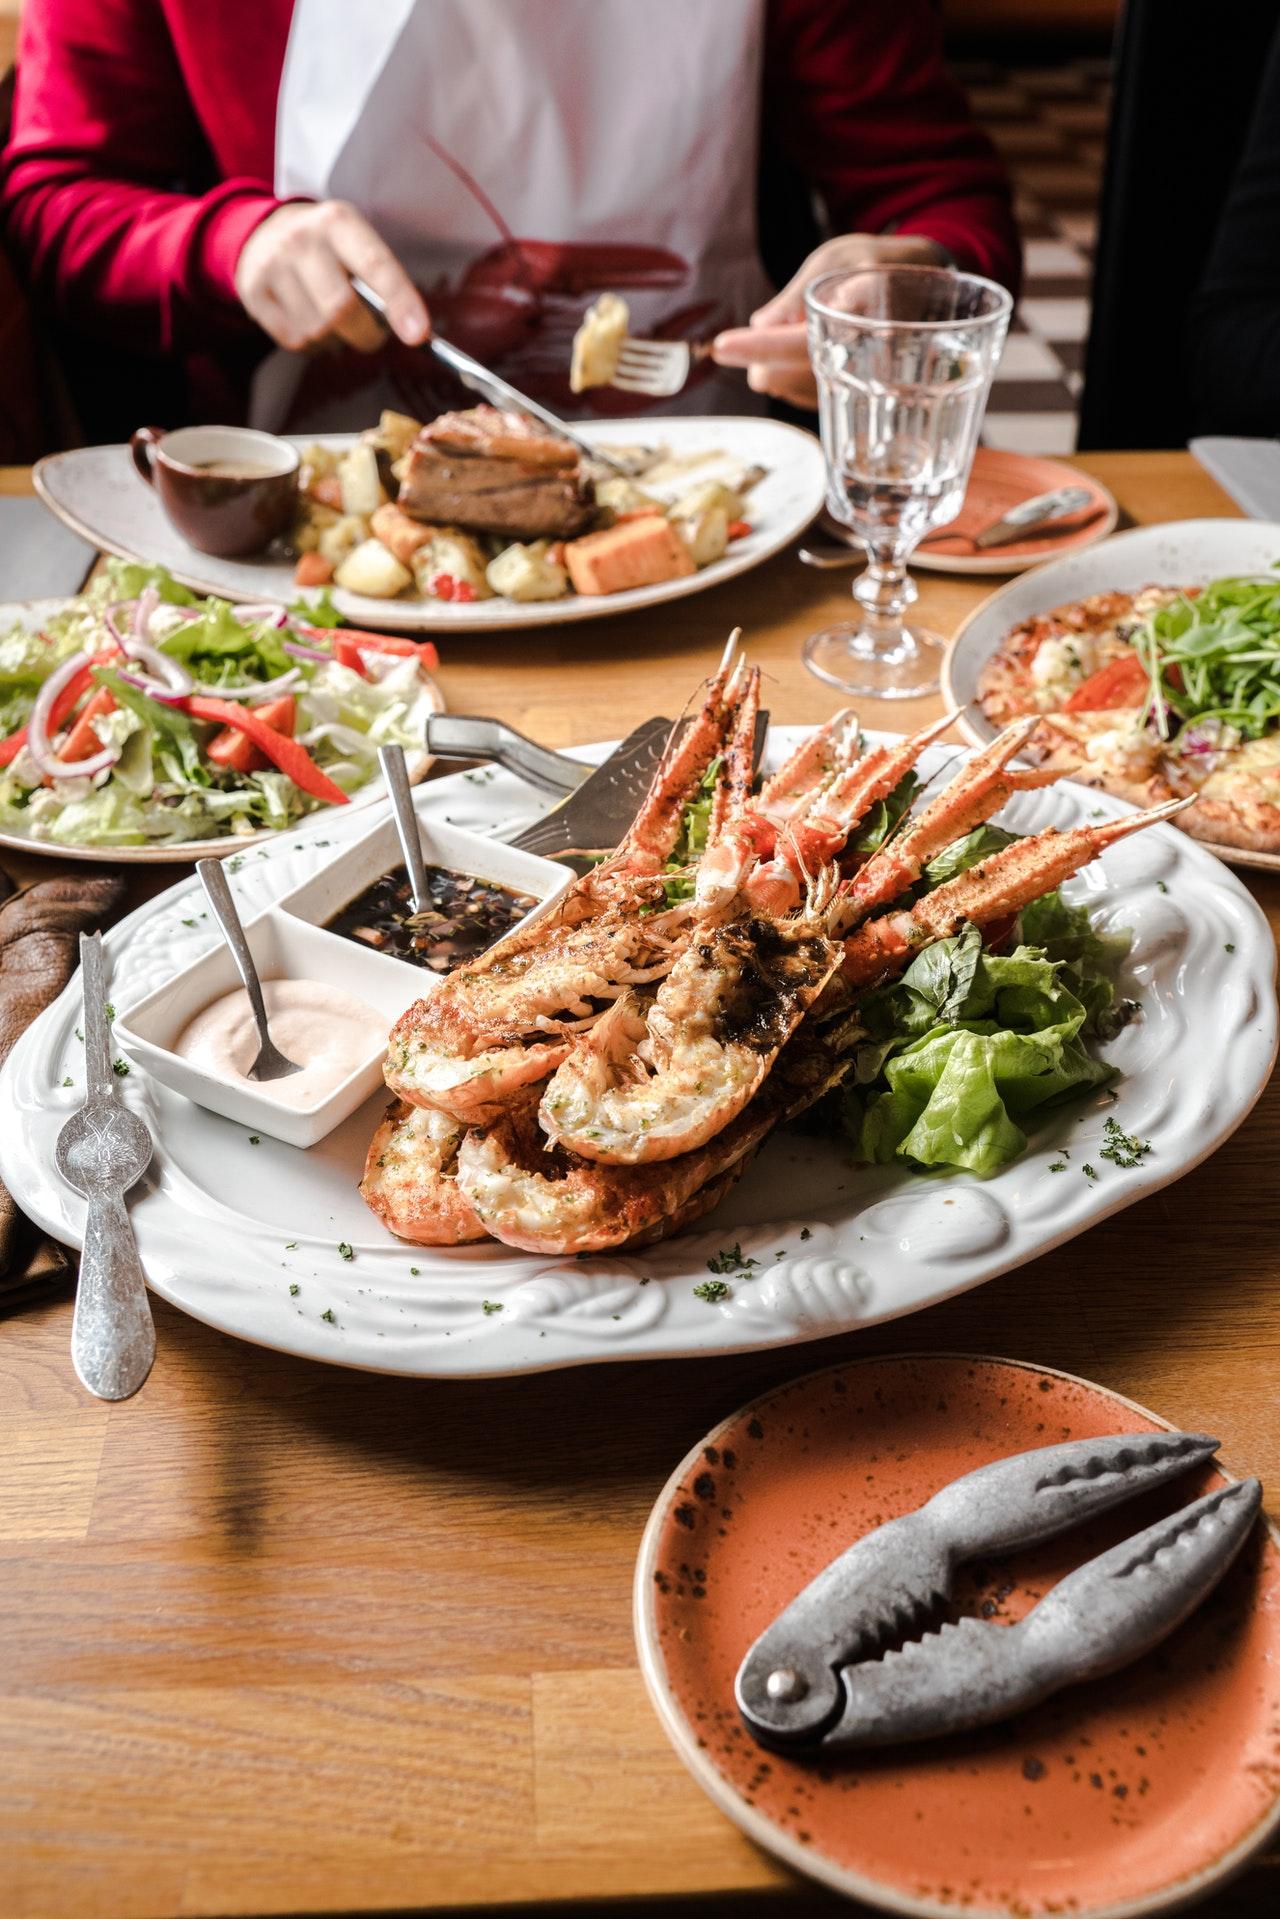
Craving lobster tails but not sure what to serve with them? We have rounded up a list of good old side dishes that match the delicate taste of lobster tails. From traditional options, family-size side dishes to quick and easy ones, we have got you covered for a delicious home-cooked dinner menu. 

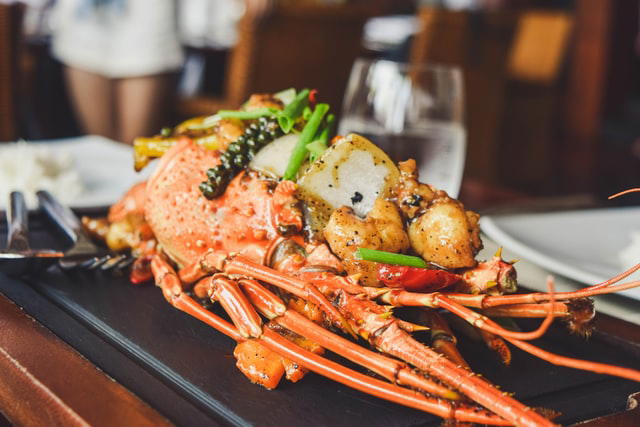
We all love the sweet and rich taste of lobster tails that we often only treat ourselves with on special occasions. They are not at all time-consuming whether you prefer them grilled, steamed, or baked in a rich butter sauce.

However you decide to prepare it, somehow it’s always a winning dish. Most times we like to take it up a notch by adding a side dish to it. So we have prepared a list for you to prepare a full-fledged dinner course at home. What to serve with lobster tails should not be a problem anymore!

Honestly, it doesn’t take a lot to turn around your chef game at home. The key is to find a lobster side dish that complements the richness of lobster tails. To make it easier, always choose something that goes well with all of your family members. Let’s go straight into some of the best side dish options for your dinner feast. 

Delicious Side Dishes to Enjoy with Lobster Tails 2

Mouthwatering Side Dishes

Lobster is a great source of protein—which makes it very healthy. And who doesn’t love seafood? Kids also love to get their hands dirty while enjoying their meals—a rare moment when everybody is happy! Family meals are the best way to bond, and a great home-cooked meal just makes it more memorable. Keep reading for some ideas to celebrate your family mealtimes with these yummy side dishes.

Traditional

Here are some good old traditional side dishes that have always won hearts at the dinner table. 

1. Butter

Lobster and butter are a match made in heaven. They compliment each other wonderfully. Butters creamy texture works well to bring out the sweetness in lobsters. This is the most traditional and simplest way to serve lobster tails. 

However, you don’t have to stick to basic butter. You can use Thermidor butter to enhance the overall taste of your dish. To prepare Thermidor butter, you need to gather the following ingredients: dry white wine, butter, tarragon, parsley, paprika, and shallot. Boil the dry wine and shallot together and bring it to simmer. Add the rest of the ingredients and give it a good whip to get a nice sauce. 

Pour the sauce over the cooked lobster tail. You don’t have to stop here—you can throw the pan in the oven for a quick grill. Let the butter sink into the lobster, and within a few minutes, you’ll notice that the butter has started to change its color to brown. Take it out.

Another way to serve it is with clarified butter—butter without water and milk proteins. In other words, it is pure butterfat. To make this at home, you have to use a saucepan to melt the butter. Bring it to a gentle boil. You’ll notice the foamy milk proteins are at the bottom of the pan. 

The water in the butter would also have evaporated by now. Grab a cheesecloth to pour the butter. If you don’t have a cheesecloth, you can use a coffee or tea strainer. After draining the excess liquid in the butter, you’ll be left with sweet, golden clarified butter to enjoy with your lobster tails. Yum! 

2. Veggie Fries

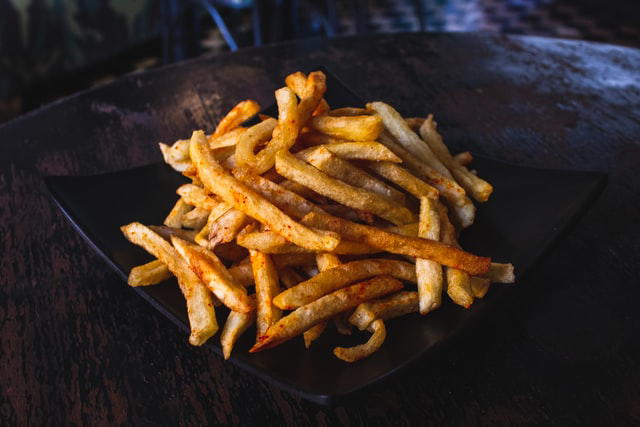
French fries are always the best side dish. They can be enjoyed with anything and everything. You can pair your lobster tails with other kinds of fries, tater tots, or garlic toast. If you are feeling more health-conscious, then you can opt for healthier options, like zucchini fries, pumpkin fries, or kale chips. We’ll be sharing one of our popular zucchini fries recipes with you. 

You need breadcrumbs, eggs, Parmesan cheese (grated), and zucchini. Make zucchini strips but cut thin slices. Dip them into whisked eggs. Put aside the breadcrumb and cheese mixture. The rule is to dip it in the eggs and then the dry ingredient mixture. Throw it in the oven for 20 minutes. You can do the same for kale, pumpkin, or carrot chips. Take them out when they are brown and crispy. 

3. Potato Salad

Potato salad with lobster dinner always saves the day! It’s hearty and warm and tastes perfect with lobster tails any time of the year. To make a potato salad, you need dijon mustard, boiled potato, lemon zest, minced shallot, celery, honey, pepper, and olive oil. You can serve it hot or cold. 

Family Meals

Here are some of the family-size side dishes to feed the entire family with love. 

1. Mac and Cheese

The safest choice is always mac and cheese, especially if you have little humans to feed. It is loved by most people as an individual dish. As a side dish, it does justice to the delicate taste of lobster tails for sure. Keep it simple. 

You can either make it from scratch at home or just go with the store-bought ones. Classic mac and cheese require milk, flour, butter, cheddar cheese, and some macaroni. Just throw everything together, bring it to boil, and season it. You could also add the lobster meat to the mac and cheese for the kids. Win-win really!

2. Pasta Salad

A pasta salad can be an excellent complement to lobster tails. If you have hungry monsters at home who love to have big meals, this is a great choice. You’ll need pasta, some veggies, and a nice salad dressing. You can toss in red and green bell peppers, apples, minced garlic, pepper, lemon juice, mustard, and some dressing and voila! Your pasta salad is ready!

3. Steamed White Rice

Simple and nice! If you have a lot of people to feed and you don’t have a lot of time, then steamed white rice is what you need to pick. It makes the meal filling, is easy to cook, and has that additional carb factor. You could add some butter to the rice to bring out the best qualities of the lobster tail. This one is always a winner!

Easy and Quick Sides Dishes

Among the many options of side dishes for lobster tails, we have prepared a separate “easy and quick” list for you to choose for your red lobster side dishes. Now if this isn’t helpful, then we don’t know what is! Jokes apart – the following side dishes can be prepared if you have time constraints, and work great every single time! 

1. Coleslaw

This is a classic one, and it goes with almost everything! It is light, fresh, crunchy, sweet, and salty, all in one. You’ll need cabbage, carrots, additional veggies (optional), lemon, oil, sugar, salt, mayo, and pepper for this to come together. Or if this is a hassle for you, just buy the store-bought coleslaw dressing. Give it a nice toss and store it in the fridge for a few hours. The flavors will start to come together. Take it out just before dinner. 

2. Corn on the Cob

Do you want to hear a joke? If lobster and butter got together, corn on the cob would be their child. This is because corn on the cob and lobster have so much in common in terms of taste. Just like lobster, corn is sweet and loves butter and seasoning. Do you see where we’re going with this? 

Corn on the cob is extremely easy to prepare. You can boil it in salted water for three to five minutes. You can also microwave it. You can also throw it on the grill for that smokey flavor. Brush it up with some butter, and it’s ready. You can go all out with the seasoning too—you can add paprika for the heat and kick. You can squeeze some lemon juice to balance the richness of the butter. 

3. Bread

Easiest one out there! Just pick up a nice, fresh loaf from the supermarket on your way. You might choose a baguette to make it fancier. Other options are ciabatta, sourdough, or just plain dinner rolls. Pop the bread in the oven to make sure it’s nice and warm. You can add spreads and dips for the bread to be enjoyed with lobster tails.

Lobster Tail Recipe

There are plenty of recipes out there on the Internet. There are many different varieties of each recipe, ranging from a luxury restaurant-style baked lobster tail to a grilled lobster tail menu. We have chosen the simplest one for you to cook a nice and delicious lobster tail at home. 

Ingredients

This ingredient list serves 2 people, so make changes to it accordingly. 

  • 8 oz lobster tail (225 g), 2 tails
  • 3 tablespoons butter, melted
  • 1 teaspoon salt
  • 1 teaspoon black pepper
  • 1 teaspoon garlic powder
  • 1 teaspoon paprika
  • 1 teaspoon fresh parsley, chopped
  • 1 teaspoon lemon juice
  • 2 wedges lemon, to serve
  • broccoli, cooked, to serve

Prepping Time

It should take about 10-15 minutes to prepare the ingredients and another 20 minutes for it to be cooked in the oven for a total of 30-35 minutes.

Cooking

  1. Get clean scissors to cut the lobster along the middle to the top of the shell. Try to do a straight line. Don’t cut to the end of the tail. 
  2. With a spoon, scoop out the meat from both sides of the shell.
  3. Gently press both sides of the shell together. Place the meat over the seam in between the two shells. 
  4. Prepare your oven by preheating it to 450°F (230°C).
  5. Place the lobster tails on a baking sheet.
  6. Use a small bowl to mix the ingredients for the sauce. Add butter, salt, garlic powder, paprika, pepper, lemon juice and parsley. Take a brush to spread the mixture evenly on the lobster meat.
  7. Bake for 12-15 minutes for the lobster to be fully cooked. Don’t overcook it as the texture of lobster meat can become rubbery. 
  8. Squeeze out lemon juice on top of the cooked lobster tail. 
  9. Enjoy!

Conclusion

You are probably intrigued to try out all of these side dishes to enjoy with your lobster tails. Well, not a bad idea! These mouthwatering dishes are worth it. Just last-minute tips before you go and cook up a storm. Bigger isn’t better, and lobster meat is tastier if the lobsters are young and smaller in size. Bon appetit!