The descale light on your Keurig coffee maker is an essential reminder that it’s time to give your beloved machine some much-needed maintenance. Descaling is crucial for keeping your Keurig running smoothly and producing great-tasting coffee.
In this article, we’ll walk you through the process of turning off the descale light on your Keurig, provide you with some helpful maintenance tips, and address common troubleshooting issues.
Why and When to Descale Your Keurig

Understanding Lime Scale and Calcium Deposits
Lime scale and calcium deposits are natural byproducts of using water in your Keurig. Over time, these mineral deposits can accumulate within the machine, affecting its performance and the taste of your coffee.
The Impact on Brewer Performance
When left untreated, these deposits can clog the internal components of your Keurig, leading to longer brew times, weak coffee, and even machine malfunction.
Recommended Descaling Frequency
To keep your Keurig in optimal condition, it’s recommended that you descale your coffee maker every 3 to 6 months, depending on the hardness of your water and how frequently you use the machine.
Step-by-Step Guide to Turn Off the Descale Light
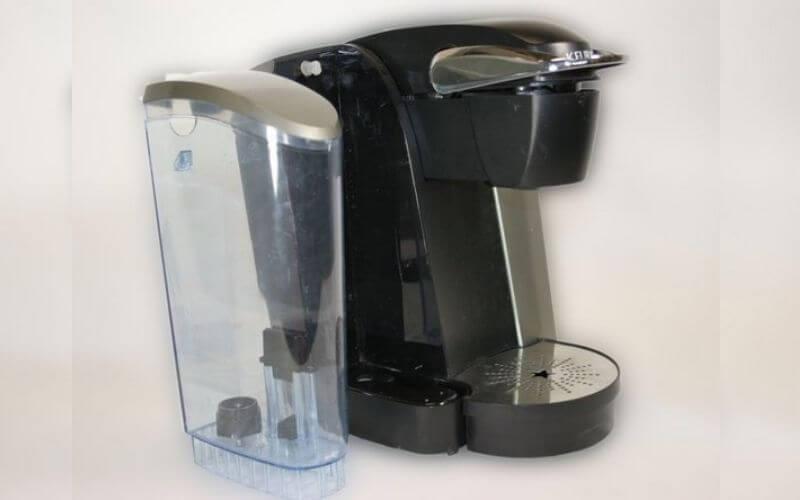
1. Prepare Your Keurig for Descaling
First, remove any remaining water from the reservoir and ensure there are no coffee pods in the machine. You’ll also want to place a large mug on the drip tray to catch any liquid during the descaling process.
2. Use the Keurig Descaling Solution or a Suitable Alternative
Next, mix the Keurig descaling solution according to the manufacturer’s instructions. If you don’t have a descaling solution on hand, you can use a mix of white vinegar and water as an alternative.
3. Run the Descaling Cycle
Pour the descaling solution into the reservoir, ensuring it’s filled to the maximum fill line. Then, power on your Keurig and start the descaling process by selecting the largest cup size and pressing “brew.” Discard the contents of the mug after each cycle.
4. Rinse Your Keurig
Once you’ve run the descaling solution through the machine, empty the reservoir and rinse it thoroughly. Fill it with fresh water, then run the machine through several brewing cycles to flush out any remaining descaling solution.
5. Reset the Descale Light
After you’ve completed the descaling process and rinsed the machine, the descale light should turn off automatically. If it doesn’t, consult your Keurig’s user manual for specific instructions on resetting the light.
Preventive Measures and Regular Maintenance
Using Filtered Water
One way to reduce mineral buildup in your Keurig is by using filtered or bottled water instead of tap water. This can help minimize the accumulation of minerals and reduce the frequency of descaling.
Regular Cleaning of the Keurig

In addition to descaling, it’s essential to clean your Keurig regularly. This includes wiping down the exterior, cleaning the drip tray, and washing the water reservoir and lid.
Periodic Inspections for Build-Up
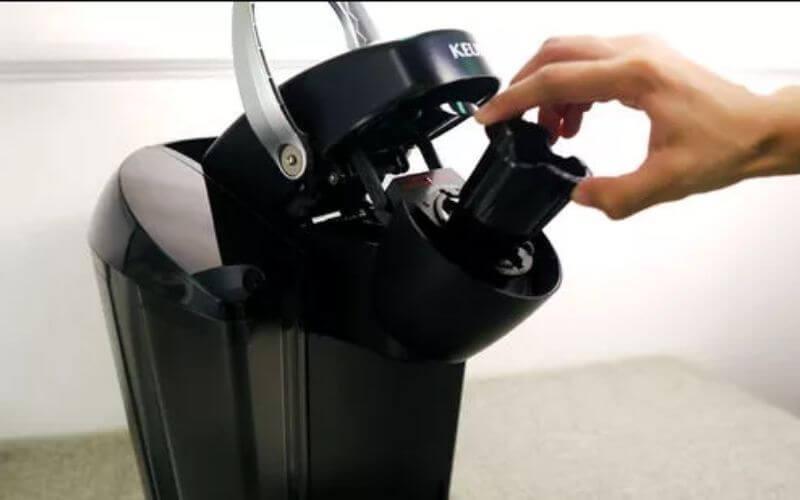
Keep an eye on your Keurig for any visible signs of mineral buildup, particularly around the needle and brew basket. Addressing these issues early can help prevent more severe problems down the line.
Troubleshooting Common Keurig Descaling Issues
Descale Light Remains On After Descaling
If the descale light doesn’t turn off after completing the descaling process and rinsing, consult your Keurig’s user manual for specific instructions on how to reset the light. You
may need to repeat the descaling process.
Coffee Maker Not Brewing After Descaling
If your Keurig isn’t brewing after descaling, ensure that there are no clogs in the machine by running a few brewing cycles with water only. If the issue persists, you may need to contact Keurig customer support for further assistance.
Conclusion
In conclusion, turning off the descale light on your Keurig coffee maker is a straightforward process that ensures your machine continues to deliver delicious coffee. By following our step-by-step guide and adopting regular maintenance practices, you’ll prolong the life of your Keurig and enjoy a consistently great-tasting cup of coffee.
Remember, the key to a well-functioning Keurig is preventive care and timely attention to issues like lime scale and calcium deposits. Stay on top of your Keurig’s maintenance, and your coffee maker will reward you with years of excellent performance.
FAQs
How often should I descale my Keurig?
It’s generally recommended to descale your Keurig every 3 to 6 months, depending on how often you use it and the type of water you use.
Can I use any descaling solution for my Keurig?
While there are many descaling solutions available, it’s best to use a solution specifically designed for Keurig machines or follow the manufacturer’s recommendations.
Can I use vinegar instead of a descaling solution?
Yes, you can use a mixture of white vinegar and water as an alternative to a descaling solution. Generally, a 1:1 ratio of vinegar to water is recommended for effective descaling.
What if the descale light doesn’t turn off after descaling?
If the descale light doesn’t turn off after completing the descaling process and rinsing, consult your Keurig’s user manual for specific instructions on how to reset the light. You may need to repeat the descaling process.
How can I prevent mineral buildup in my Keurig?
One way to reduce mineral buildup in your Keurig is by using filtered or bottled water instead of tap water. This can help minimize the accumulation of minerals and reduce the frequency of descaling.


