How to Percolate Coffee on a Stove: A Definitive Guide for Camping Enthusiasts

The outdoor beckons, your gear is all packed, and the thought of setting up the perfect campsite gets your heart racing. There’s something incredibly rewarding about waking up to the golden glow of sunrise, with chirping birds for background score and the rich, intoxicating scent of freshly percolated coffee beckoning from the campfire. That’s what camping is all about!

In this comprehensive guide, we are going to focus on percolated coffee – the archetypal outdoor brew that has seen keen enthusiasts and casual sippers alike fall unequivocally in love with its robust and timeless flavor. I’m John Bird, a certified coffee brewer and an outdoors enthusiast, and today I will take you on a coffee brewing journey, one stovetop percolator at a time.
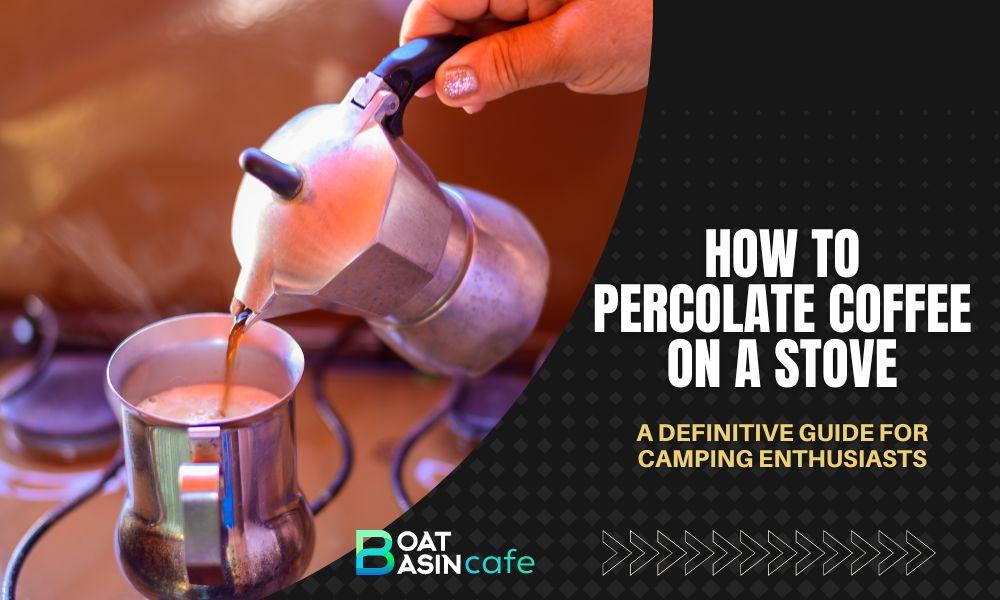
how to percolate coffee on the stove
How to Percolate Coffee on a Stove A Definitive Guide for Camping Enthusiasts

Understanding Percolated Coffee

Brewing coffee via a stovetop percolator holds a certain rustic charm. An age-old technique, it results in coffee brimming with a distinct character and boldness of flavor that machine-made coffee can often miss.

The secret lies in how water reincarnates through the coffee grounds multiple times, extracting a more profound flavor with each cycle. This recurrent brewing elicits an earthy, slightly bitter, full-bodied coffee which can be exceptionally satisfying.

This old-school technique negates the need for fancy equipment, offering a sensory journey from the beginning of the brewing process till the brew percolates, creating an alluring coffee scent that is strongly reminiscent of that good old nostalgia.

Choosing the Right Percolator
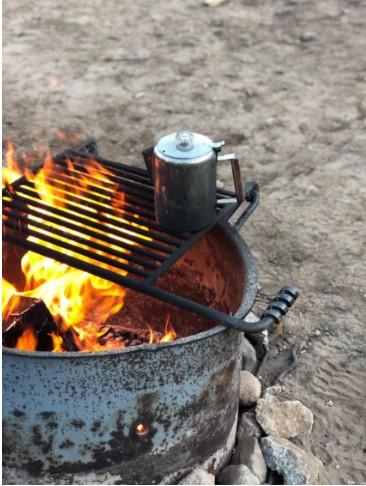
How to Percolate Coffee on a Stove: A Definitive Guide for Camping Enthusiasts 1
perc

When it comes to brewing hearty camping coffee, the charm of a percolator is unbeatable. A wide variety of percolator models exist, but simplicity, durability, and brew quality are key when picking the right one for camping purposes. Pro tip from my experience: go for a stovetop percolator.

Easy to use and ride the old-world charm wave, it allows complete control over the brewing process. Besides, it’s designed to perfectly suit an outdoor setup where you could either be using a campfire, stove, or a mini burner. Practical to the core, I fondly remember my first rendezvous with a steel stovetop percolator and the heavenly coffee it brewed. I knew then that it was a boon for my camping escapades.

A Step-by-Step Guide: Brewing Coffee on a Stovetop Percolator

The art-science blend that encompasses brewing coffee on a stovetop percolator is indeed mesmerizing. From picking the best beans and controlling heat to understanding flavors and nailing the brewing time, it’s all about orchestrating a symphony that results in a perfect cup of coffee.

Let me take you through this exciting process.

StepDescription
Selecting the Coffee– Use high-grade coffee beans with bold flavors (hints of chocolate or caramel).
– Opt for a medium-coarse grind for ideal water permeability and optimal flavor extraction.
Preparing the Percolator– Fill the pod with water up to the indicated level.
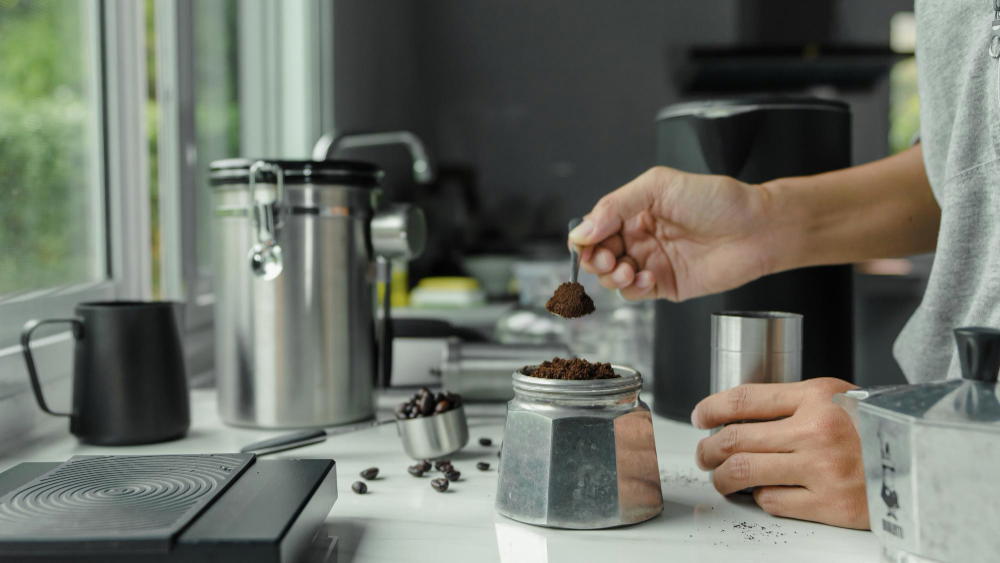
– Place coffee grounds in their basket without packing them too tight.
Heating– Start with medium heat.
– Increase temperature until water begins to bubble, then reduce to a simmer.
– Monitor closely to avoid under-brewing or over-extracting.
Observing the Percolation– Watch the transparent glass knob for the first droplets.
– Ensure a steady rhythm of bubbles for a rich percolated brew.
About Brewing Time– Aim for 7 to 10 minutes of brewing.
– Adjust based on taste preferences and avoid over-brewing.
Adjusting Heat– Regulate heat to maintain the right water temperature.
– Watch for signs like steam or changing percolating rhythm to adjust the temperature.
Removing from Heat– Once brewing time is up, remove the percolator from the heat.
– Wait for the bubbling sounds to subside.
Removing Grounds and Serving– Remove the coffee basket.
– Pour the coffee into a mug and enjoy.

Selecting the Coffee:

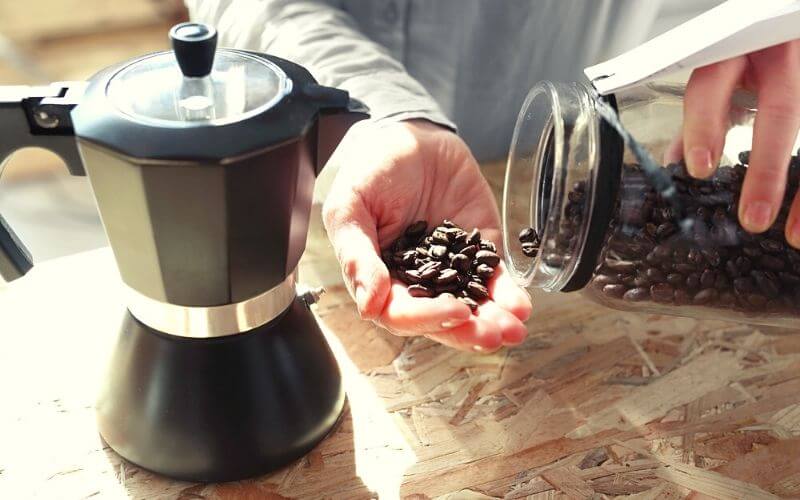
The first cog in the wheel to a top-notch camping coffee is high-grade coffee beans. Bold flavors laced with hints of chocolate or caramel are often a good fit for a percolator’s output. Do ensure a medium-coarse grind that allows ideal water permeability and optimal flavor extraction. Relying on my experiments, it’s the medium-coarse grind that consistently delivers a ‘spot-on’ percolated coffee.

Preparing the Percolator:

A stovetop percolator has a unique setup process — fill the pod with water up to the indicated level, rest the coffee grounds in their dedicated basket, but be sure to not pack them too tight. Water must be able to percolate freely through the grounds to extract the finest flavor. The mental picture of it brewing over a campfire, filling the air with intoxicating aroma certainly adds to the brewing excitement!

Heating:

Start with a medium heat, gradually escalating the water temperature till it begins to bubble in the glass top, then reduce the heat to a simmer. This control lets you extract all the flavors from the coffee grounds. Too low, and the coffee might be under-brewed; too high, and you may end up with an over-extracted bitter brew. So, keep a close check!

Observing the Percolation:

Percolation is where all the magic unfolds. As the percolator works its charm over the campfire and the first droplets make their way into the transparent glass knob, the brewing process is well on its way. Each bubble commencing a new brewing cycle helping the coffee to mature into a rich percolated brew. Just ensure a steady rhythm and not an overheated one.

About Brewing Time:

Seven to ten minutes of brewing time is usually a good starting point. However, feel free to adjust based on your taste preferences. Just ensure not to over-brew to avoid a disheartening bitter aftertaste. Trust me, learning the art of perfect brewing time doesn’t come without mistakes; it’s all part of your camp stove coffee brewing experience.

Adjusting Heat:

Regulating heat to maintain the right water temperature is an art worth perfecting. While the percolator fills the air with a mesmerizing scent, steam or changing percolating rhythm could indicate the need to adjust the temperature. Takes a few trials and errors, but once you’ve got a knack for it, there is no looking back.

Removing from Heat:

Once your brewing time is up, take the percolator off the heat and let the ebbing bubbling sounds usher in an era of quiet. What follows next is the moment we have been awaiting eagerly – the pour!

Removing Grounds and Serving:

The final steps are all about enjoying the fruition of your meticulous efforts. Remove the coffee basket, pour the coffee into your treasured camping mug and indulge in the first sip of pure paradise. Enjoy the triumph of having brewed a distinctive coffee outdoors while you soak in the visual splendor around.

Conclusion:

Brewing coffee in a stovetop percolator is decidedly an experience unlike any other – a synesthetic combination of science, art, and nostalgia manifested through a beautiful process that promises a distinctive cup of Joe. Most importantly, it elevates your camping experience, warms up the camping conversations and forges beautiful memories.

As we wrap up, here’s a heartfelt shoutout to all outdoor enthusiasts, coffee aficionados, campers, and hikers — I look forward to hearing about your coffee brewing tales, the ‘Eureka’ moments, the camp stories, and everything in between.

So, next time you’re on a camping trip, don’t forget your percolator and embrace the art of perfect percolated coffee brewing with arms wide open. I assure you, it’s an adventure worth pursuing!

Safe travels and happy brewing, folks!

FAQs

What is ‘percolated coffee’?

Percolated coffee refers to a brewing process where hot water circulates through coffee grounds multiple times, extracting deep flavors at each pass. It’s a traditional method that often delivers a robust, full-bodied coffee, typified by its slightly bitter and earthy tones.

Why is stovetop percolating considered ideal for camping?

A stovetop percolator is an ideal choice to brew coffee while camping due to its simplicity, durability, and the ability to operate without electricity. It can brew directly on a campfire, stove, or a mini burner. Also, it gives users complete control over the brewing process, from temperature adjustments to brewing time.

How long does it take to brew coffee using a stovetop percolator?

The brewing time for stovetop percolating generally falls between 7-10 minutes. However, this can be adjusted according to one’s preference for coffee strength. Brewing for too long might result in a bitter aftertaste, while under-brewing could give a weak and underwhelming coffee.

Is it necessary to use freshly ground coffee for percolating?

While it’s not absolutely essential, using freshly ground coffee in a percolator does improve the quality of the brew. Fresh grounds have more flavor and aroma to offer compared to pre-packaged or old coffee, resulting in a more flavorful and satisfying cup of coffee.

What kind of coffee grind is best for percolating?

A medium-coarse grind is generally considered ideal for percolating. It’s coarse enough for water to permeate through it without over-extracting the flavors, which could happen with a finer grind. It is also not too coarse to under-extract and result in a weak brew.

Is percolated coffee stronger than drip coffee?

Percolated coffee is generally stronger and more robust in flavor compared to drip coffee. The repeated cycling of water through the grounds in a percolator yields a brew with more depth. However, the strength greatly depends on the brewing duration and the type of coffee beans used.

Do I need any specific equipment to brew coffee with a percolator?

Aside from the stovetop percolator itself, no additional equipment is necessary. However, for optimal results, freshly ground coffee beans and quality water are recommended. Of course, a heat source such as a campfire, stove, or burner is needed for outdoor brewing.

Expert Reviews: Top Coffee Percolators of 2023 for the Best Brews

Coffee percolators have been a beloved part of kitchens and camping trips for decades. Their unique brewing process delivers a rich and robust flavor that’s hard to replicate with other brewing methods. If you’re a coffee enthusiast or simply someone who enjoys a good cup of joe, you’re in the right place. We’re here to review and recommend the best electric percolators of 2023 based on our extensive testing and analysis.

Our Testing Process for Coffee Percolators

best coffee percolator machine
Expert Reviews Top Coffee Percolators of 2023 for the Best Brews

As a former barista at the Boat Basin Cafe in Downtown New York, I, John Bird, have had my fair share of coffee brewing experiences. For this review, we set up each percolator, brewed coffee, and assessed the brewing time, pourability, and most importantly, the taste. We repeated this process multiple times to ensure accurate results.

Safety concerns were also a top priority during our testing. We checked for features like automatic shut-off, stay-cool handles, and sturdy construction. Special features such as ready-to-serve indicator lights and non-drip spouts were also taken into consideration.

Key Considerations When Buying Coffee Percolators

When it comes to buying a coffee percolator, there are several factors to consider.

Size and Capacity: The size and capacity of the percolator should match your coffee drinking habits. If you’re a solo coffee drinker, a small percolator would suffice. But if you frequently host large gatherings, you might want to consider a larger model.

Electric vs Stovetop Percolator: The choice between an electric and a stovetop percolator often comes down to convenience and control. Electric percolators are easy to use and maintain a consistent brewing temperature, making them a great choice for home brewing. On the other hand, stovetop percolators offer more control over the brewing process but require a heat source, making them a popular choice for camping trips.

Construction Material: The construction material plays a significant role in the durability and taste quality of the coffee. Stainless steel percolators are known for their durability and their ability to maintain a consistent temperature, resulting in a better tasting coffee.

Desirable Qualities: Speed, non-drip spouts, stay-cool handles, and ready-to-serve indicator lights are some of the desirable qualities to look for when choosing the right coffee percolator for your needs.

In-Depth Reviews of the Top Electric Percolators

After hours of testing and tasting, we’re ready to share our in-depth reviews of the top electric percolators.

PercolatorTypeKey FeaturesProsCons
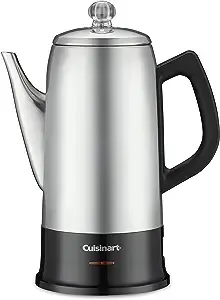
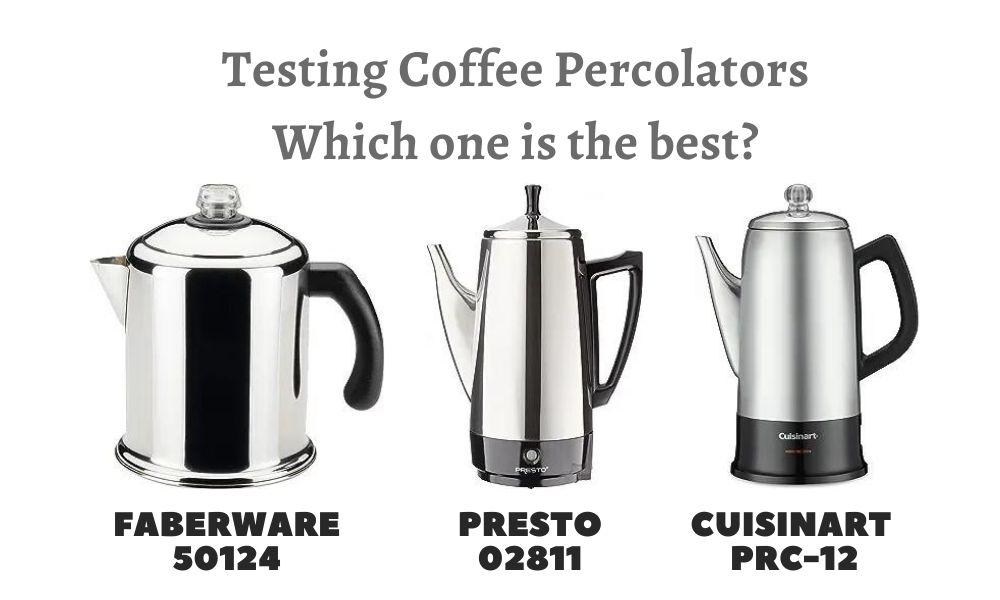
Cuisinart PRC-12 Classic 12-Cup Stainless-Steel PercolatorElectricStainless steel, ready-to-serve indicator light, 12-cup capacityDurable, large capacity, indicator lightPricier, short cord
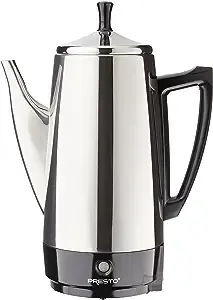
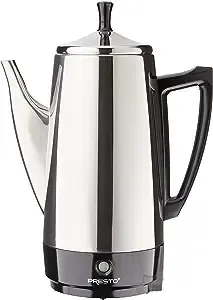
Presto 02811 12-Cup Stainless Steel Coffee MakerElectricStainless steel, fast brewing timeFast brewing, easy to use and clean, durableNo indicator light, handle can get hot
Faberware 50124 Classic Yosemite Stainless Steel Coffee PercolatorStovetopHeavy-duty stainless steel, perfect for outdoor useDurable, easy to use, excellent control over brewingLess convenient, requires a heat source

1. Cuisinart PRC-12 Classic 12-Cup Stainless-Steel Percolator

<strong>Expert Reviews: Top Coffee Percolators of 2023 for the Best Brews</strong> 2
Cuisinart PRC 12 Classic 12 Cup Stainless Steel Percolator

The Cuisinart PRC-12 is a top-notch percolator that combines functionality with style. It’s made of stainless steel, which ensures durability and excellent taste quality. One of the standout features of this percolator is its ready-to-serve indicator light, which lets you know when your coffee is ready to be served.

Pros:

  • Durable stainless steel construction
  • Ready-to-serve indicator light
  • 12-cup capacity, perfect for large gatherings

Cons:

  • A bit on the pricey side
  • The cord is relatively short

2. Presto 02811 12-Cup Stainless Steel Coffee Maker

<strong>Expert Reviews: Top Coffee Percolators of 2023 for the Best Brews</strong> 3
Presto 02811

The Presto 02811 is a classic percolator that’s been a favorite among coffee enthusiasts for years. It’s known for its speed, brewing a cup of coffee in less than a minute. It’s also easy to use and clean, making it a great choice for those new to percolator brewing.

Pros:

  • Fast brewing time
  • Easy to use and clean
  • Durable stainless steel construction

Cons:

  • Does not have a ready-to-serve indicator light
  • The handle can get hot during brewing

3. Faberware 50124 Classic Yosemite Stainless Steel Coffee Percolator

<strong>Expert Reviews: Top Coffee Percolators of 2023 for the Best Brews</strong> 4
Faberware 50124

The Faberware 50124 is a stovetop percolator that’s perfect for camping trips. It’s made of heavy-duty stainless steel, ensuring it can withstand the rigors of outdoor use. Despite being a stovetop model, it’s easy to use and offers excellent control over the brewing process.

Pros:

  • Heavy-duty construction, perfect for outdoor use
  • Easy to use
  • Offers excellent control over the brewing process

Cons:

  • Not as convenient as electric models
  • Requires a heat source to operate

Our RecommendationsBest Coffee Percolator Machine

After extensive testing and analysis, we’ve concluded that the Cuisinart PRC-12 Classic 12-Cup Stainless-Steel Percolator stands out as the best coffee percolator machine of 2023. It combines durability, functionality, and style, making it a great addition to any kitchen.

However, if you’re looking for a percolator for camping trips, the Faberware 50124 Classic Yosemite Stainless Steel Coffee Percolator is your best bet. Its heavy-duty construction and excellent control over the brewing process make it the best percolator for camping.

Additional Considerations and Tips

As you embark on your coffee percolator journey, here are some additional tips and considerations:

Brewing Techniques: To avoid over-extraction in percolators, make sure to use coarse ground coffee and not to let the coffee boil.

Maintenance: Regular cleaning is crucial to maintain the taste quality of your coffee. Most percolators are easy to clean, with some parts being dishwasher safe.

Accessories: A coffee grinder can enhance your coffee experience by allowing you to grind your beans just before brewing.

FAQs

1. How does a percolator work?

A coffee percolator works by continuously cycling the boiling or nearly boiling brew through the grounds using gravity until the desired strength is reached.

2. What are the top percolator brands?

Some of the top percolator brands include Cuisinart, Presto, and Faberware.

Closing Remarks

Coffee percolators have been around for a long time, and for a good reason. They offer a unique way of brewing coffee that results in a rich and robust flavor. Whether you’re a coffee enthusiast or a casual drinker, investing in a good coffee percolator can significantly enhance your coffee experience.

We hope this article has been helpful in your quest for the perfect coffee percolator. Remember, the best percolator is the one that suits your needs and preferences. So whether you’re looking for an easy-to-use electric coffee percolator for home brewing or a stainless steel stovetop percolator for camping trips, make sure to choose the one that’s right for you.

References

  1. Cuisinart PRC-12 Classic 12-Cup Stainless-Steel Percolator
  2. Presto 02811 12-Cup Stainless Steel Coffee Maker
  3. Faberware 50124 Classic Yosemite Stainless Steel Coffee Percolator
  4. How Does a Coffee Percolator Work?
  5. Best Coffee Grinders
  6. Over Extraction in Coffee Brewing
  7. How to Clean a Coffee Percolator
  8. Coffee Percolator Buying Guide

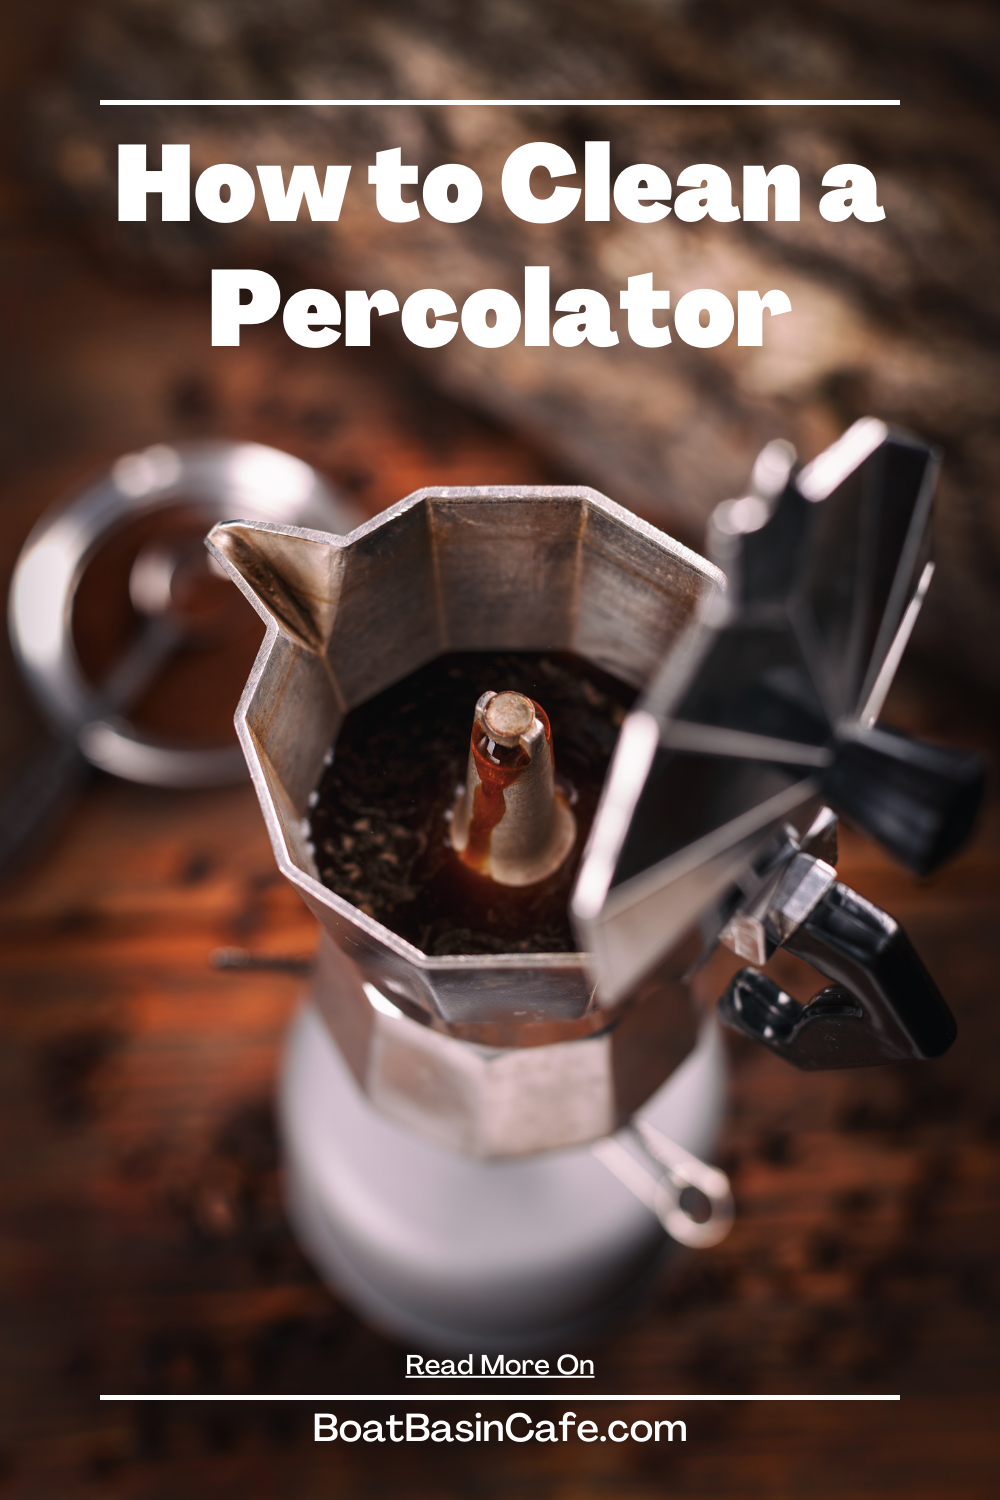
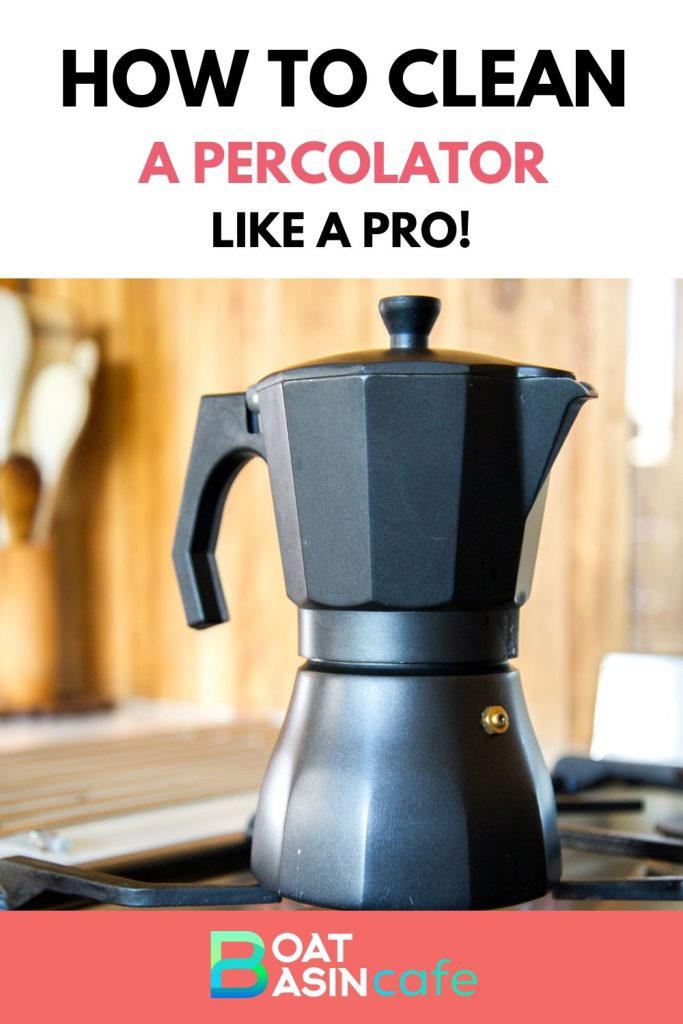
How to Clean a Percolator: Like a Pro!

Got a dirty percolator that you’re not sure how to fix? This will show you in detail how to clean a percolator.

How to Clean a Percolator: Like a Pro!
Travel Blog Pinterest Pin

Whether you like a hot cup of coffee to get the day started or a frothy latte to settle in after a long shift, the taste of a good solid cup of coffee can lift the dampest of spirits.

This rings especially true for percolator coffee. This kind of brew is much stronger and more intense than something brewed in a French Press or drip coffee maker. But what do you do when your coffee tastes stale, burnt, and reminiscent of swamp water?

The issue may be that your old percolator coffee pot needs a good cleaning. Coffee residue can linger in your coffee maker, as well as minerals from the water used can build up. This, along with remnants of used grounds can haunt your percolator, ruining the taste of your coffee.

The idea of a coffee percolator cleaner can be intimidating, but it doesn’t have to be that way.  In this article, we will look at the methods on how to clean a percolator. Whether you own a traditional stovetop percolator or an electric one, we have you covered.

How to Clean a Stovetop Percolator

How to Clean a Percolator
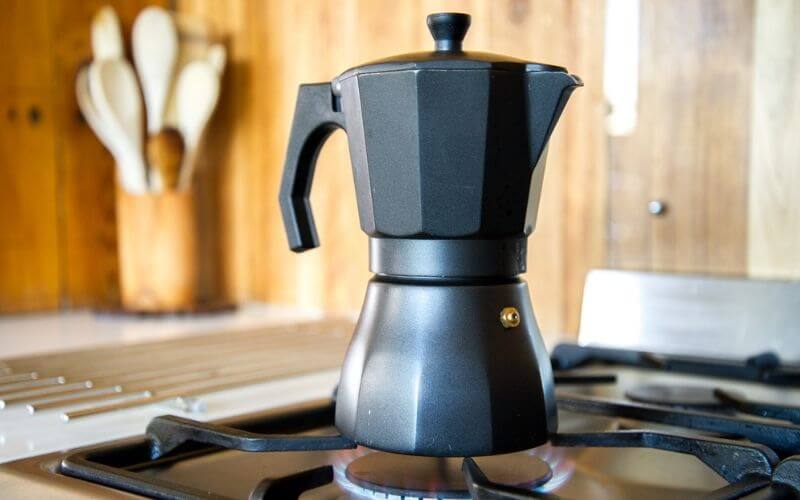
Stovetop Percolator

Coffee is notorious for leaving stains. Whether it is a marble or glass coffee pot, or a stainless-steel percolator, coffee will leave stains over time. In this section, you will learn how to clean a stainless-steel coffee percolator.

A stovetop percolator is easier to clean as you don’t have to worry about the wiring and circuits. These percolators are also more long-lasting and will work for years; even being passed down from generation to generation.

While you should wash your percolator with dish soap after every use, this is more suitable for deep cleaning the unit every month. Here is how to clean stainless steel coffee pots.

What You Need:

  • Brush
  • Baking Soda
  • Salt (Optional)
  • Water
  • Apple Cider or White Vinegar

What You Need to Do:

  1. Fill your percolator with water.
  2. To the water, add a quarter cup (4 tablespoons) of baking soda. You can add a spoon of salt as well if your coffee maker is smelly.
  3. Place it on the burner and let it run a cycle.
  4. Let the water cool slightly, then scrub the inside with a brush to loosen any residue and build up.
  5. Throw out the water and rinse well.
  6. Then, fill your percolator with equal parts water and vinegar.
  7. Run another brewing cycle and wait for the percolator to perk; then discard the water and rinse again.
  8. Run a third cycle of fresh, clean water to rinse any leftover vinegar or baking soda. You can repeat this step until you are sure your percolator doesn’t smell like vinegar.

How to Clean an Electric Percolator

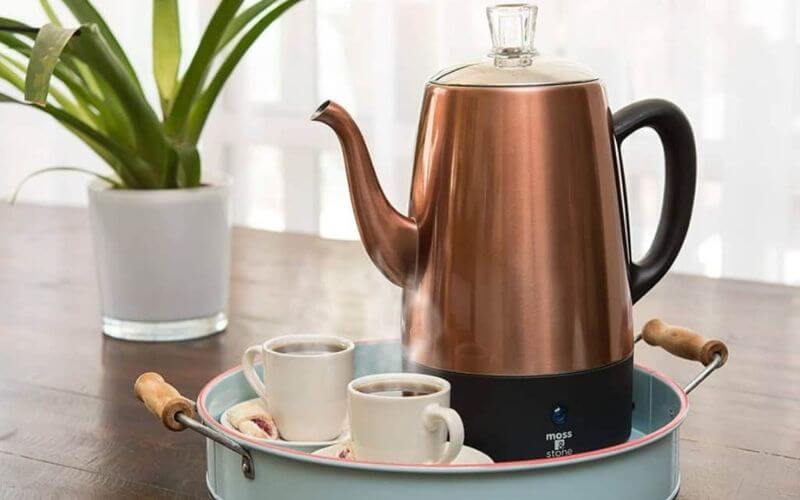
Electric Percolator
Electric Percolator

If you own something like a West Bend percolator, this section is for you. Let’s find out how to clean an electric coffee pot or percolator.

What you need:

  • Dishwashing detergent or Dip-It percolator cleaner
  • Baking soda
  • White vinegar
  • Hydrogen Peroxide (Optional)

What you need to do:

Basic Cleaning:

First, you need to clean the percolator the regular way. Unless mentioned otherwise, do not try cleaning your percolator in a dishwasher. Also, do not use steel wool scrubbers and harsh abrasive materials as this will scratch and damage your percolator.

You should always use something like a washcloth or soft rag. If there’s a stubborn stain or residue, use a plastic scrubber or dish brush. Harsher materials will scratch off the protective coating and your percolator will rust or stain easily.

When cleaning your percolator, remove any trapped coffee granules in the small spaces between parts. You can get rid of them with a toothpick or a pin.

Vinegar Wash:

Removing limescale and buildup is one of the most important parts of deep cleaning your percolators. A lot of this buildup is calcium and other salts from your water and can be dissolved in acidic solutions like vinegar.

  1. Dry the coffee maker and prepare it for use. You have to run a cycle with a solution of vinegar and water.
  2. To do this, fill half the percolator with water. Then, add vinegar until the percolator is full. This mixture will descale the inside and parts, neutralizing alkaline compounds without ruining the metal.
  3. Insert the basket, close the lid, and start a brew cycle. Give this solution 15 to 20 minutes to do the descaling.
  4. After this time passed, unplug the percolator and pour out the water. Let it cool for another 15 minutes, and then wash it by hand with dish soap or Dip-It coffee cleaner for percolators.
  5. Next, dry the percolator and fill it with fresh water. Plug it in and run another brew cycle. Empty out the water and repeat again with clean water. This will remove the smell of vinegar from the percolator.

In most cases, this vinegar brew is enough to clean your percolator. But if it is extreme, you might need the next step for a more thorough cleansing.

Baking Soda Scrub:

While most grime and residue are generally washed out with either soap or vinegar, more significant buildup will need something more abrasive to clean. This something is baking soda, and the gritty texture does a good job of removing stains, smells, and stubborn residue.

  1. To clean with this pantry staple, drop a tablespoon or two of baking soda in your percolator and dissolve it in some water. Let the mix sit for a few minutes.
  2. Then, wash and rinse as usual. You can use a dishcloth or soft brush for extra cleaning power.
  3. If there are still stains and gunk in your percolator, it may be time for a different remedy. Use a mix of hydrogen peroxide diluted in water to clean your percolator.
  4. Still dirty? This might help.
  5. Coat the dirty surfaces with a paste made from baking soda and a tiny bit of water. Let it sit for a couple of minutes and settle.
  6. Pour vinegar over this mixture. The fizzy neutralization reaction loosens up hardened gunk and residue.
  7. After the fizzing has subsided, rinse with water and enjoy your clean percolator.

How to Clean a Percolator Basket

Percolator Basket
Percolator Basket

Often, you don’t have to clean your entire percolator; just the basket. This is the part that tends to get most of the build-up and is used most frequently.

This saves a lot of time that would have been spent deep cleaning your entire percolator.

To clean your percolator basket, soak it in a mixture made of equal parts hot water and vinegar. Let it soak in the solution for a couple of hours, and even overnight.

Rinse well afterward and run a cycle with plain water to get rid of the vinegar smell if needed.

How to Keep Your Percolator Clean

Keeping your percolator clean can prevent the need for frequent deep cleaning, saving you precious time and elbow grease.

  • Rinse out the percolator after each use. Empty the basket and wash it out with dish detergent.
  • Use a soft cloth, dish scrubber, or brush to clean the percolator to prevent scratching the unit.
  • Throw out any coffee that remains in the percolator instead of letting it marinate in the pot for hours.
  • Only use a little soap of dish fluid to prevent your coffee from tasting soapy.

Any Questions?

Here we answer questions you might have about cleaning your percolator.

01. Where Can I Find Parts for Farberware Percolator?

These parts can be found on Amazon, Etsy, and eBay. The parts include the basket washer and even cords that need replacing.

02. Can I Use Salt to Clean My Percolator?

Adding salt can neutralize stale and burnt smells in your coffee maker. However, using it to replace the baking soda can scratch up the steel of your percolator.

03. Can I Use Lemon Juice Instead of Vinegar for Cleaning?

Swapping vinegar for an equal amount of lemon juice will work just fine to remove build-up and residue in your percolator.

04. How Do I Unclog a Percolator?

Mix half a cup of hydrogen peroxide with vinegar and let the mix sit in your coffee maker for about an hour. Pour out the mixture and rinse the percolator with hot water.

Conclusion

The best way to get the most out of your coffee maker is to keep it clean and functional. Know that you know how to clean a percolator, you can keep yours in the best shape possible. With a clean and spiffy percolator, you can brew the strongest and freshest tasting coffee right at home.

A clean unit will brew barista-style coffee no matter what. And with that strong coffee as a base, you can flex your home brewing skills and make things like smooth and rich lattes, cortados, and mochas right in your kitchen.

More Related Articles:

Pin Later

How to Clean a Percolator Like a Pro
How to Clean a Percolator

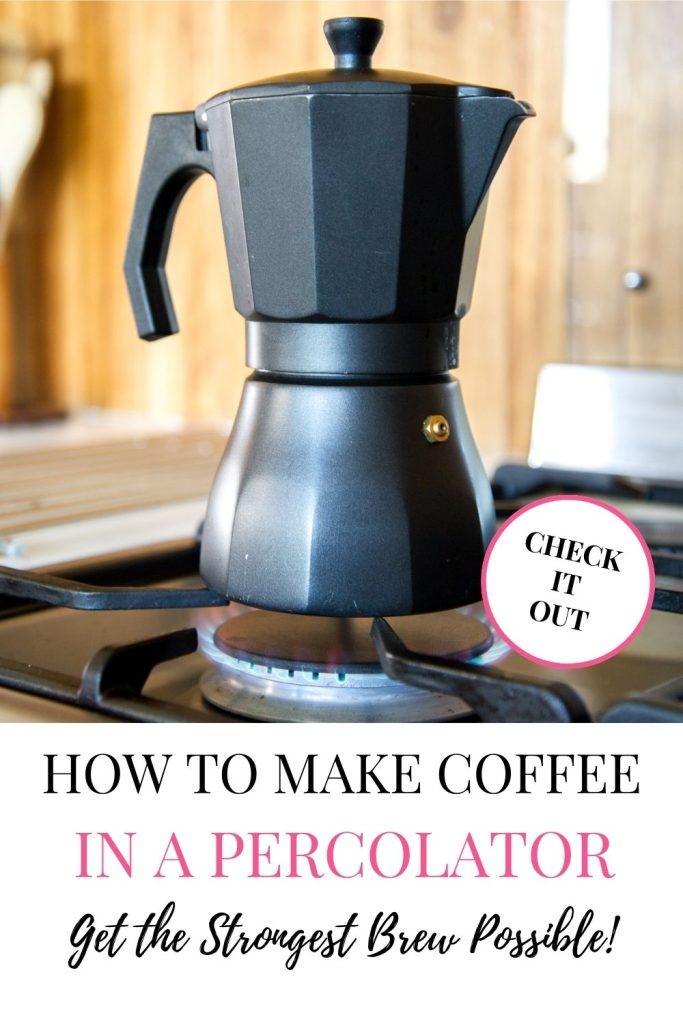
How to Make Coffee in a Percolator: Get the Strongest Brew Possible!

If you’re a coffee enthusiast, you may have tried out coffee brewed in all the usual ways. Whether it’s something potent made in an espresso machine, the nasty brew from a drip automatic coffee maker, or the nicer ones made in a French Press or Moka pot.

But how about something a lot more old-timey? Percolators have been around for decades and are often dismissed as something old-fashioned and difficult to use. 

But this isn’t true at all. Coffee brewed in a percolator is stronger, heavier, and tastes more potent than anything made in a coffee maker.

If you have a hand-me-down percolator from your grandparents, it is worth dusting it off and giving it a try. Not sure how it works? The mechanism is pretty simple and the appliance is easy to use.

But that’s not all. We are going to tell you how to make coffee in a percolator. If you are tired of weak and mild brews, no matter how strong you brew your joe, it’s time for the percolator!

What is a Percolator?

How to Make Coffee in a Percolator

To describe this appliance or brewer in the simplest of terms, it is a sort of kettle with a mechanism that draws and trickles hot water through the grounds. 

The term percolate generally describes a process of filtering something through a porous surface. When the water passes through the grounds, the coffee is brewed.

While brewing coffee, the percolator recirculates it through the grounds several times. As a result, it is brewed more than once. This means that the coffee will smell incredible, but it will also be very strong and potent, and even a little bitter for some.

People also dismiss an old-fashioned coffee percolator because they result in a little sediment or coffee grounds in your cup. This also makes the coffee taste a little extra bitter. For these reasons, people prefer using drip coffee makers instead of percolators

However, if you want to try this method to brew coffee and practice a little, you will be able to brew an incredible cup of coffee using a percolator. You just need to find the percolator that suits you best and learn how to use it properly.

Percolator Types:

There are two main kinds of percolators:

01. Stovetop Percolators:

How to Make Coffee in a Percolator: Get the Strongest Brew Possible! 5

These brewers need an external heat source and are generally placed on top of stovetop burners. They are very convenient because you take them with you and use them anywhere with a stove. 

They enable you to make coffee on the stove. However, you need to keep an eye to make sure the water doesn’t boil over and burn the coffee.

02. Electric Percolators:

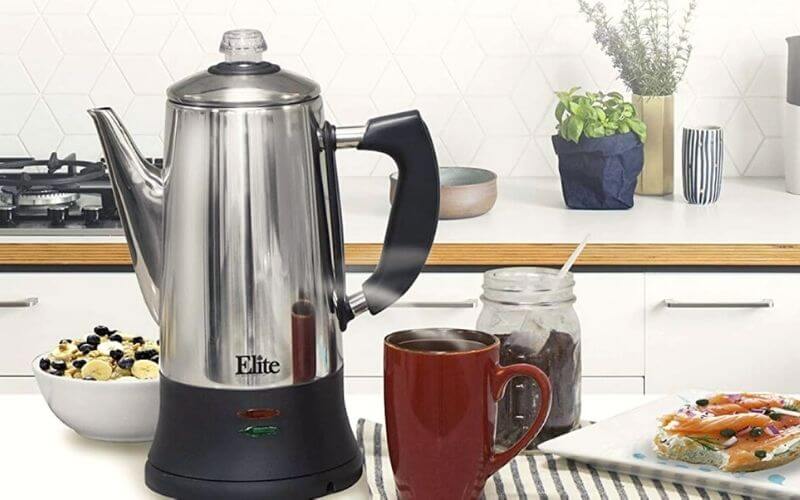
How to Make Coffee in a Percolator: Get the Strongest Brew Possible! 6

Electric percolators coffee makers are easier because you don’t have to worry about temperature or brewing time. These brewers typically have various settings that automate the brewing  process. 

The best thing about electric percolators is that they tend to brew consistent coffee using settings that pre-installed.

Moreover, most electric percolators keep your coffee warm once the brewing process is finished. However, it is important to remember that this can result in the over-extraction of your coffee, leading to an acrid and bitter taste.

How to Brew Coffee in a Percolator

Brew Coffee in a Percolator

These steps will enable you to brew a perfect cup of coffee in a percolator.

Clean Your Device:

Start with a clean percolator. All the different components have to be cleaned properly, even if you just went and got a new percolator from the store. Anything like old coffee remnants and chemicals will alter the taste of your brew.

Prepare the Percolator:

Assemble the percolator by placing the stand and the stem together and set them inside the pot. Pour some fresh water into the base. It should be no higher than spring at the top of the stem.

Add Your Coffee:

Add the amount of coffee you need to the grounds basket (around 1 tablespoon of ground coffee for a large cup of coffee). Connect the basket to the stem.

Arrange the Percolator:

Close the grounds basket tightly using the cover. You need to check that the dome is positioned right in the middle of the lid. Cover the pot with the lid firmly.

Brew the Coffee:

Place your percolator on a cold burner if it is a stovetop model. If you have an electric one, plug it in. Heat the percolator slowly until it perks. Depending on the strength of the brew you prefer, perk it for around 7-10 minutes.

Remove from the Heat:

After it has been brewed to your preference, remove the percolator from the heat. Going any longer than the advised time will result in a bitter and over-extracted brew,

Finish Up:

Let the coffee grounds settle at the bottom of the pot. Resting it for 5 minutes is a good idea. Pour your brewed coffee into a cup, carafe, or pot. You can serve it with a sweetener, creamer, or the flavorings of your choice.

Why Brew with a Percolator?

With so many options available, you might wonder whether you should bother with a percolator coffee pot. We’ve got the answers ready and we might just convert you to a whole new way of brewing coffee.

Stronger Brew:

Percolators are less popular because this method yields a rather bitter brew. The coffee is very strong and a super-rich flavor. 

This can be too much for some people. But this is a matter of preference. If you prefer strong coffee, a percolator is the perfect brewing method for you.

Extremely Hot Coffee:

Percolators use extremely high temperatures for brewing coffee. In fact, it makes the hottest cup of coffee ever. Your coffee will even be hotter than that brewed in an espresso machine. 

This is because percolators create steam to draw water through the system. This steam also heats the water, boiling it and resulting in a very hot cup of joe.

Cloudy Coffee:

Because of how it is brewed, this method of making coffee results in a certain flavor and texture. The coffee grounds are drenched with steam and water circulates the system and through the grounds multiple times. 

Your coffee is thus reheated so it can be brewed many times. As a result, the brew is very saturated and has a rather cloudy appearance.

Percolators: Do’s and Don’ts

If you just got a new percolator, or you’ve retrieved an old coffee percolator that’s been in your basement since the 80s, you might be confused about how to get the hang of things. But have no fear; we’ll show you the ropes.

What You Should Do:

  • Follow the manufacturer’s instruction manual when assembling the percolator.
  • Use good quality coffee beans for the best tasting coffee.
  • Clean your percolator after you have brewed your coffee.
  • Carefully pack it and the separate parts when you take it with you on journeys.

What You Shouldn’t Do:

  • Do not leave unconsumed coffee or used coffee grounds in the percolator.
  • Never leave a stovetop percolator on the burner after brewing is done.
  • Avoid using abrasive materials when cleaning your percolator.

Frequently Asked Questions about Percolator Brewing

Still have questions about using a percolator for making coffee? We answer some of the most pressing concerns here.

01. How Much Coffee is Needed in a Percolator?

This depends on the volume your percolator can hold, as well as the strength of your coffee. On average, you need a tablespoon of coffee for 6 ounces of water. 

For a lighter brew, use just a touch over half a tablespoon for the same volume of water, or use 8 ounces of water. For a stronger brew, use 1.5 tablespoons of coffee.

02. How Long Does It Take to Percolate Coffee?

As a rule of thumb, it generally takes 5-10 minutes for your coffee to be brewed but this may differ in a stovetop percolator based on the heat used.

03. Which Grind Size is Best for a Percolator?

Use a coarse grind when brewing coffee in a percolator, as using a fine grind can make the brew unbearably bitter. Also, always remember to use quality beans that have been freshly ground.

04. Which is Better: A Percolator or an Automatic Drip Coffee Maker?

As with most foods and beverages, this is a matter of personal taste. Drip coffee is much lighter and milder. On the other hand, percolators brew much stronger and more intense coffee. 

However, you like a more rustic and authentic brew with a more caffeinated taste, we suggest giving a percolator a try.

Final Thoughts

No matter how it is brewed, few things bring more joy than a freshly brewed, steaming hot cup of coffee. A percolator is a classic way of brewing coffee and has stuck around because of how convenient and effective it is. 

Knowing how to make coffee in a percolator is great for people who want to make a very strong cup of coffee. For unbeatable flavor, give your old percolator a try. We assure you that you won’t regret it when you take that first flavorful sip!

More Related Articles:

Pin Later

How to Make the Strongest Coffee with a Percolator
How to Make Coffee in a Percolator