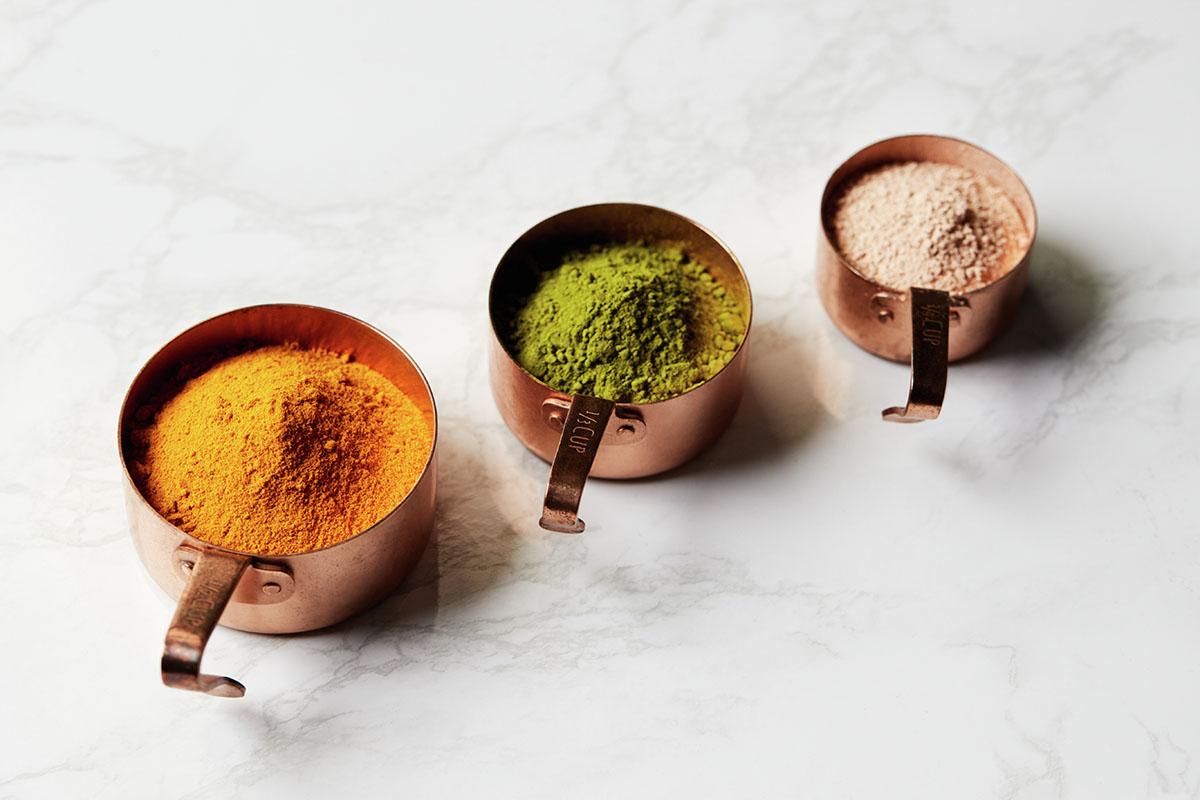
Why did my cookies come out burnt even though I measured the sugar perfectly? Dry measuring mistakes! I was so sure I added the sugar perfectly. But my cookies came out burnt and overcooked.
Later, I realized my packed solid sugar cup had 25% too much sugar. This taught me how critical proper measuring is for great baking.
🍰 How do air pockets and scooping affect dry ingredients?
When filling a dry cup, small air pockets can change the volume. Here is a trick I recommend – gently spoon the powder in, then sweep off anything extra.
I am scooping right from the bag packs, which are usually too tight. For dense powders like flour, don’t tap to settle, either. This makes those sneaky air pockets smaller.
🧁 Moisture Content in “Dry” Ingredients
Even stuff we call dry has a little moisture. Packed brown sugar often has up to 10% moisture. That sticky stuff means you can pack the cup too tight easily.
| Ingredient | Moisture Content (up to) |
|---|---|
| All-purpose flour | 14% |
| Granulated sugar | 0.5% |
| Light brown sugar | 10% |
| Dark brown sugar | 12% |
I flatten brown sugar with a metal knife versus a straight edge to fix this. Adapting to how ingredients act improves accuracy a lot. For moist brown sugar, underfilling just a bit helps, too.
Can you use the same cup for dry and liquid ingredients? The short answer is no, I explain the reasons in this article.
🥄 Beyond Measuring Cups
While handy for baking staples, cups have limitations. Achieving true precision requires alternative tools like measuring spoons. I utilize this diverse approach in my cafe recipes.
Why Measuring Spoons Matter
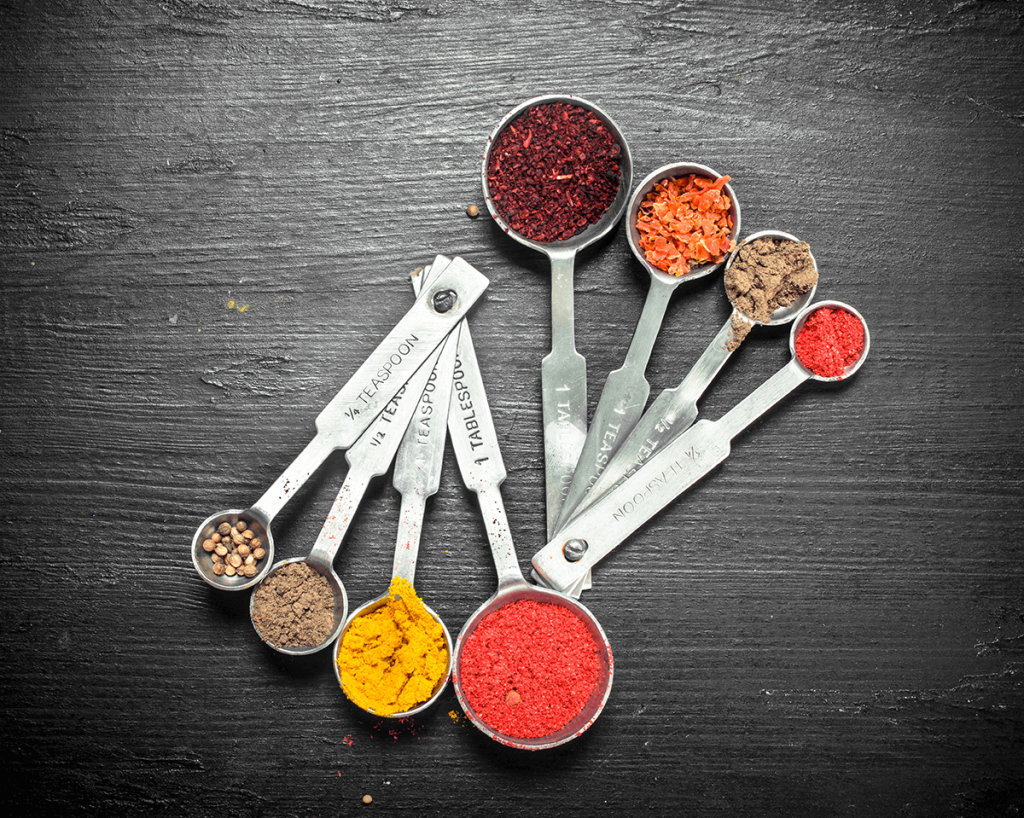
Tiny amounts in baking add up fast. Just 1/8 teaspoon of too much baking soda can ruin the chemistry of your cupcakes. For less than one tablespoon, measuring spoons works best. Their slim design slides right into jars without making a mess.
I keep at least three sizes for pinch/dash amounts. Below 5 grams, spoons can vary in volume a bit. My go-to is that one teaspoon = 5 grams. That lines up better for baking very small portions.
📚 Debunking the Scooping and Leveling Myth
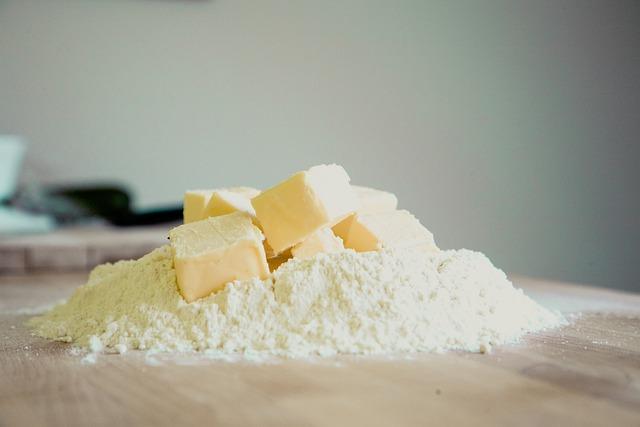
Many bakers think scooping right from the bag and then leveling off makes dry ingredients exact. But that overpacks, as I found in testing! Scooping first adds extra through visual tricks. We naturally heap too much when something looks “too empty.”
I scooped flour five times without adjusting for the excess. The weight went up nearly 20% by the 5th one! Now, I always lightly spoon flour and sugar into empty cups first. Skipping the biased scooping improved my accuracy. It helps me calculate costs and nutrition values correctly, too.
Kitchen Scales: The Ultimate Accuracy Tool
Some recipes use weights instead of volumes, especially when the Cup amounts differ hugely between countries! Grams give a standard baking language – making substitutions easier. Especially when it comes to liquids, cups are a nightmare to use.
Plus, scales make precision easier. Getting tiny weights, exactly 7 grams of yeast, is hard with cups and heaping. For finicky things like macarons, I always grab my scale over cups. It prevents expensive fails when a fraction of an ounce alters outcomes.
The scale I typically recommend is this Etkcity Multifunction electronic scale. Simple to use, accurate enough for cooking, and comes with a battery!
🍪 How to measure brown sugar without packing it too tight
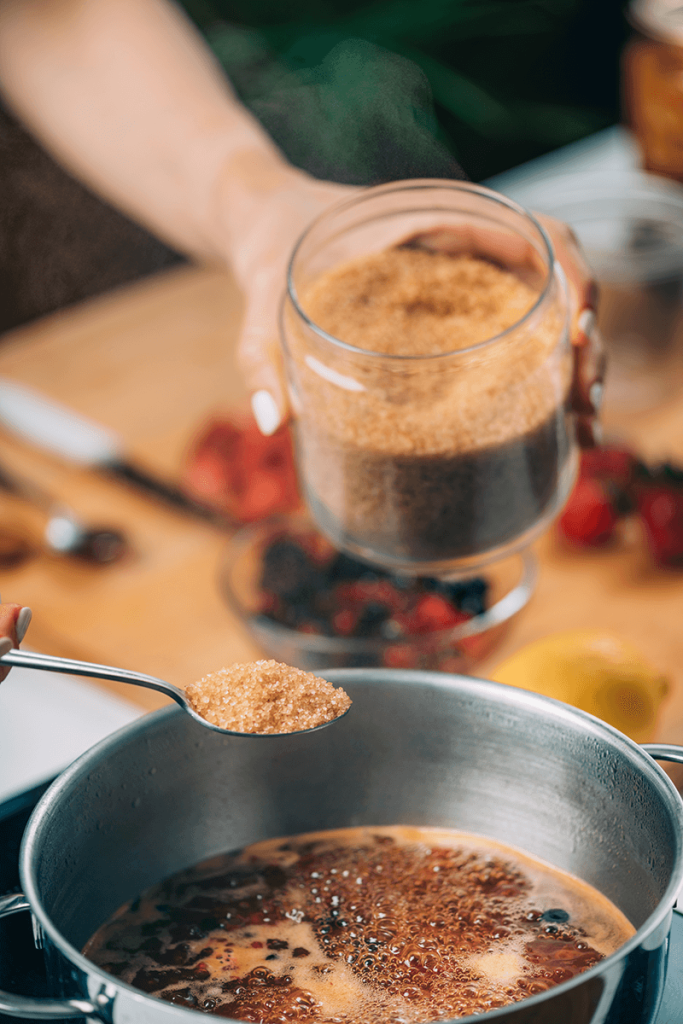
Not all dry goods behave the same. Brown sugar needs perfect leveling across the top. But lighter things like oats often settle lower than the line you want.
For those, I spoon the oats into the cup. It comes out more accurate usually. Learn how each ingredient acts for the best results.
The Rise of Dry Measuring Cups in Home Baking
While standard cups return to their ages, dry measuring cups for the home have emerged more recently. As packaged baking mixes got big in the 1900s, companies like Pillsbury gave out free metal cups to promote their stuff.
But those cups were dented and needed to be fixed. My friend Barb remembers when plastic cups came out in the 1970s. Durable and easy to read, they became a must-have item. She still use the red plastic set Barb to this day! Personally, I prefer the Pyrex 3-piece glass measuring cup set. The glass is much more versatile than plastic and is easier to read.
🥯 Tips for Advanced Bakers
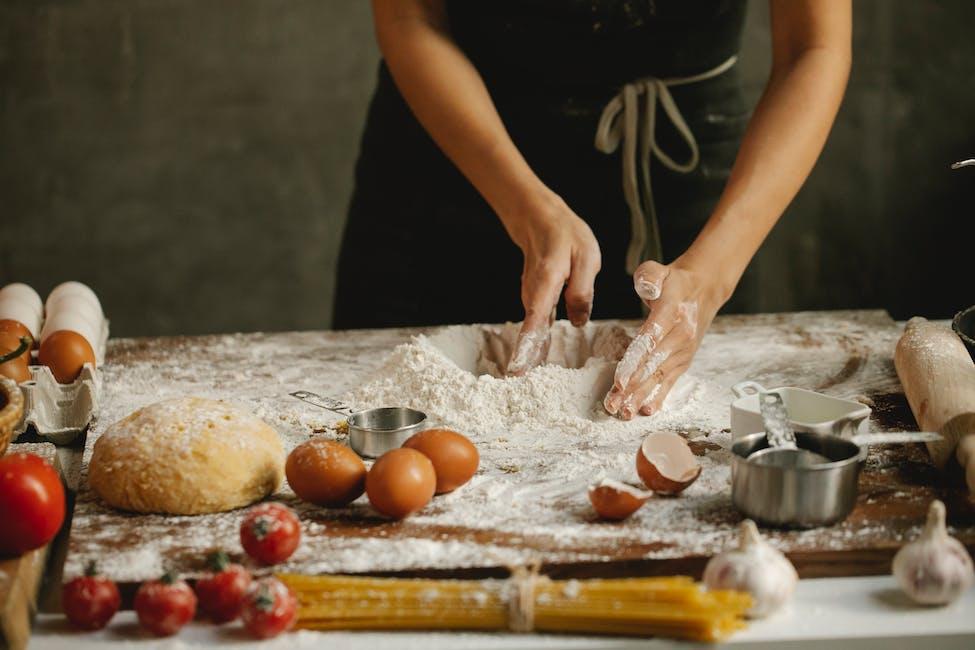
Serious bakers depend on being precise, especially when inventing recipes. But you need more than just measuring ingredients – you must calibrate your tools. This is big with kitchen scales, which can get thrown off over time.
Check your calibration monthly using a small weight. Digital scales often do this automatically, but doing it manually ensures accuracy. Below is how to calibrate different types of scales:
| Scale Function | Calibration Method | Frequency |
|---|---|---|
| Digital Kitchen Scale | Manual, with calibration weight | Monthly |
| Digital Food Scale | Auto-calibration feature | Before each use |
| Analog Food Scale | Set needle to zero point | Before each use |
🔄 Ingredient Substitutions by Weight
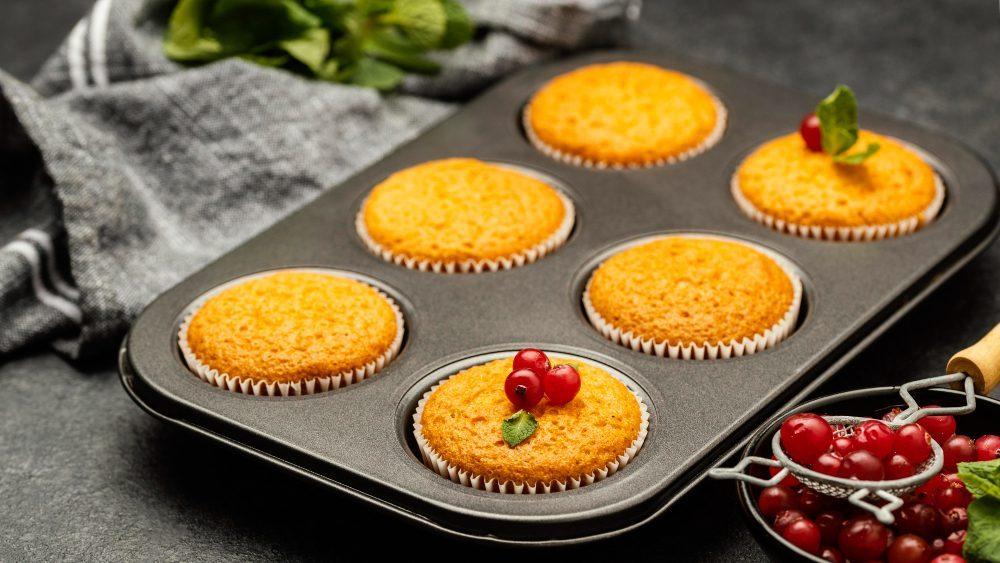
Folks avoiding gluten need precise substitutions since alternative flours act uniquely. Be careful around volume swaps for health needs – densities and moisture contents likely differ.
I substitute a 1:1 ratio by weight for my gluten-free muffins for AP and cassava flours. This keeps the right texture.
| Ingredient | Weight | Volume |
|---|---|---|
| All-purpose flour | 120g | 3.5 cups |
| Almond flour | 120g | 3 cups |
| Oat flour | 120g | 4 cups |
🧾 Hidden History: Origins of the Standard Cup Measurement
The use of “cups” as a measurement in recipes stretches back centuries, with early American cookbooks referencing whatever cup happened to be nearby – often teacups. With great variability in teacup sizes between households, this yielded unreliable and inconsistent baking results.
In the late 19th century, advocates like Fannie Farmer of the Fleishmann’s brand began pushing for cup standardization, providing mini measuring cups in attempts to promote a reliable standard. While the precise timeline and success of Fleishmann’s efforts are unclear, they undoubtedly contributed to a broader trend towards measurement uniformity.
Over decades of gradual adoption, through both government standardization efforts and industry collaboration, the 8-fluid-ounce (240 ml) cup size we use today was popularized and formalized. However, the metric 250 ml cup remains in parallel use across many countries. And while we may now take consistent cup measurements for granted, it was a long road to get there.
So next time you precisely level off a cup of flour, you can ponder the hidden history behind one of cooking’s most ubiquitous standards.
Wrapping Up: Achieving Precision in Your Baking Journey
Whether you struggle with measurements or want to step up advanced recipes, grasp these dry measuring tips for success. Follow density filling rules, use kitchen scales, and debunk biases for serious accuracy upgrades.
I hope peeking behind the scenes at my years baking at Boat Basin Cafe helps unlock the science and joy of precision for your baking. Share your baking hacks and dry measuring tips in the comments! Let’s learn from each other!
FAQs
Do you need to level dry measuring cups?
Yes, it’s crucial to level dry ingredients for accuracy. Simply scooping often packs in extra volume through air pockets and visual biases. Leveling creates a precise, standard fill line.
Why level dry measuring cups?
Leveling eliminates excess air pockets and overflowing heaps for reliable measurements every time. It prevents the natural human tendency to visually overfill cups that seem “too empty” after scooping.
What happens if you don’t level dry measuring cups?
No leveling can yield extra-dense baked goods, poor texture, misshapen tops, and other failures. It also causes inaccurate nutrition data. Adding even 25% too much sugar severely alters recipes!
What is the best way to fill dry measuring cups?
The best method is spooning powder gently into an empty cup, then sweeping off any excess heap with a straight edge. Avoid packing tightly with direct scoops from ingredient bags. Follow density-specific filling tips.
Can I use a kitchen scale instead of dry measuring cups?
For ultimate precision, a kitchen scale provides superior accuracy over cups, especially for small quantities. Scales facilitate weight-based substitutions for gluten-free and international recipes too. Just be sure to calibrate monthly.
What’s the difference between dry and liquid measuring cups?
Dry cups are for powdery ingredients like flour and sugar. Liquid cups have extra space at the top and are intended for wet ingredients like milk or oil. Using the right cup improves accuracy.
Why do some recipes say “scoop and level” vs “dip and sweep”?
“Scoop and level” works better for dense items like brown sugar. “Dip and sweep” is best for lighter flours to avoid too much settling. Technique depends on the density of each ingredient.
My cake didn’t rise – did I measure flour wrong?
It’s possible. Too much flour can result in dense cakes that don’t rise properly. Make sure to lightly spoon flour into cups without packing it down before leveling for the most accurate, fluffy measurement.
I don’t have measuring cups – can I use spoons?
Yes, you can substitute based on the conversions: 1 tablespoon = 3 teaspoons, 1/4 cup = 4 tablespoons, 1/3 cup = 5 tablespoons + 1 teaspoon, 1/2 cup = 8 tablespoons. Or look up your ingredient’s weight online to divide up the quantity.
How do I measure gluten-free flour differently?
Gluten-free flours tend to be lighter and absorb more liquid. Start with about 10-20% less gluten-free flour than the recipe states, then increase if the batter seems too thin. This prevents dense results.
