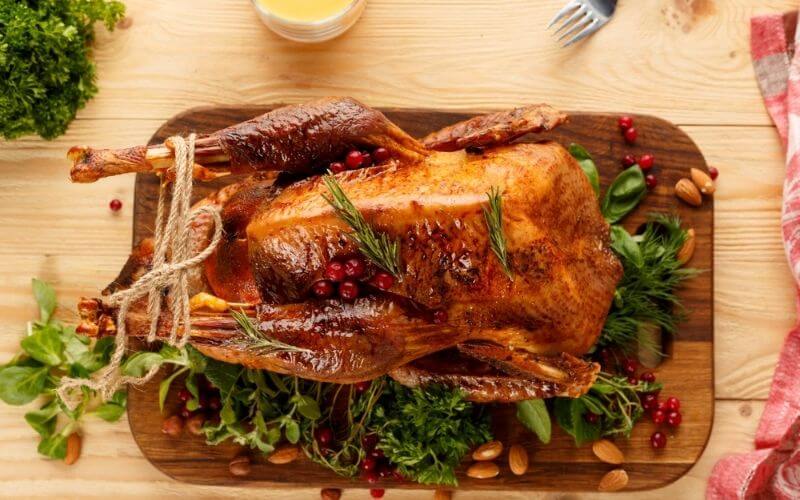
How to Reheat Smoked Turkey: Unlock Maximum Flavor & Avoid Dryness

Tired of dry, leftover turkey? Reheat smartly to unlock its juicy, flavorful potential and turn your leftovers into meals you’ll crave.

[su_quote cite=”Sarah Jones, Home Chef & Leftover Enthusiast
” ]Smoked turkey isn’t just for holidays! With simple reheating tricks and creative recipes, turn those leftovers into mouthwatering meals all week long.​[/su_quote]

How to Reheat a Smoked Turkey

If you just want to know how long to reheat a smoked turkey, click here.

🔑 Key Things to Know

Smoked turkey offers convenience but requires safe handling. Before cooking up this tasty bird, keep these key guidelines in mind:

  • Store in the fridge for up to 4 days or freeze for 4 months.
  • Reheat to 165°F to ensure safety.
  • For gentle reheating, use oven at 225°F, grill on low, or sous vide at 150°F.
  • Wrap tightly and store in the coldest part of the fridge, away from the door.
  • Use older leftovers first for freshness.
  • Before reheating, brine turkey slices and use broths, foils, or water pans to prevent dryness.

🍗 Why Smoked Turkeys?

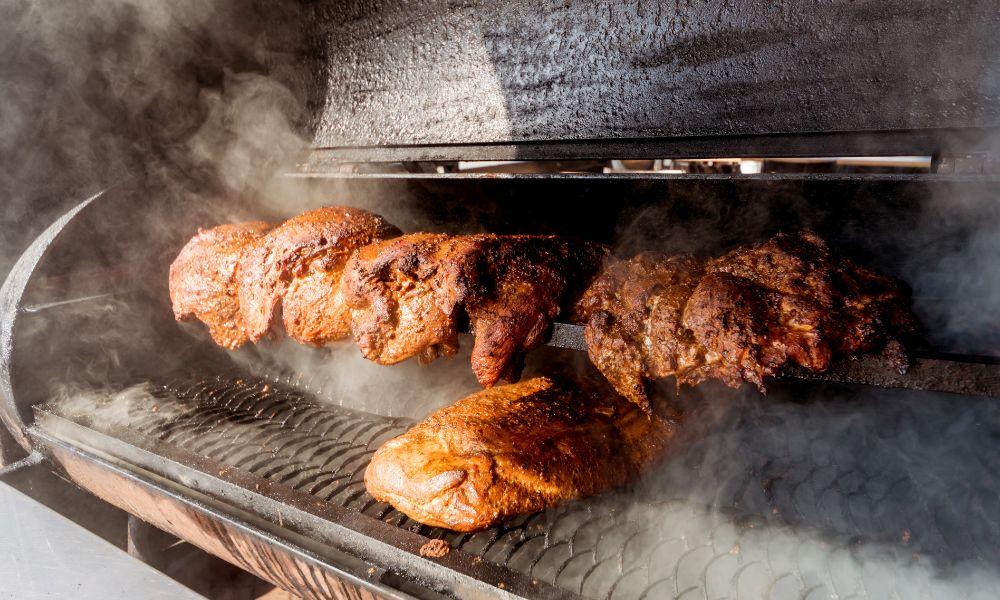
Smoked turkey has a uniquely sweet, woody flavor that sets it apart from oven-roasted turkey. We often eat turkey only as Thanksgiving leftovers, but smoked turkey is versatile and can be enjoyed all year.

The delicate smoky aroma and tender meat make smoked turkey an exceptional filling for sandwiches, wraps, salads, and more.

Add shredded smoked turkey to egg scrambles for a perfect breakfast on lazy weekends. Diced smoked turkey breast transforms leafy salads from mundane to crave-worthy.

Beyond its versatility, smoked turkey keeps beautifully as leftovers. Sliced smoked turkey stays fresh in the refrigerator for up to four days.

This simplicity helps in quickly preparing weekday lunches like pitas, subs, or Caesar salad wraps. With just a little creativity, smoked turkey can be so much more than an annual holiday tradition.

Benefits of Reheating Smoked Turkey 

  • Saves Money
  • Shredded turkey works in many easy, tasty meals like omelets, lettuce roll-ups, hot dishes, and soups.
  • Getting creative with leftovers saves cash instead of making boring turkey sandwiches again.
  • Reduces Waste to Help Environment
  • Reusing turkey cuts down on food sent to landfills, with over 20% of all trash being wasted food.
  • Also saves resources used in turkey transportation and production.
  • Makes Weeknight Meals Easier
  • Shredded leftovers can quickly assemble into quesadillas, flatbreads, grain bowls, and more.
  • Preparing some ingredients ahead of time makes fast, healthy dinners easy on busy nights.

Reheating smoked turkey means:

✅ Save money

✅ Help the planet

✅ Less stressful weeknights

It’s a triple win!💪

🥗 The Nutritional Benefits of Smoked Turkey

Smoked turkey packs an impressive nutritional profile. With just 3 ounces (85 grams) providing 24.9 grams of satiating protein, smoked turkey serves as a nutritious and versatile ingredient.

NutrientAmount Per 3 oz (85g) ServingBenefits
Protein24.9gMuscle building and repair; keeps you feeling full
Vitamin B618% Daily ValueSupports brain function, immunity, red blood cell production
Niacin24% Daily ValuePromotes healthy skin, digestion, nervous system function
Selenium25% Daily ValueBoosts immune system, thyroid health, antioxidant protection
Sodium19% Daily ValueImportant for fluid balance, muscle contraction, nerve signaling
Iron6% Daily ValueFacilitates red blood cell formation and energy metabolism
Zinc15% Daily ValueAllows nutrient conversion to energy; enables bodily processes
Vitamin B127% Daily ValueEssential for red blood cell formation and energy metabolism

Protein and Muscle Health

The high protein content promotes muscle growth and repair while keeping you feeling fuller longer. This makes smoked turkey an excellent addition to meals when trying to lose or maintain weight.

Immunity and Antioxidant Defense

Smoked turkey contains selenium and vitamin B6, which strengthen the immune system and thyroid function. It also provides niacin to support healthy digestion.

Energy Production

As a good source of iron and vitamin B12, smoked turkey aids red blood cell formation and energy metabolism. The zinc it supplies further facilitates bodily processes that convert nutrients to fuel.

🔥🍖 How Reheating Impacts Nutrients


Reheating smoked turkey has some surprising benefits
beyond just convenient leftovers. When you reheat smoked turkey, its collagen breaks down into gelatin. This released gelatin provides essential amino acids that support joint health.

Annually, the US alone wastes over 4 billion pounds of turkey meat. This waste burdens landfills and squanders resources used in raising turkeys.

By reheating your leftovers instead of tossing them out, you can directly reduce your environmental impact.

The EPA estimates a family of 4 wasting just half the average amount of turkey still conserves over 7 lbs of CO2 equivalent greenhouse gases.

Reheating also unlocks new nutritional value via a fascinating chemical process. Heating turkey breaks its collagen into gelatin.

This gelatin is rich in amino acids like glycine and proline that protect joints. For those facing inflammatory conditions or joint injuries, consuming reheated turkey in casseroles and broth-based dishes provides targeted nutritional support.

The University of San Francisco reported a 30% increase in joint-building proteins after collagen in turkey turns into gelatin upon reheating.

Mastering Smoked Turkey Reheating Methods
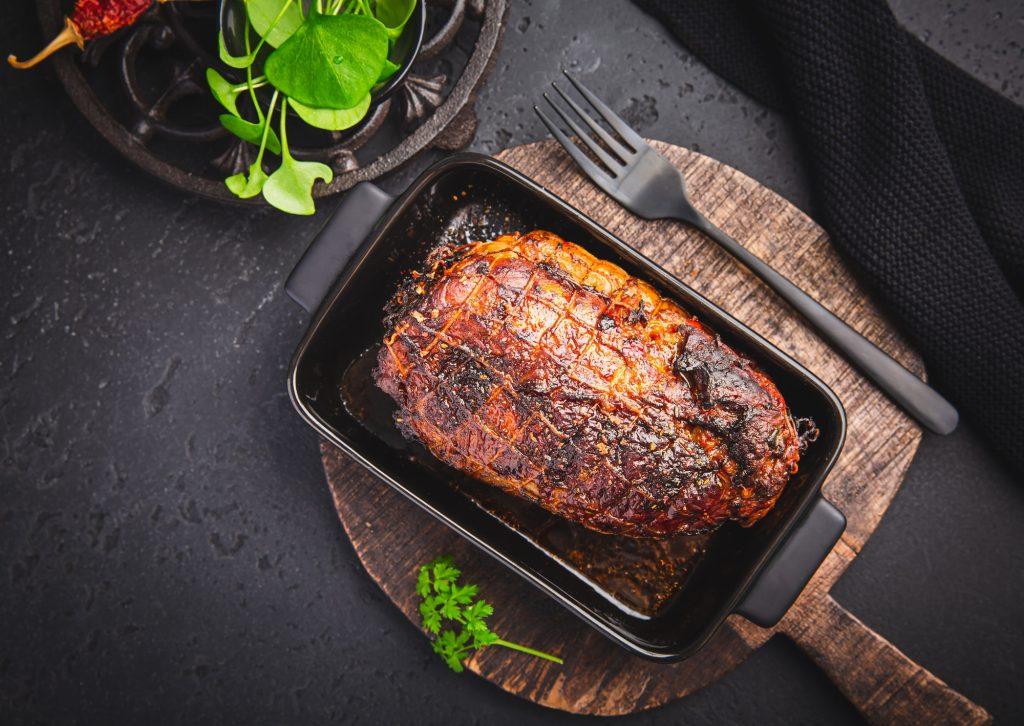
Roasted turkey breast in casserole on black background
roasted turkey breast in casserole on black background

Harnessing Science for Optimal Smoked Turkey Reheating

Understanding the scientific processes behind reheating unlocks better moisture, texture, and even flavor compared to casual leftovers.

Navigating the Moisture Loss Tightrope

Reheating temperatures must balance perfectly between drying out turkey and safely eliminating bacteria. At too low of heat, microbes can multiply and proteins stiffen.

Too hot, and cellular water rapidly evaporates. The 130-150°F “goldilocks” zone gently rewarms turkey without squeezing out precious moisture through protein shrinkage and tightening.

Reviving Dried Meat with Brine Power

Osmosis and diffusion science resuscitates even badly dried smoked turkey. Soaking in a broth brine before reheating allows water migration into turkey cells, restoring much needed hydration.

Seasonings simultaneously infuse, amplifying flavor. Through this controlled rehydration, brining helps prevent desiccation during the reheating process itself.

Blending Tradition with Technology

While ovens suffice for basic leftovers, modern tech like sous vide provides unmatched moisture control and tenderness by gently cooking vacuum-sealed turkey in a precise temperature water bath.

Likewise, grills can quickly imbue bonus smoky notes through vaporized drippings. Creatively blending these advanced methods with traditional oven approaches unlocks superior reheated turkey.

By understanding the science from a molecular level up, we can truly reinvent leftovers instead of just preserving them. Turkey reheated with care emerges revitalized, juicy and full of flavor possibility.

MethodBest ForTemperatureTimeTips
OvenWhole turkey225°F10-15 min per lb– Cover in foil
– Add shallow pan of water
– Use meat thermometer (140-165°F)
StovetopSliced turkeyMedium-low heat2-3 min per side– Slice into 1/4″ pieces first
– Use oil & herbs for flavor
– Add broth to prevent drying
Sous VideTurkey slices or shreds150°F1-2 hours– Creates incredibly moist, tender texture
GrillTurkey slicesLow heat5-10 minutes– Add wood chips for smoke flavor
– Char edges slightly

🦃🔥Oven Method: Ideal for Whole Smoked Turkeys

The oven allows you to gently reheat a whole smoked turkey leg, drumsticks, or breast to retain moisture and texture.

  • Pre-heat the oven to 225°F and place the fully cooked smoked turkey meat in a roasting pan. Cover with foil to prevent overcooking.
  • Use a meat thermometer inserted into the thickest part of the turkey breast. Heat until it reads 140-165 degrees for food safety.
  • Placing a shallow pan filled with water on the oven bottom adds moisture to keep the reheating turkey legs and meat from drying out.

🍳🍗Stovetop: Quick Reheating for Sliced Smoked Turkey

You can quickly reheat sliced smoked turkey cut from the breast, legs or wings in a skillet on the stovetop.

  • Prepare the smoked turkey for reheating by cutting it into 1/4 inch slices first.
  • In a pan over medium-low heat, add olive oil and herbs like rosemary or thyme for added aroma and flavor.
  • Cook the turkey slices for 2-3 minutes per side just until heated through, flipping halfway. Add broth to prevent drying.

🌡️🔥Unexpected Methods: Sous Vide and Grilling

Go beyond traditional reheating by experimenting with sous vide cooking or firing up the grill:

  • Sous vide smoked turkey in a water bath at 150°F for 1-2 hours to achieve incredibly moist, fork-tender reheated meat.
  • Infuse grilled flavor by reheating smoked turkey slices directly on a hot grill over low heat with aromatic wood chips. Char the edges slightly before serving.

📝Pro Smoked Turkey Storage Tips
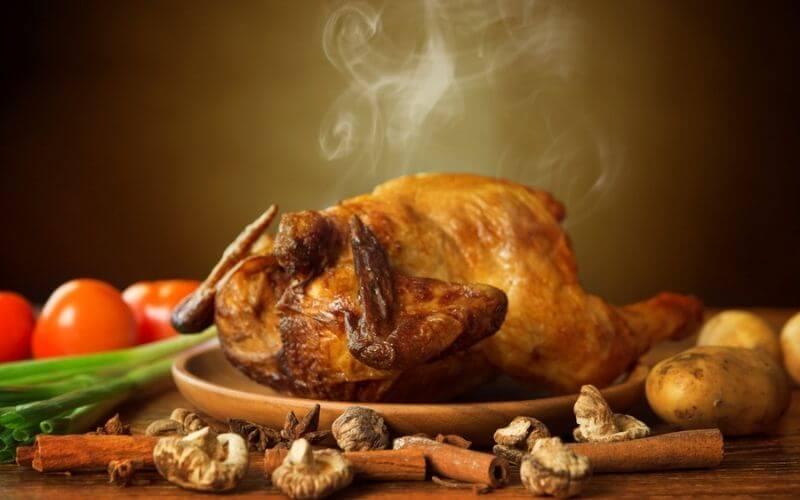
reheat turkey
reheat turkey

Correctly storing your smoked turkey legs, breast or whole bird preserves safety, freshness and moisture. Learn more about the shelf life of turkey in the fridge in our detailed guide.

  • Store smoked turkey tightly wrapped in the coldest section of the refrigerator (below 40°F) to inhibit bacteria growth.
  • Frozen smoked turkey breast or leftovers keep for 2-4 months when sealed airtight in freezer bags or containers to prevent freezer burn or ice crystals.
  • Clearly label packages with the date and contents for easy identification. Tracking freshness ensures you use the smoked turkey within recommended 3-4 day refrigeration or 2-4 month frozen time period.
  • Avoid areas like the refrigerator door that fluctuate in temperature during daily open/close cycles. These temperature swings degrade smoked turkey quality quicker through moisture loss.

Reheating & Storing Leftovers

  • Reheat smoked turkey no more than once. Multiple reheats increase risk of dangerous bacterial growth.
  • After carving roasted smoked turkey from the bone, store slices and shredded meat tightly sealed in bags/containers in the coldest refrigerator spots for 3-4 days maximum.

For guidelines on storing raw turkey, see our detailed article on safe fridge storage practices.

🌿Beyond Reheating: Creative Leftover Transformations

As a longtime chef constantly seeking global inspiration, I’m always amazed by smoked turkey’s versatility for fusion flavor.

My New York cafe guests often didn’t realize how effortlessly turkey transforms into internationally-inspired small plates perfect for happy hour pairings. Let me share some of my cherished creations.

Smoked Turkey Bibimbap
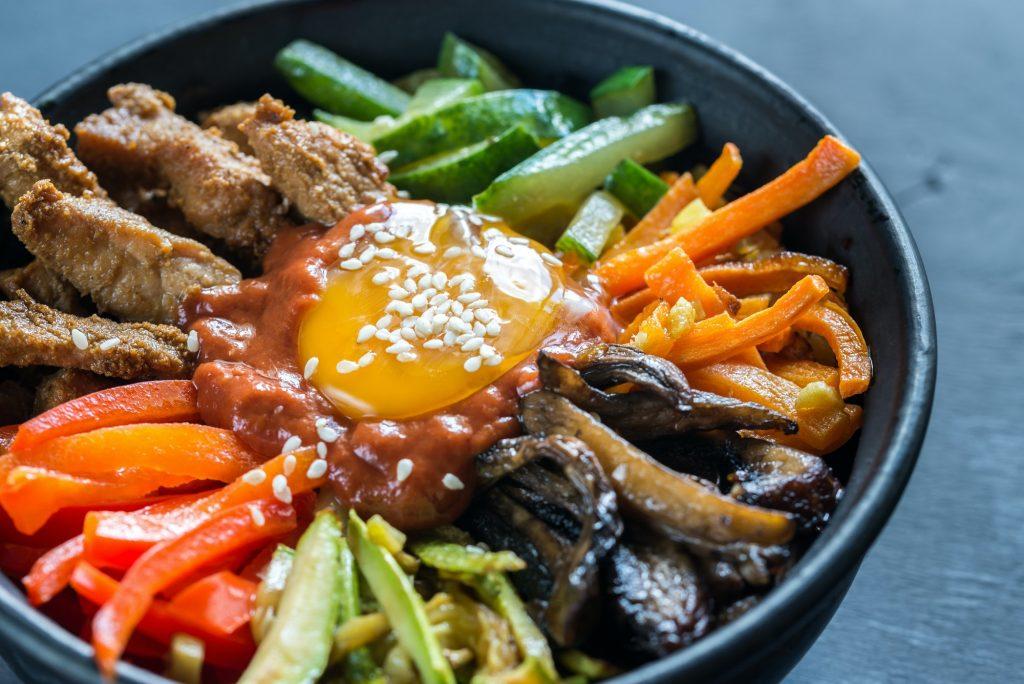
Bowl of bibimbap
bowl of bibimbap

Korean flavors work deliciously with smoked turkey’s sweetness. Sliced turkey breast slices tangles with mushrooms, shredded carrots, sprouts and spinach over sesame ginger rice. The runny fried egg and gochujang sauce complete the flavor profile.

Jerk Spiced Smoked Turkey Wraps
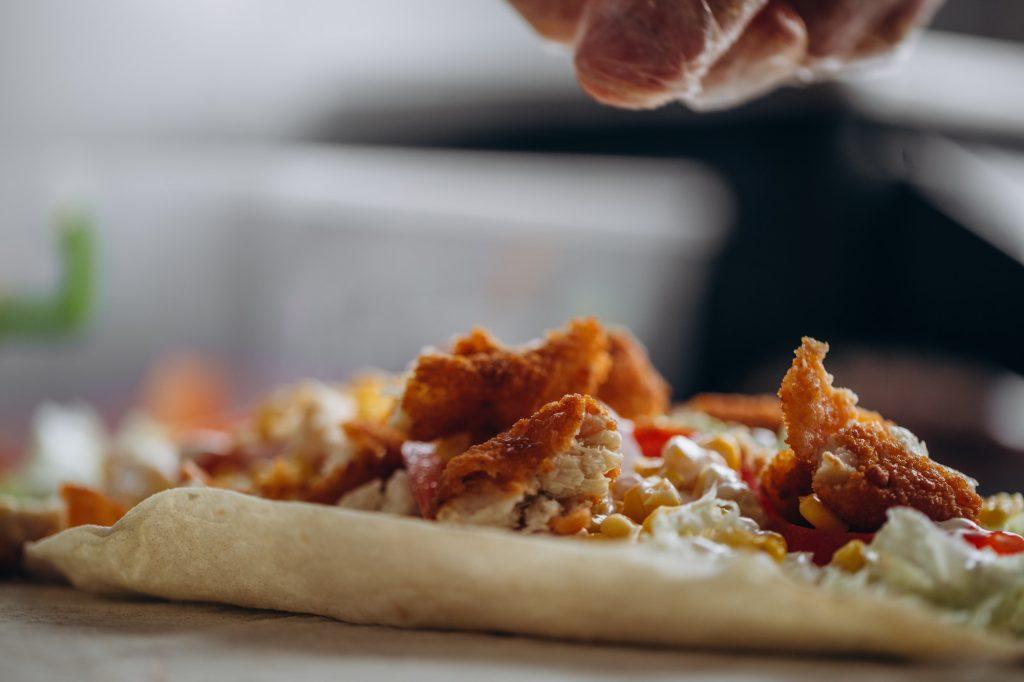
Men's hands wrapping traditional shawarma wrap with chicken and vegetables
men s hands wrapping traditional shawarma wrap with chicken and vegetables

Seeking an lighter option, I combined shredded smoked turkey breast with sautéed bell peppers, sweet plantains and beans de lima beans punched up with my homemade jerk dry rub.

Spooned into crisp bibb lettuce leaves, every crunchy, lightly spicy bite transports you to the Jamaican coastline. Adding some mango salsa ties it all together.

Smoked Turkey Cranberry Empanadas
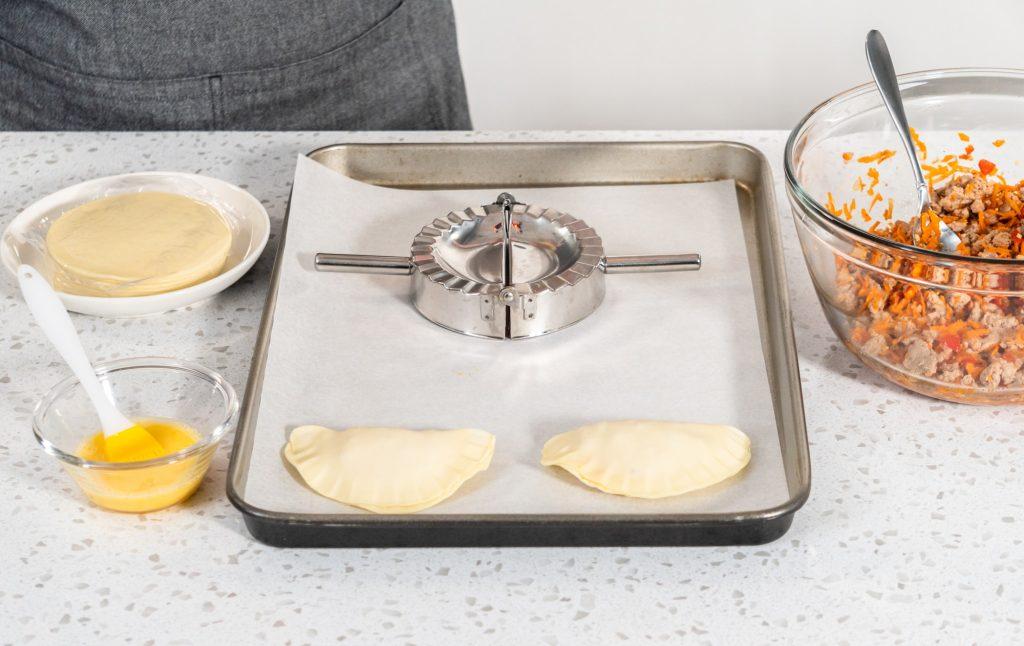
Turkey empanadas
turkey empanadas

These handheld baked pastries were a guest favorite at my café. Flaky dough cradles a savory smoked turkey filling amplified by tart dried cranberries, oozy Italian fontina and caramelized onions.

Adding a touch of nutmeg, cinnamon and allspice gives these turkey empanadas a warmth that leaves you craving more than one. I love serving them with a kicked-up avocado salsa verde.

I hope my global leftover turkey creations inspire you to think beyond the usual boring sandwiches.

With some imagination and willingness to fuse flavors from around the world, smoked turkey transforms into an anytime meal full of flavor and flare your guests will adore.

FAQs

How do you reheat a smoked turkey without drying it out?

Use gentle heat like an oven or microwave, take it slow, and add moisture. Cover the turkey in broth, foil, or an oven bag before reheating it slowly to an internal temp of 165°F. Adding a water pan to the oven provides humidity. Resting it afterwards locks in juices.

Is smoked turkey good reheated?

Yes, smoked turkey retains its flavorful smoky taste and tender texture after being properly reheated. Use lower oven temps or quick stove top methods. Check internal temp with a meat thermometer to prevent overdrying.

How do you reheat smoked meat without drying it out?

With all smoked meats, gentle reheating is key. Opt for slower oven, crockpot, or sous vide methods. Slice meats thinner before reheating. Cover or wrap to seal in moisture. Spritz with broth and rest meat after reheating to absorb juices.

How do you reheat a smoked turkey bag?

Preheat your oven to 300°F and place the sealed smoked turkey bag directly on a baking sheet. Heat turkey for 10-15 minutes per pound, checking internal temp with a meat thermometer inserted through the bag. Rest turkey for 15 mins before carefully removing from hot bag.

How do you reheat a smoked turkey and keep it moist?

Use foil or an oven roasting bag to cover and seal in moisture. Baste frequently with turkey broth or pan juices. Allow the turkey to rest tented in foil after reheating so steam can gently finish cooking and moisten the meat.

How do you reheat turkey so it’s moist?

Slice turkey thinner before gentle reheating methods like baking at 275°F or microwaving with broth. Keep leftovers sealed and buried in their juices. Quick stove top sautéing in butter prevents drying. Brining resuscitates dried out portions before reheating. Let sit after heating.

Take Your Smoked Turkey Leftovers to New Heights

Hopefully this guide has empowered you to go beyond basic turkey sandwich leftovers. With the reheating tips and creative food transformation ideas, you can rediscover the possibilities of your leftover smoked turkey.

Now it’s your turn to experiment with these techniques and invent your own twists. Does sous vide turkey come out juicy or dry? What unique spice rub pairing can liven up grill reheated slices? Which salad combo is your new signature turkey leftover go-to?

Share your smoked turkey victories and lessons learned by engaging with your fellow readers. Trade storage observations, safety best practices and even radically inventive leftover recipes in the comments below.
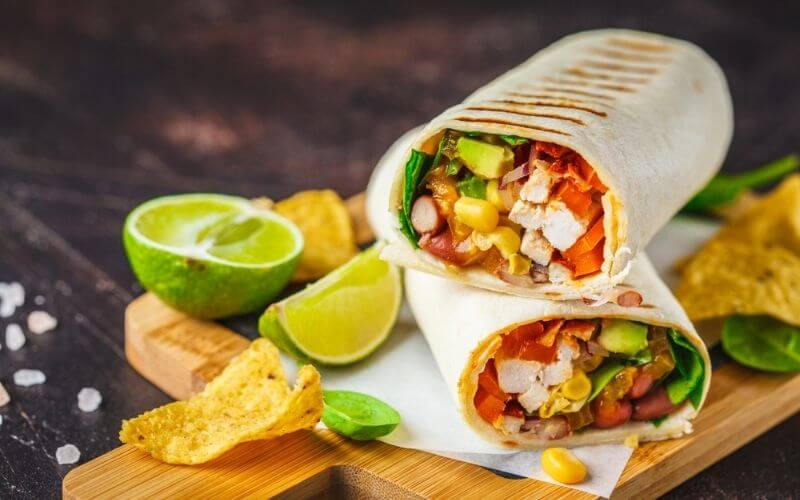
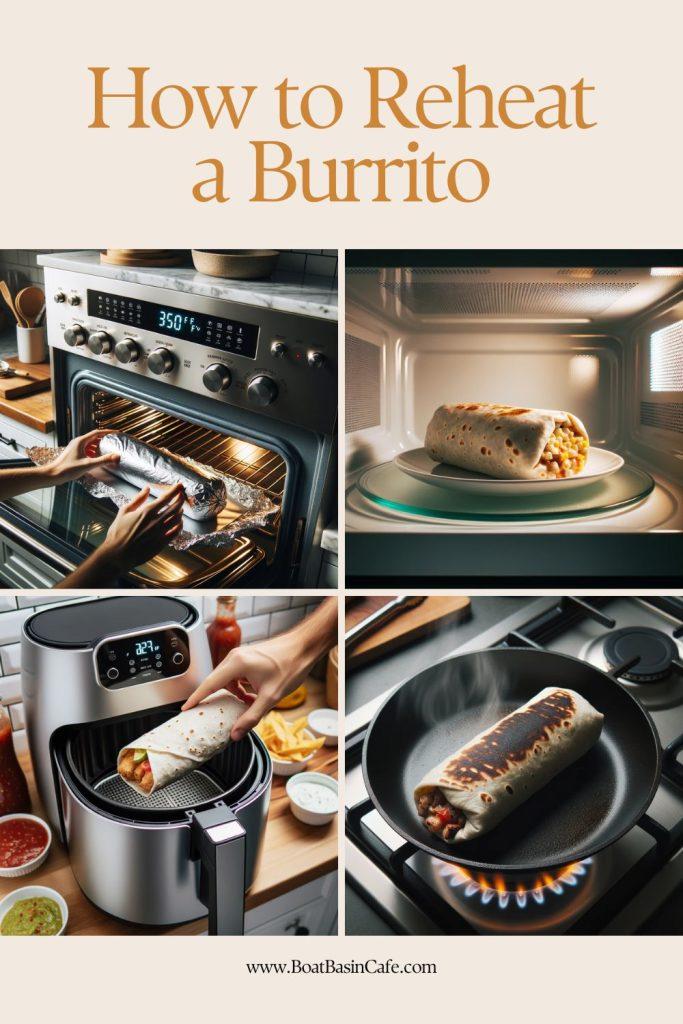
How to Reheat a Burrito: Say Goodbye to Sad, Soggy Leftovers!

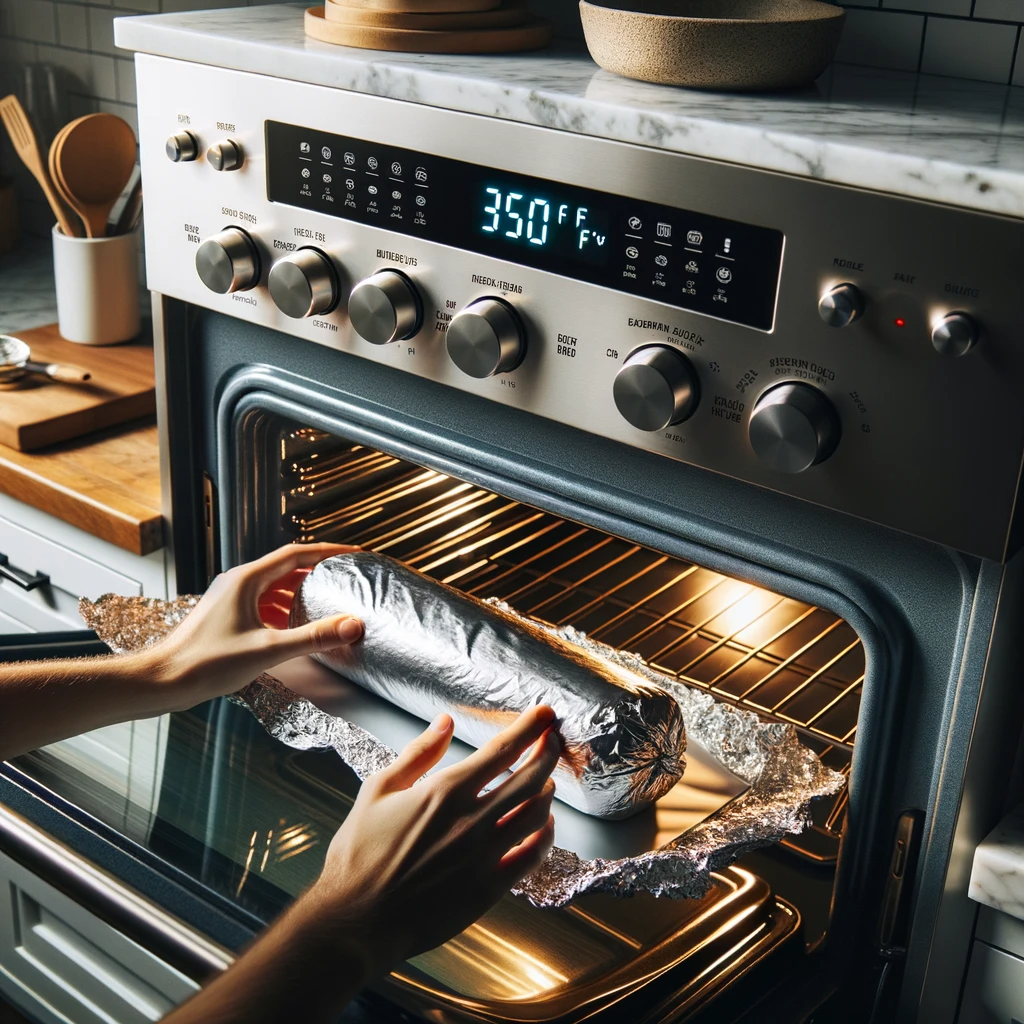
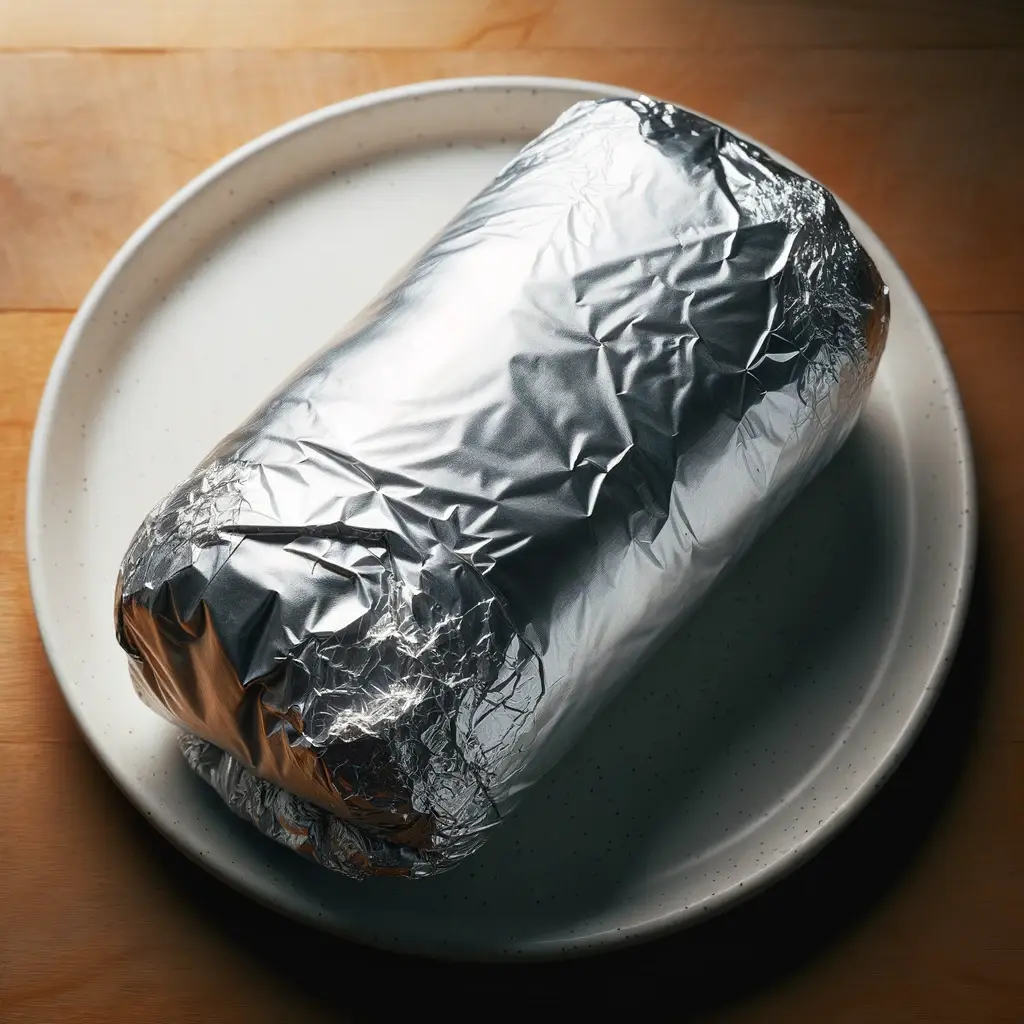
Heat your oven to 350 degrees Fahrenheit. Remove the wrappers from the burrito and wrap it in foil. 🌯 Bake for 15 minutes.

⏲️ A 2018 study found that using foil keeps your burrito moist and rich in nutrients.

How to Reheat a Burrito: Say Goodbye to Sad, Soggy Leftovers! 1
reheat burrito pin

Introduction

🌯 Do you ever look at a leftover burrito and wonder how to make it tasty again? Reheating a burrito does more than warm it up. It can also make it taste great.

Heating a burrito incorrectly can turn a tasty treat into a soggy, unhealthy mess.

❓ You might wonder what makes me an expert on reheating burritos.

🍴 I am John Bird. Before it closed, I was a chef and barista at the Boat Basin Cafe in New York. I learned many useful tips over the years and want to share them with you.

✅ So, let’s learn how to reheat burritos the right way.

Why is Reheating Important?

Definition of Reheating

First, let’s talk about what reheating means. Reheating means warming up cooked food. This food is usually stored in a fridge or freezer.

It’s not just about making your meal hot again; it’s about texture, flavor, and, most importantly, safety. Proper reheating warms your meal and maintains its flavor and safety.

Food Safety Concerns

When you reheat food, safety is key. The USDA sets clear rules for this. You need to heat cooked food to at least 165°F. Achieving a temperature of 165°F ensures the elimination of harmful bacteria in your meal. This makes the food safe to eat.

So, the next time you want to heat a burrito in the microwave, remember this. It’s not just about making it hot. It’s about heating it the right way.

Reach that 165°F mark, and you will have a warm and tasty burrito and peace of mind that it’s safe to eat.

Types of Burritos and Their Reheating Requirements

how to reheat a burrito
wrapped burrito

Different Types of Burritos

Let’s talk burritos! These tasty wraps come in various types with different ingredients and flavors. You’ve got classic meat-filled burritos packed with choices like chicken, beef, or pork. Vegan burritos skip animal products in favor of plant-based foods.

Vegetarian burritos are similar but may include cheese or sour cream. Don’t forget gluten-free burritos. These burritos are made with corn tortillas or other wraps free from gluten.

Reheating Varies by Type

Good point on why the type of burrito matters when reheating! Each burrito type has unique fillings and ingredients, affecting moisture and texture. These traits affect how you should reheat the burrito.

For instance, meat-filled burritos often contain more fats and can handle higher reheating temperatures without getting dry.

However, vegan and vegetarian burritos often contain plant-based ingredients. Gentler reheating may be needed to avoid these becoming mushy.

Gluten-free burritos can be tricky too. Corn tortillas, common in gluten-free options, can crack or dry out if not reheated well. Consider adding a damp paper towel during the reheating process to keep things moist.

Type of BurritoKey IngredientsReheating Tips
Meat-filledChicken, beef, or porkCan handle higher temperatures without drying out
VeganPlant-based foodsGentler reheating to avoid mushiness
VegetarianPlant-based, cheese, sour creamGentler reheating to avoid mushiness
Gluten-FreeCorn tortillasUse a damp paper towel to avoid drying out

Methods of Reheating a Burrito

Oven Method 🍽️

How to Reheat a Burrito: Say Goodbye to Sad, Soggy Leftovers! 2
reheat a burrito 1

Read on if you want an excellent reheating method for both time and quality. Consider the oven method. The oven method is not the fastest. But it is excellent for keeping your burrito’s texture and flavors.

In 15 to 20 minutes, your burrito will be warm inside and the outside a bit crispy. 🌯 Use the oven method if you have time and want your leftover burrito to taste fresh. 

Step-by-Step Oven Instructions:

  • Preheat oven to 350°F.
  • Wrap the burrito in foil.
  • Place on an oven-safe dish.
  • Bake for 15-20 minutes.
  • Check the internal temperature for 165°F.

Pros and Cons

ProsCons
Even heating throughoutTakes longer than other methods
Retains moistureUses more energy

Microwave Method 🍽️

How to Reheat a Burrito: Say Goodbye to Sad, Soggy Leftovers! 3
Microwave Method

Are you looking to reheat your burrito quickly? Turn to the microwave method. This method is the fastest way to bring your leftover burrito back to life. 🌯

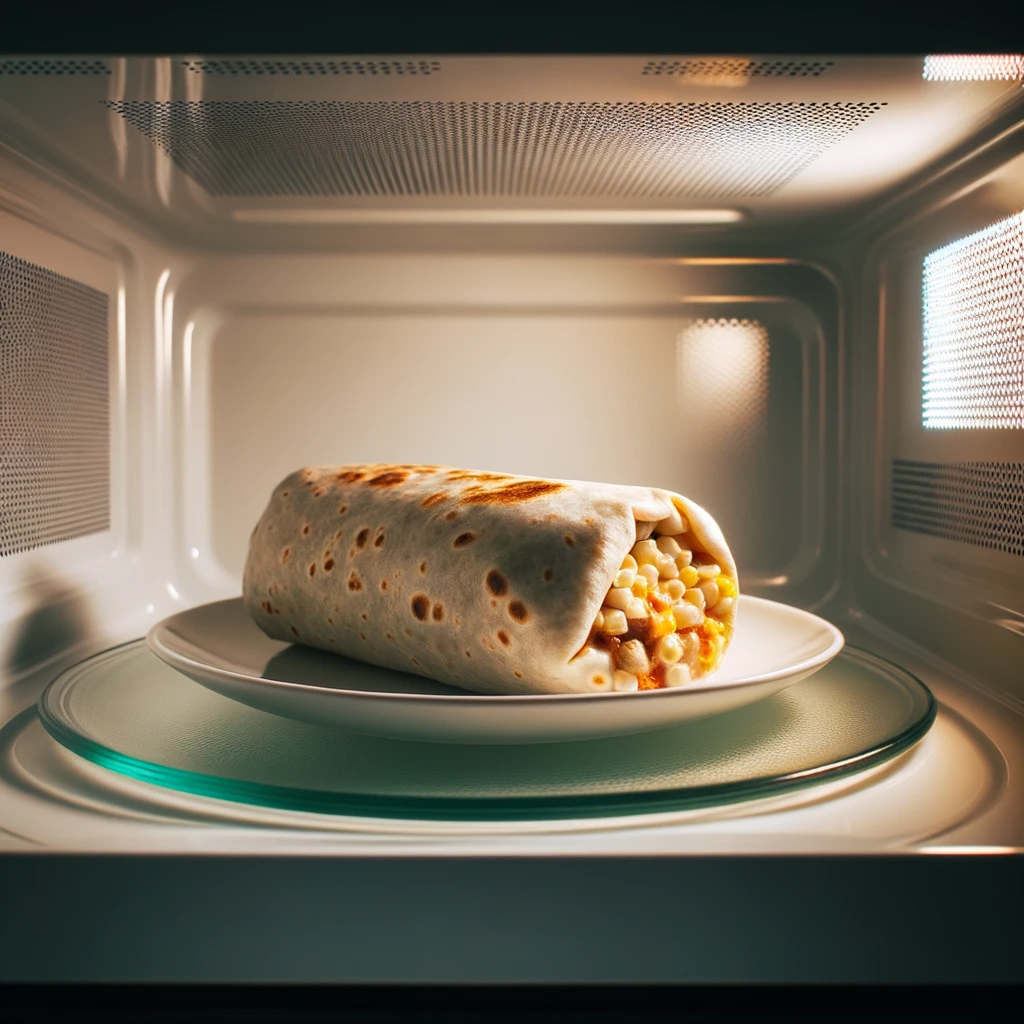
Heat the burrito on a microwave-safe plate for one minute. Check and add more time if needed. The microwave heats your burrito fast, but it may make the tortilla a bit soggy.

Use the microwave method when you’re in a hurry and want a warm burrito fast. 

Step-by-Step Microwave Instructions:

  • Place the burrito on a microwave-safe plate and heat on high for 1 minute.
  • Flip the burrito.
  • Heat for another minute.
  • Check the internal temperature for 165°F.

Pros and Cons

ProsCons
Quick and convenientRisk of uneven heating
Energy-efficientCan make the tortilla soggy

Air Fryer Method 🍽️

How to Reheat a Burrito: Say Goodbye to Sad, Soggy Leftovers! 4
Air Fryer Method 🍽️

Are you craving that crispy tortilla texture for your leftover burrito? The Air Fryer Method is your best bet.

In just 10 minutes, you’ll have a reheated burrito with a crispy exterior and a warm, juicy interior. This method works well for burritos with more solid fillings, like meat and beans.

Use the Air Fryer Method when you desire a crispy outcome without sacrificing the internal warmth and flavors. 

Step-by-Step Air Fryer Instructions:

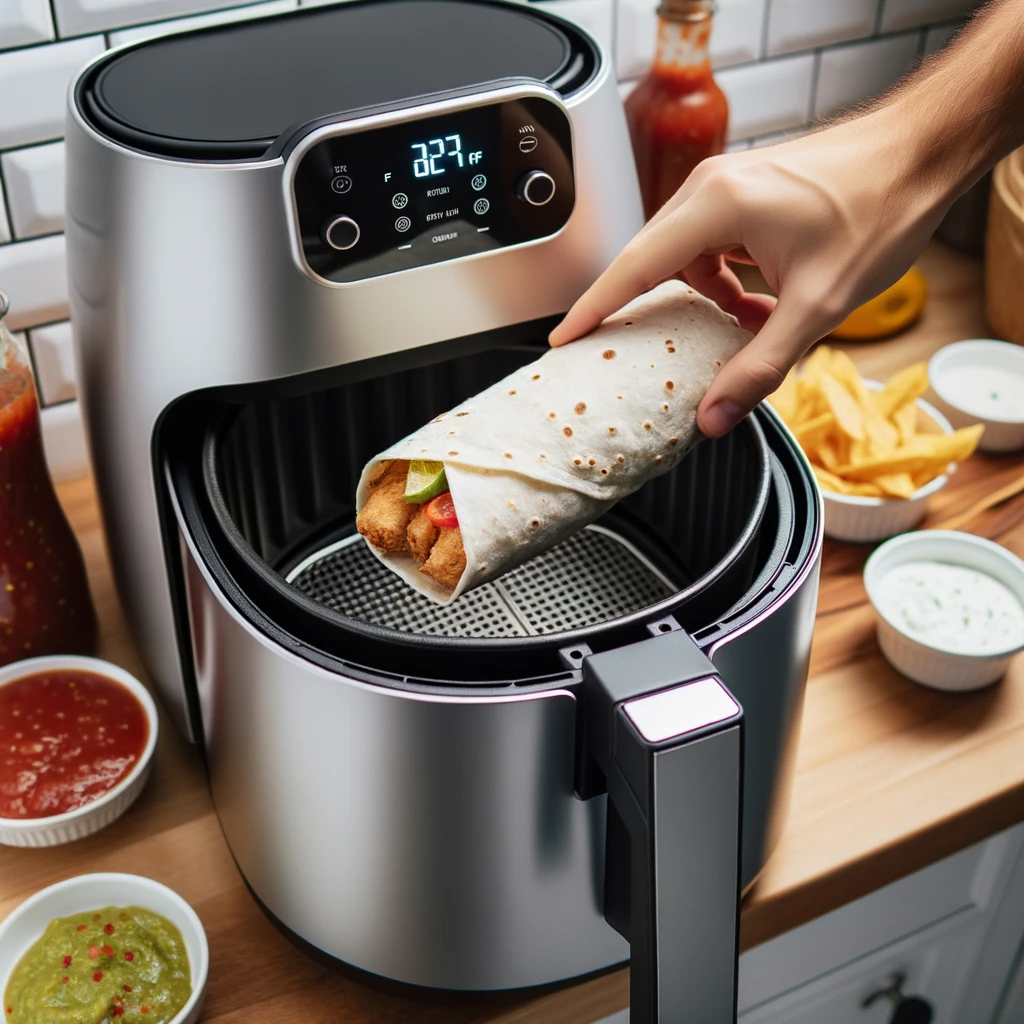
  • Preheat the air fryer to 350°F.
  • Place burrito in air fryer basket.
  • Cook for 8-10 minutes, turning halfway.
  • Check the internal temperature for 165°F.

Pros and Cons

ProsCons
Crispy exteriorSmall cooking capacity
Quick heatingMay require preheating

Stovetop Method 🍽️

How to Reheat a Burrito: Say Goodbye to Sad, Soggy Leftovers! 5
Stovetop Method 🍽️

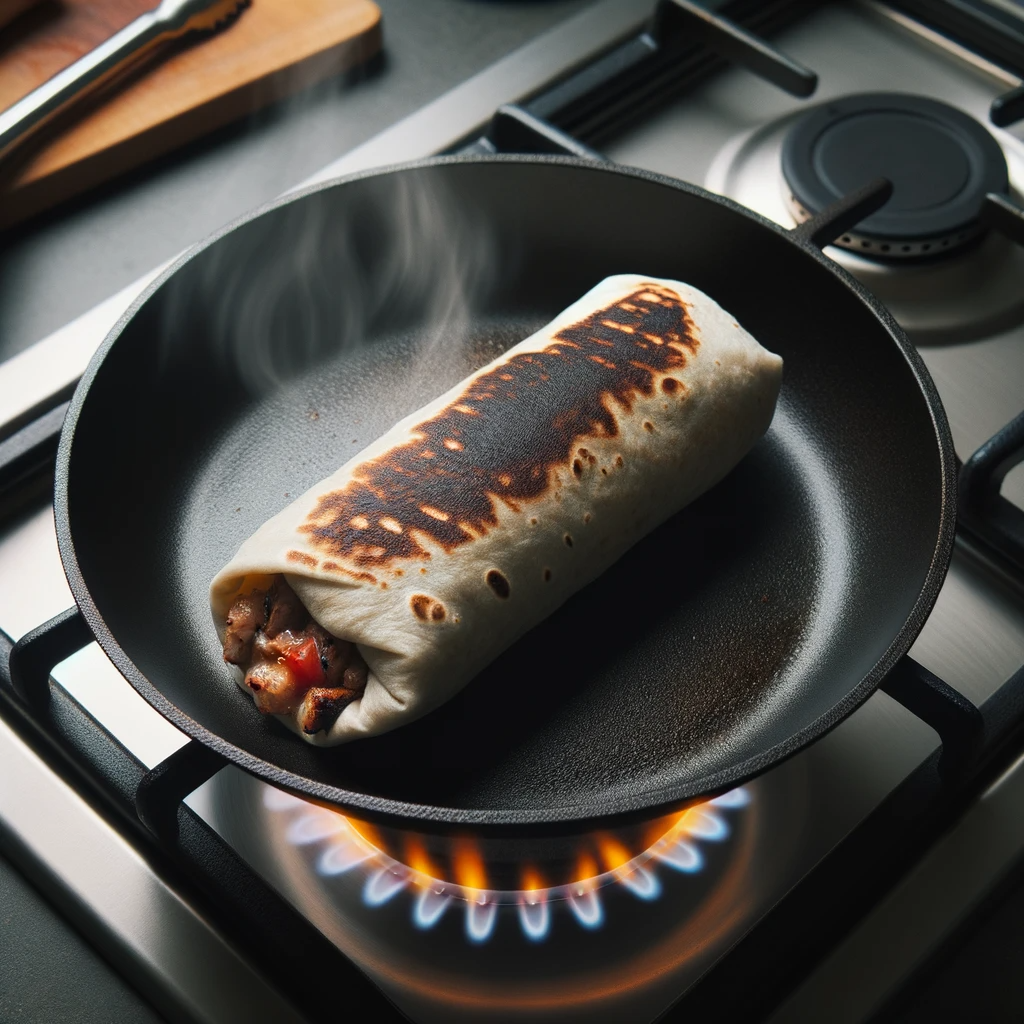
Are you longing for that golden-brown finish? The Stovetop Method could be the answer.

The stovetop method takes about 6-10 minutes and gives your burrito an evenly toasted crust. Perfect for those who want to avoid a soggy tortilla and love a crunchy bite.

Use the Stovetop Method for an even, crispy texture that’s sure to please. 

Step-by-Step Stovetop Instructions:

  • Heat a non-stick pan over medium heat.
  • Place burrito in the pan.
  • Reheat for 2-3 minutes on each side.
  • Check internal temperature to ensure it’s at least 165°F.
ProsCons
Control over crispinessRequires constant attention
Quick reheatingRisk of uneven heating

My Thoughts 🤔

reheating burrito
reheating burrito

With these pros and cons in mind, you can now decide which reheating method suits you best.

MethodTime RequiredTexture OutcomeBest For
Oven Method15-20 minsEven, slightly crispyQuality reheating, not in a rush
Microwave Method1-2 minsSoggyQuick reheating, less focus on texture
Air Fryer Method10 minsCrispyCrispy exterior, warm interior
Stovetop Method8-10 minsEven, crispyCrispy texture, medium time commitment

Considerations for Reheating

🌯 Type of Filling

Microwaving a chicken burrito can result in a dry texture. So, the type of filling really matters.

  • Meat Fillings: Protein-packed options like beef or chicken often require more attention. They can become dry if overheated.
  • Vegan Fillings: Tofu or tempeh absorb flavors well but can also turn spongy with extra seasonings and circulating hot air.
  • Vegetarian Fillings: Think beans, cheese, and veggies. These tend to be more forgiving but can get soggy with sour cream if not careful.
  • Seafood Fillings: Treat these with oil for misting and extra caution. Seafood can turn rubbery and lose its delicate flavors when adding salsa on top.

⚠️ Health and Safety

Warming your burrito to just a lukewarm temperature can be risky. Bacteria thrive in such cold conditions. More food safety guidelines here.

  • Safe Temperature: The magic number here is 165°F. The USDA advises reaching this internal temperature to kill off any foodborne bacteria.
  • Warning Signs: Beware of off smells and changes in texture or color. These could indicate spoilage.

🌍 Environmental Impact

If you care about the environment, listen up! Your choice of reheating method can also affect the environment.

  • Oven: Effective but energy-consuming. It’s not your greenest choice when found considering other options.
  • Microwave: A quicker method that uses less energy. If you’re concerned about your carbon footprint, microwaves are the way to go at 350 degrees F.

🔍 Fun Fact: According to the Department of Energy, microwaves use 80% less energy than a standard oven. This shows a significant difference in energy use.

Nutritional and Food Quality Implications

How to Reheat a Burrito: Say Goodbye to Sad, Soggy Leftovers! 6
Nutrition Information

🥗 Nutrition Information

Many people ask if reheating affects the nutritional value of a meal.

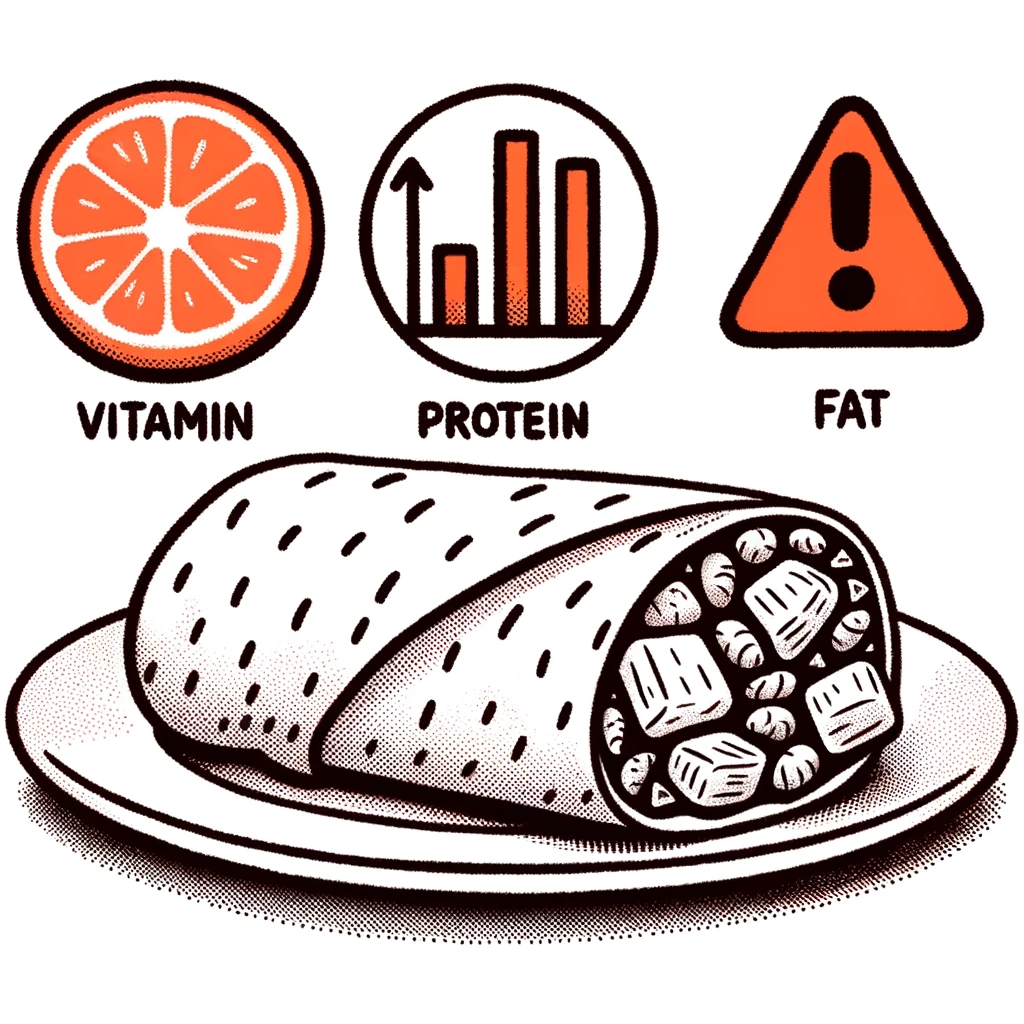
  • Vitamins: Heat-sensitive vitamins like Vitamin C can degrade during reheating. Think twice if you are counting on that burrito for your daily vitamins.
  • Protein: Overcooking can change the protein in a way that makes it less useful for your body.
  • Fat: Some fats don’t handle reheating well. They can turn rancid and become harmful.

🤔 Question Time: The reheated burrito may not be vital to your diet, but understanding its nutritional impact is helpful.

🌯 Wrapped in Foil

How to Reheat a Burrito: Say Goodbye to Sad, Soggy Leftovers! 7
Wrapped in Foil

A 2018 study about reheating with foil found some interesting results. The study showed that foil helps keep more nutrients in your burrito during reheating. It locks in moisture and some important nutrition.

⚠️ The Catch: This same study warned about aluminum possibly getting into the food. The health impact of this is still a topic for debate. Yet, if keeping nutrients is essential, foil can help.

🤷‍♀️ Food for Thought: The safety of using foil for reheating is worth discussing, particularly if you often reheat meals.

Additional Facts and Fun Tidbits

🌯 The Origin Story

The burrito’s origins trace back to the Mexican region of Guanajuato in the 19th century. Workers used it as a convenient way to carry their meals. This simple meal has won over taste buds all around the world.

🤔 Lost in Translation?

The word ‘burrito’ means ‘little donkey’ in Spanish. The name might come from how the rolled tortilla looks like a donkey’s ear or how they were carried on donkey carts.

🏆 The Record-Breaker

The largest burrito ever created weighed an amazing 13,000 pounds! Made in La Paz, Mexico, 2010, it was 1.49 miles long. A lot of people had to work together to make this giant burrito.

🥗 Count Those Calories

A typical burrito has about 500 to 850 calories. But if you are health-conscious, you’ll need to count those calories. Remember that you can opt for healthier fillings and skip the extra cheese.

Burrito FAQs

Still confused about warming your burritos? We answer some of the most pressing concerns people have about reheating refrigerated burritos.

01. Can I Reheat a Burrito with Sour Cream?  

To prevent sogginess, scoop out the sour cream before reheating and add it back later. However, you can leave it in, but the tortilla shell may get a little soggy.

02. Can I Reheat a Burrito with Guacamole?

You can totally reheat a burrito with guacamole without any change in the taste or texture.

03. How Do I Reheat a Burrito on the Stove?

Heat a large pan or skillet on medium heat, then place the burrito and heat it for 5 minutes, flipping the burrito halfway through.

04. Can I Reheat a Breakfast Burrito?

You can reheat a breakfast burrito to toast the tortilla and warm the fillings. Using an air fryer or skillet is a great way to heat this kind of burrito.

05. How Long is a Leftover Burrito Good for?

You can safely store leftover burritos in the fridge for 3 days. If you need to store it for longer, keep it in the freezer instead.

06. How Long Does it Take to Reheat a Burrito?

The time needed to reheat a burrito can vary depending on the method used:
Microwave: About 1-2 minutes on high heat.
Oven: 15-20 minutes at 350 degrees F.
Air Fryer: Around 8-10 minutes at 350 degrees F.

07. How to Reheat Leftover Burritos?

There are several ways to reheat a leftover burrito:
Microwave: Remove wrappers from your burrito, then place them on a microwave-safe plate. Heat for 1-2 minutes. You are flipping halfway through.
Oven: Preheat your oven to 350 degrees F. Take off any wrappers and place the burrito on a baking sheet. Heat for 10-15 minutes.
Air Fryer: Preheat the air fryer to 350 degrees F. Remove wrappers from your burrito, then place them in the air fryer basket. Reheat for 8-10 minutes.

08. Can You Reheat a Burrito in the Air Fryer?

Yes, you can reheat a burrito in the air fryer! Preheat the air fryer to 350 degrees F. Take off any burrito wrappers, then place them in the air fryer basket. Heat for 8-10 minutes.

In Concluding Musings

BoatBasinCafe isn’t just sharing reheating steps. We’re sharing a legacy. And in this legacy lies the secret to transforming a simple leftover into a gourmet experience. When you reheat, you’re not just warming; you’re rekindling flavors. So, go on, enjoy your meal the way it was intended! Remember, every bite tells a story.

Sources:

Research Studies

FDA Guidelines

How to Reheat Chicken Wings: 6 Easy Ways!

Are you scouring the web to figure out the best way to reheat wings? Well, you’re in luck! At BoatBasinCafe, our culinary experts have compiled six tried-and-true methods for you to bring those delicious leftovers back to life. Dive in!

Information
1Article topic is about reheating chicken wings
2Methods to reheat wings include oven, microwave, air fryer, frying pan, sautépan, and grill
3Special mention for Buffalo Wild Wings, recommended method for reheating is the oven
4Safety tips include avoiding leaving wings at room temperature too long and ensuring they reach 175°f
5Store leftover wings in ziploc bags or containers
6Conclusion: various methods cater to different preferences and available equipment

Introducing the Delight of Chicken Wings

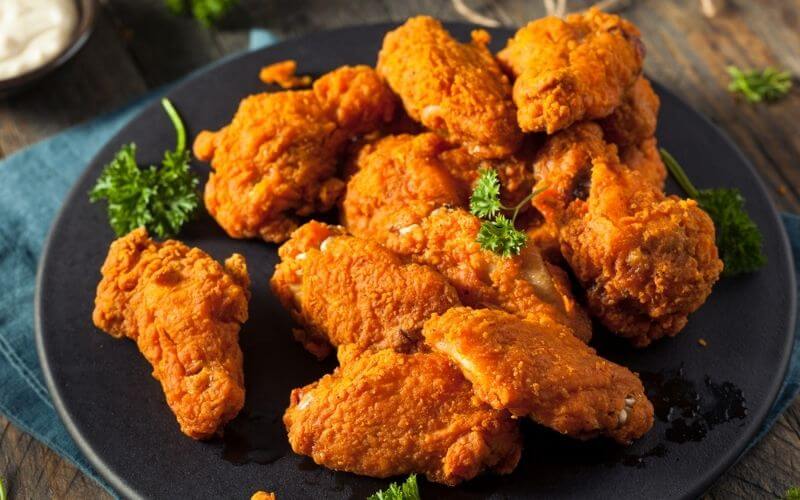
No matter the age, we all love good, crispy chicken wings. They’re juicy, filling, and an absolute delight. Often, we get carried away and order in excess, leading to a pile of leftovers. But how do you reheat chicken wings without compromising their taste?

There’s no denying it – leftover chicken wings can be tricky. Reheating them improperly can result in bland, soggy wings that are a far cry from their fresh glory. But worry not; we have curated the six most effective methods to make your leftover wings taste as if they’re freshly cooked.

Bonus Read: Can you freeze chicken salad with mayo?

The Importance of Proper Reheating

Ensuring you reheat your wings correctly is crucial not just for taste, but for safety too. Improperly reheated poultry can be a breeding ground for bacteria. So, by following our guide, you’re ensuring a safe and delectable snacking experience.

6 Expert-Endorsed Methods to Reheat Chicken Wings

When we are trying to reheat something, the goal is to keep the food as moist and juicy as possible. We tried a bunch of different options to heat up our day-old chicken wings. 

We found these six methods to be the easiest and best to reheat chicken wings in terms of flavor and crispiness. 

1. Oven Magic: Reheat Chicken Wings in the Oven

Reheat Chicken Wings

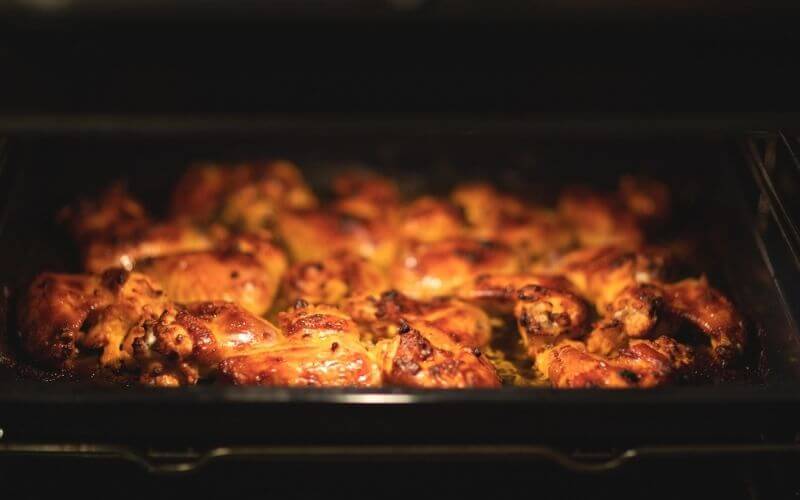
The oven, a staple in many homes, is a fantastic tool to bring back the crispness of your wings. It’s especially perfect for wings that have been drenched in flavorful sauces like BBQ or Chinese-style glazes.

You will need:

  • A baking tray
  • Aluminum foil
  • Wire rack
  • Tongs

Steps:

  1. Allow wings to sit at room temperature for 10-20 minutes.
  2. While the wings rest, preheat your oven to 350° Fahrenheit.
  3. Prep your baking tray with aluminum foil and place wings, ensuring there’s ample space between each piece.
  4. Bake for 15 minutes. Monitor them to avoid overcooking.
  5. Once cooked, cool them on a wire rack to avoid a soggy base. Relish them with your desired dip or sauce!

👩‍🍳Pro Tip: This method is ideal for those wondering how to reheat buffalo wild wings since they often come coated in sauce.

You may also like: How to Reheat a Smoked Turkey.


2. Quick Fix: Reheat Chicken Wings in the Microwave

How to Reheat Chicken Wings: 6 Easy Ways! 8

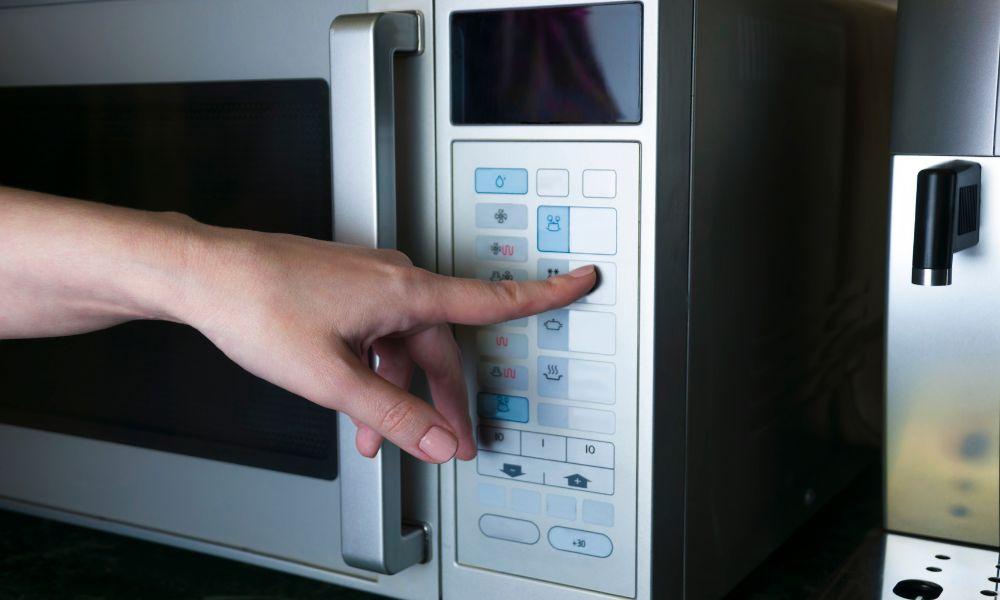
For those always on-the-go or those residing in dorms, the microwave is your savior. Though not the crispiest option, it’s undeniably swift and straightforward.

Steps:

  1. Place wings in a microwavable container.
  2. Microwave on high power for 1 minute. Check, and if needed, give them an additional minute.
  3. And voilà! Hot wings ready for consumption.

3. Crunch Delight: Reheat Chicken Wings in the Air Fryer

Reheat Chicken Wings Air Fryer

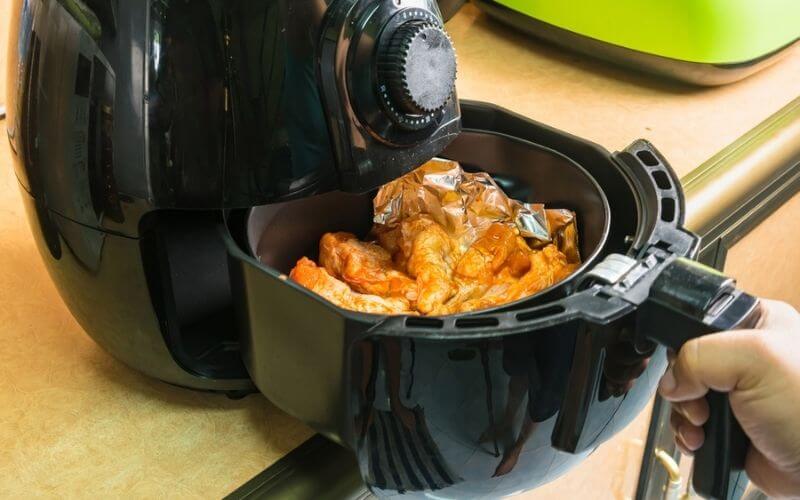
The air fryer’s claim to fame is its unparalleled ability to make things crispy. Not just for chicken wings, you can revitalize various leftovers using this handy appliance.

Steps:

  1. Begin by setting wings out for 10-20 minutes.
  2. Load your wings into the air fryer.
  3. Set it to 350° F and let them cook for 10 minutes. For a quicker outcome, raise the temperature and reduce cooking time.
  4. After removal, let them rest for a couple of minutes, then savor!

4. Classic Crisp: Reheat Chicken Wings in the Frying Pan

Reheat Chicken Wings Frying Pan

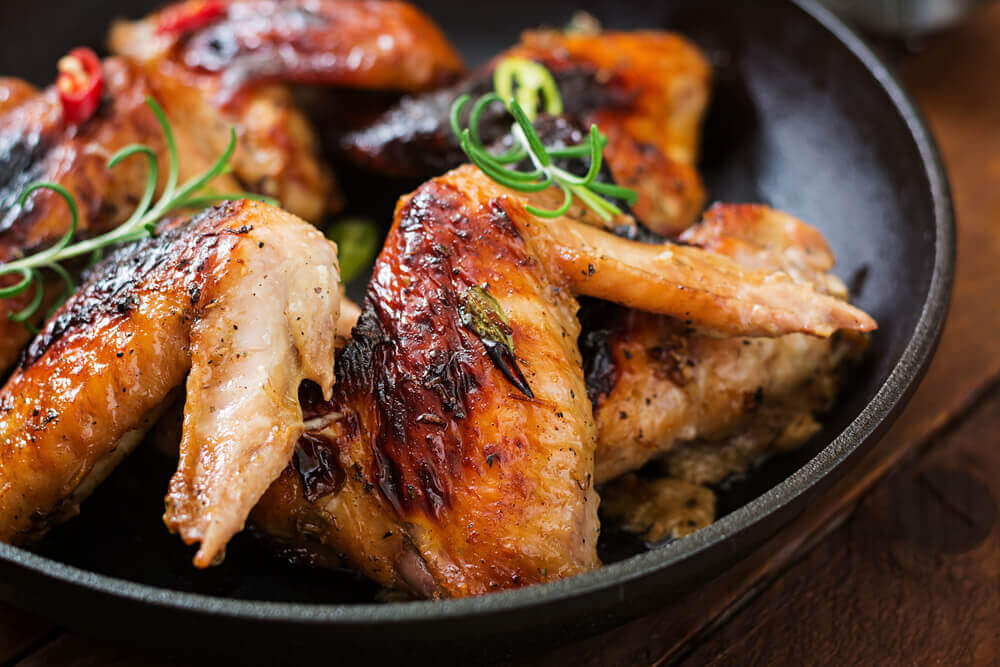
If you are trying to get back as much crispiness as possible, there are no better options than using a frying pan. This is also a very easy method of reheating. 

Steps:

  1. Set wings out to reach room temperature.
  2. Heat your pan on a medium flame and add a bit of oil.
  3. Once the oil is hot, add wings skin side down. Fry each side till golden brown, and you’re done!

5. Flavorful Sauté: Reheat Chicken Wings in the Sautépan

Reheat Chicken Wings Sautépan
Reheat Chicken Wings Sautepan

If you want to retain as much flavor as possible in your pre-cooked wings without adding too much oil to reheat them, sauté on a sauté pan. It’s very easy, quick, and delicious for all types of leftover chicken items.

You will need:

  • Oil
  • Skillet
  • Tongs

Steps:

  1. Allow wings to sit out for 10-20 minutes.
  2. Heat your skillet and add a dash of oil.
  3. Toss in your wings, add fresh herbs or garlic for an extra zing, sauté, and serve!

6. Smoky Goodness: Reheat Chicken Wings on the Grill

Reheat Chicken Wings Grill

Using a grill provides maximum flavor and taste as it adds smokiness and charr to the wings. If you don’t have an outdoor grill, you can use Korean style indoor grills to make delicious chicken wings. 

Steps:

  1. Cover wings with aluminum foil and place them on a grill set to medium-low heat.
  2. Grill for 10 minutes, remove the foil, and crisp up each side. Complement them with some naan bread for a fulfilling snack.

Reheat Buffalo Wild Wings

Reheat Buffalo Wild Wings

Buffalo wings are meatier and juicier than regular chicken wings. Most of the time, they are coated in some sort of vinegar-based sauce. They are quite spicy and tangy which makes them great as leftovers. 

The best way to reheat buffalo wings is to use the oven. As we have mentioned earlier, any wings coated with liquid/ sauces tend to work better in an oven. 

The oven keeps the wings moist and juicy on the inside while adding a light crispness on the outside. The sauce also stays gooey. Frying pan on the other hand totally ruins the sauce as it tends to burn it. So an oven is the best way to go.

Frequently Asked Questions

01. Can I Use a Toaster Oven to Reheat Chicken wings?

Absolutely! Just place them on a foil-covered tray in the toaster oven at 350°f for 5-7 minutes.

02. How Do I Store Chicken Wings? 

Use a sealed container or ziploc bag. This preserves moisture and flavor.

03. Can I Get Food Poisoning from Reheated Chicken?

Only if done improperly. Ensure all parts of the chicken are heated to at least 175°f to kill harmful bacteria.

Concluding Thoughts: Relishing Leftovers

Reviving leftovers is a sustainable way to enjoy food. Armed with our reheating methods, you can relish your chicken wings to the fullest! Remember: good reheating practices ensure safety and enhance taste. Dive in and enjoy every bite!

Pin Later


How to Reheat Chicken Wings: 6 Easy Ways!
How to Reheat Chicken Wings 6 Easy Ways

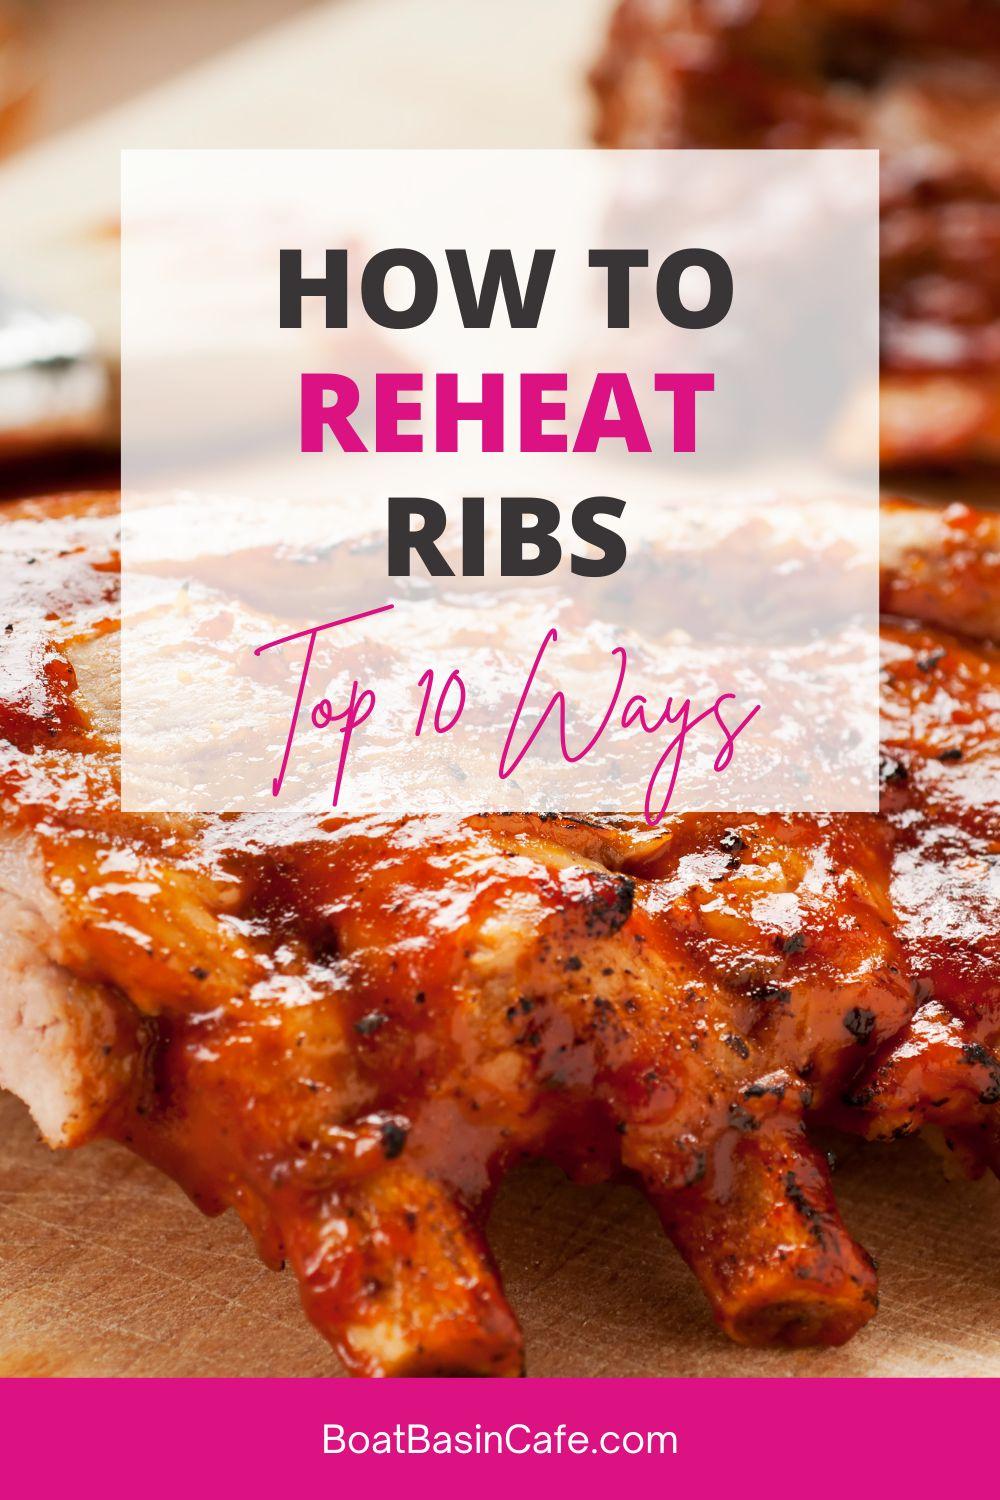
Exactly How To Reheat Ribs – I Test 10 Methods

Reheat ribs in one of the ten ways to get flavorful and juicy results so that you will never again have to throw away leftovers or settle for dry ribs.

How To Reheat Ribs: Top 10 Ways You Didn't Know!
How To Reheat Ribs

So, you had a grand barbecue night, went a bit overboard with one of the best gas grills, grilled too much meat, and now you’re left with a pile of leftover ribs. 

The first thing to do is to safely store them in the fridge or freezer within two hours. 

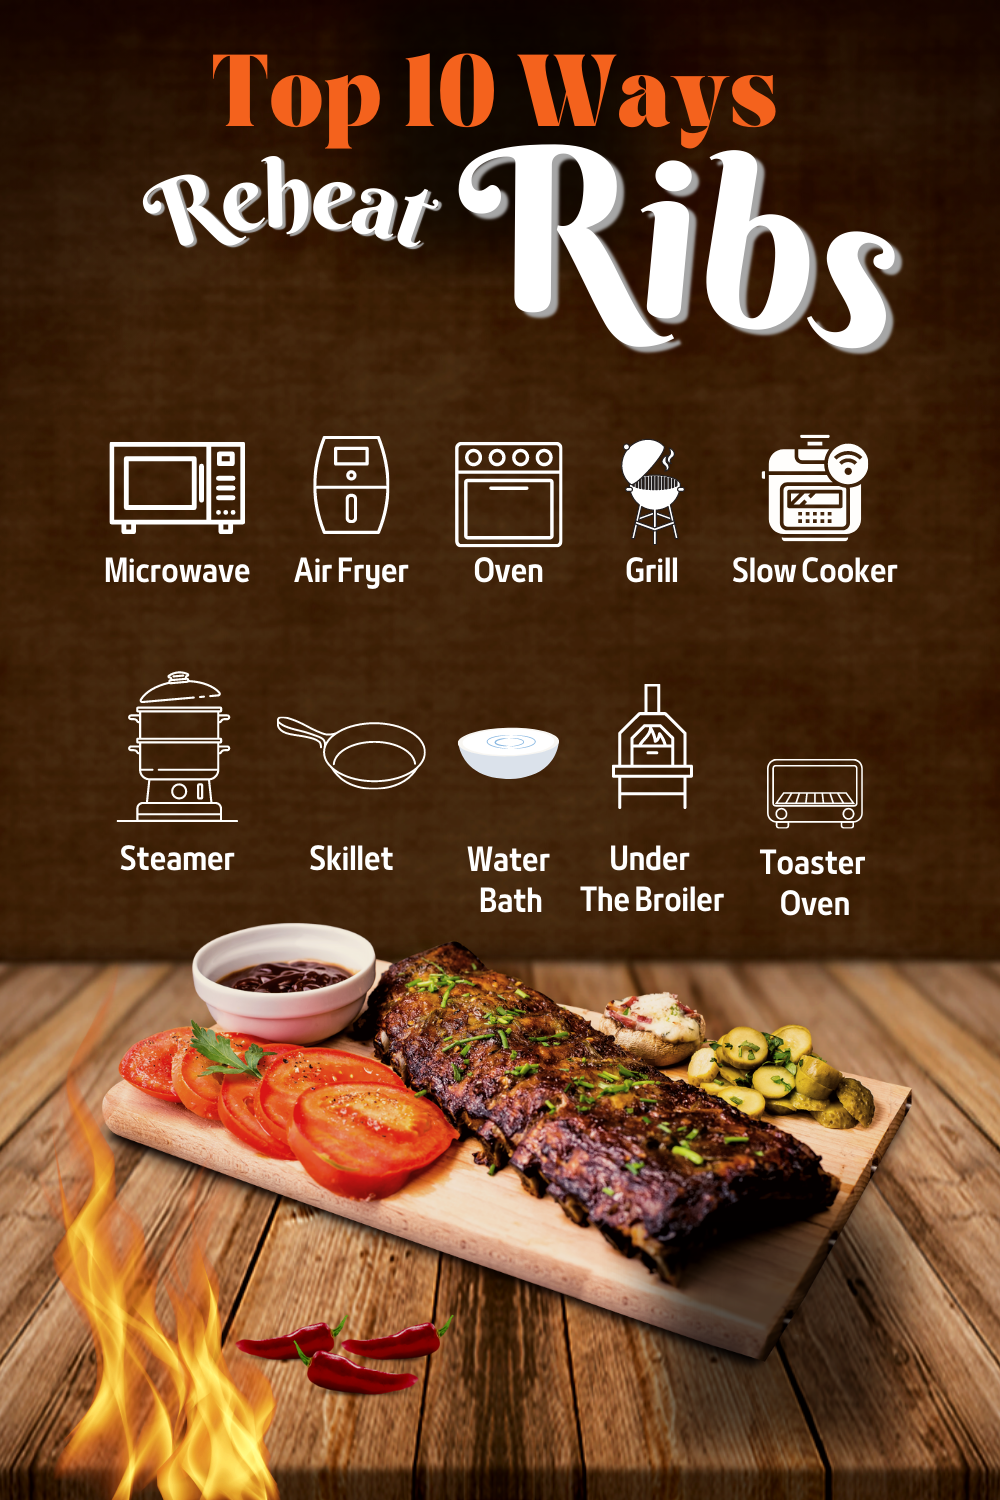
The next thing? Well, reheat the ribs, of course! But do you know how to reheat ribs in one of the ten ways?

Pick the method based on the amount of time you have and the results you are looking for.

You may also like: Reheating Smoked Chicken: The Best Ways To Do It Without Drying Out The Meat

reheat ribs in microwave

Different Reheating Methods

10 Ways To Reheat Ribs

Reaheat Ribs in Microwave

Although reheating ribs in the microwave is a bit of a challenge as it tends to dry out the meat, by following the steps below, you may still retain the juiciness. 

  1. Slice the ribs to allow the pieces to reheat uniformly and faster. 
  2. Place them on a microwave-safe dish and splash some water, stock or apple juice. Add some extra sauce if you want. 
  3. Cover with a damp towel.  
  4. Microwave on Medium for 60 seconds
  5. Continue reheating in 30-second increments until the ribs show an internal temperature of 145°F (63°C). Be sure to use a meat thermometer for accuracy. 

Using a Medium power ensures you don’t have overheated and dry ribs.

The microwave oven isn’t great at even reheating, so you should take 30-second breaks in between. 

Reheat Ribs in Air Fryer

To reheat ribs in the air fryer, this is what you need to do. 

  1. Preheat the air fryer to 350°F (180°C) to ensure the meat is thoroughly warmed with no chance of any bacteria left in it. Here’s a lesson on how to preheat an air fryer. 
  2. Slice the rib racks into separate pieces for uniform and faster warming. It’s also more convenient for you to place them in the air fryer basket without overcrowding. 
  3. Use a sauce or some oil to cover the ribs to keep the meat moist and result in a crisp exterior. 
  4. For 5 to 8 minutes, heat the ribs and check the temperature halfway through.
  5. After the temperature is high enough at 145°F (60°C), remove the ribs from the air fryer and serve.  

💡Pro Tip: When laying out the sliced ribs in the air fryer basket, keep enough space in between the pieces to allow the air to circulate through. 

Some say that the circulating air inside the fryer helps to retain moisture.

Others believe that it dries out the meat and that only ribs with a higher fat content should be reheated in it. 

But everyone agrees that the air fryer gives a nice crisp texture to the ribs. 

Reheat Ribs in Oven

When you’re faced with the dilemma of how to reheat ribs, the oven is the best way to reheat ribs. Slow and low heating of beef ribs in the oven retains all the moisture and flavor.

  1. Allow the ribs to come to room temperature by removing them from the refrigerator 30 minutes before reheating.
  2. Set the oven’s temperature to 250°F (120°C). 

Use bbq sauce to cover the ribs.

This will pack in extra moisture when you reheat ribs.

  1. Carefully double-wrap the ribs in aluminum foil to prevent the sauce’s liquids and sugar from scorching and leaking out.
  2. Put the ribs in a baking tray and reheat for 20-30 minutes until their temperature is 145°F (63°C). 
  3. Unwrap the ribs from the foil and cook uncovered for 10 minutes

By doing this, the sauce will caramelize and develop an even richer, sweeter flavor.

  1. Remove the ribs and before serving, give them a 10-minute rest.

Pro Tip: If your ribs were covered in a spice rub instead of sauce, wait until they are reheated and apply more dry rub before serving.

Bonus Tip: Reheat baby back ribs at a lower temperature.

Because they are cut thinner, baby back ribs may dry out much more quickly as they are more heat-sensitive. For 45 minutes, reheat them at 225°F (107°C).

Reheat Ribs on Grill

Exactly How To Reheat Ribs - I Test 10 Methods 9
Reheat Ribs on Grill

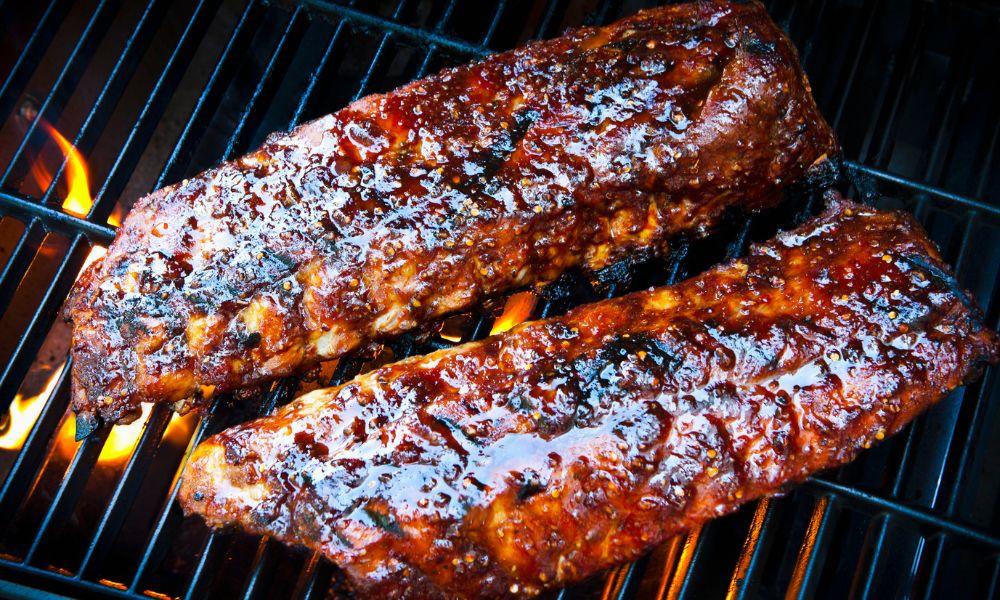
Grilling leftover ribs retain the fresh, right-of-the-grill vibes and you also get the same charred taste when you first grilled them.

While setting up the grill will take a little more time and it’s also dependent on fair weather, it’s worth it to reheat ribs on the grill. 

  1. Allow the ribs to come to room temperature by removing them from the refrigerator 30 minutes before reheating.
  2. Set the grill to high heat while you wait for the ribs to come to room temperature.
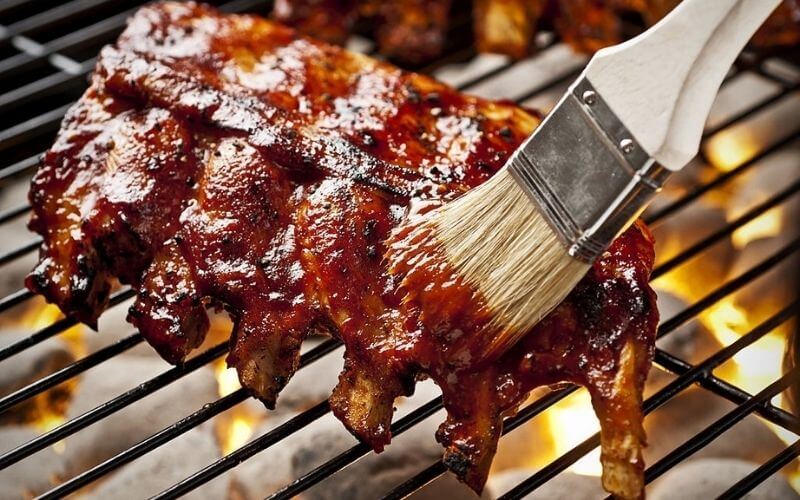
  3. Use leftover sauce or additional liquid, such as water, stock, or apple juice, to baste your ribs.
  4. Wrap the ribs in foil, loosely. 

There should be a little breathing room because the ribs will be directly exposed to the grill’s heat.

  1. After the grill has been preheated, turn it to medium heat
  2. Reheat ribs for 8 to 10 minutes and remember to flip them halfway. 
  3. Once the meat thermometer shows the ribs are at an internal temperature of 145°F (63°C), take them out. 
  4. Allow a standing time of 10 minutes before serving. 

Note: If possible, set up a two-zone grill (i.e. only heat one side directly) for reheating pork ribs on the unheated portion.

This is milder than utilizing direct heat and imitates a convection oven.

Reheat Ribs in Slow Cooker

Exactly How To Reheat Ribs - I Test 10 Methods 10
slow cooker

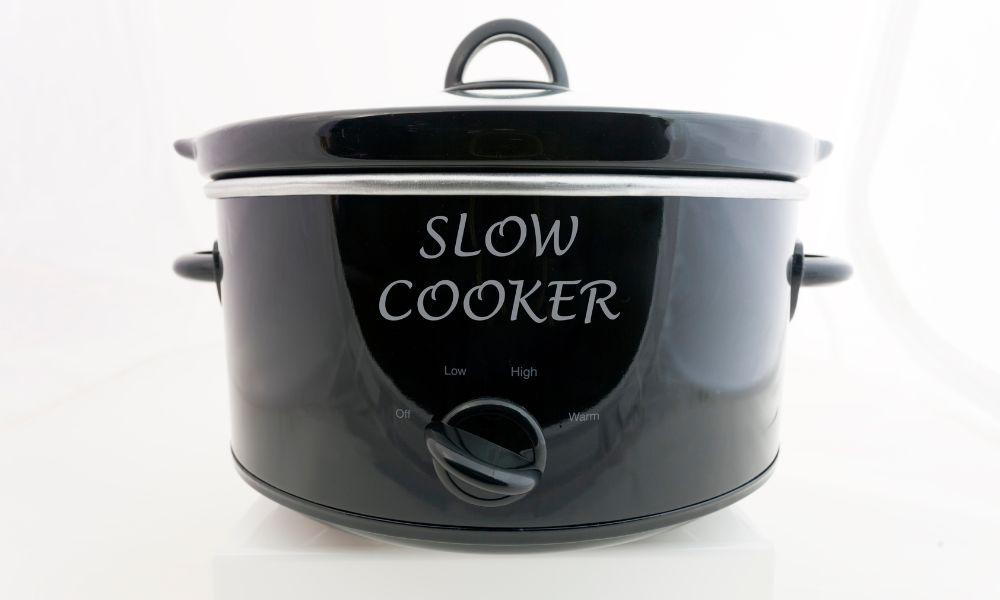
Although you won’t get a crisp texture if you reheat ribs in a slow cooker, you will certainly get tender and juicy meat. 

A slow cooker will obviously take longer than other methods of reheating ribs. 

  1. Get the ribs out of the fridge 30 minutes before you plan to reheat them so that they come to room temperature. 
  2. Turn the slow cooker on medium-high heat
  3. Add about ¼ inch of water, apple juice, or chicken stock in it.
  4. Place the ribs in the slow cooker after basting them with any leftover sauce or any extra BBQ sauce.
  5. Set the thermostat to a warm or low setting and heat for 30 to 60 minutes with the lid on.
  6. Check after the first 30 minutes to see if the internal temperature is getting close to 145°F (63°C).
  7. Once you’re satisfied with the temperature, turn off the slow cooker and take out the ribs.
  8. Before serving, let the ribs sit in the juices for 10 minutes.

Reheat Ribs in Steamer

Exactly How To Reheat Ribs - I Test 10 Methods 11
steamer ribs

Another reheating method is the steamer. 

If you don’t have one, you can make a temporary one using a pot and a colander. 

The benefit of using a steamer is that it will keep the ribs moist and it’s also healthy for reheating ribs without oil. 

  1. You can start by boiling a broth in the pot. 

For flavor, use apple juice or orange juice, or even ale. 

Use ¼ cup of whatever liquid you choose. 

  1. Slice the rib racks for faster warming. 
  2. Once the liquid starts to boil, place the ribs on the steamer basket and put it above the broth. 
  3. Cover the pot and steam the cooked ribs for 30 minutes

Don’t remove the lid while steaming as the steam will escape, turning the temperature low in the pot and taking more time to reheat the ribs. 

  1. If you want the ribs to be very juicy, then steam for 45 minutes. 
  2. When 30 minutes are over, check the internal temperature of the ribs. It should be 145°F (63°C).

Otherwise, steam for longer to bring the temperature up. 

  1. Plate the ribs and cover them with the liquid left in the pot for a full blast of flavor and moisture. 

Reheat Ribs in Skillet

Exactly How To Reheat Ribs - I Test 10 Methods 12
Reheat Ribs in Skillet

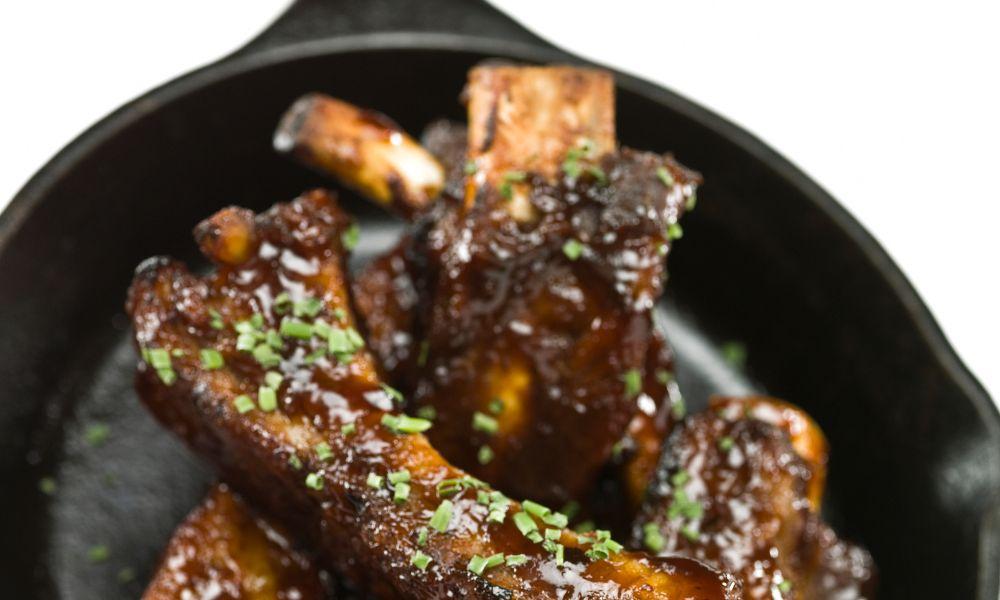
The cast iron skillet could be your go-to tool for reheating ribs if you have less than 30 minutes on your hands. 

The meat will be juicy enough but not as much as you would expect when reheating ribs in the oven, grill, or steamer. 

  1. Warm a deep cast iron skillet over medium heat and add some water or stock or leftover juices from the meat or apple juice. 
  2. Take your favorite BBQ sauce or any sauce of your choice and cover the ribs with it.
  3. Into the skillet, put the ribs without crowding them together, and cover with a lid.
  4. Without removing the lid, heat the skillet for 10 minutes, swirling it around to make sure the ribs get warmed up evenly and don’t get scorched. 
  5. Once the meat temperature is 145°F (63°C), remove it from the skillet and allow 10 minutes of standing time before serving. 

You can also chop up the meat from the ribs and reheat the shredded meat in the skillet. 

In this case, you will need to stir the meat in the skillet over medium heat for 5 to 10 minutes until the meat gets heated through. 

Serve immediately. 

💡Pro Tip: Instead of water, use stock or juice to retain or add flavor as water tends to dilute the flavor. 

Reheat Ribs in Water Bath

A hot water bath or sous vide is a French way of cooking food at a low temperature by placing the food in a plastic bag in a water bath and letting it cook or reheat through indirect heat. 

Store your leftover ribs in a vacuum-sealed plastic bag in the fridge or freezer so that you can put them directly into the water bath without waiting for the ribs to come to room temps. 

Another beauty of using this method to reheat ribs is that you don’t need to add extra sauce or any liquid as it’s already in the bag.

If you don’t have sous vide machine, no need to worry as you can use a large pot instead. 

  1. In a vacuum-sealed bag, put the ribs and seal the bag using a vacuum sealer.
  2. Bring the temperature of the large pot full of water or the sous vide machine to 155°F (68°C).
  3. Put the vacuum-sealed bag with the leftover ribs in the water bath and reheat for 45 minutes to an hour, keeping the water temperature constant.
  4. Count 45 minutes of reheating time for every inch of thickness in the ribs. 

You need to factor in an additional 30 minutes of reheating time if put a frozen pack of leftover ribs in the water bath.

  1. Remove from the water bath and serve immediately. 
  2. This step is optional. Broil the reheated ribs in the oven for a few minutes to caramelize the sauce. 

Reheat Ribs in Broiler

The broiler is a fast way to reheat leftover ribs. 

It also caramelizes the sauce nicely, leaving it sticky instead of runny. 

The downside of using a broiler is that it requires more attention and dries out the meat a bit.

  1. Place the top rack of the oven 4 to 5 inches below the grilling part as otherwise the sauce will burn and the ribs won’t be heated thoroughly. 
  2. Bring leftover ribs to room temperature. 
  3. Now put them bone side up on a baking pan lined with a sheet.
  4. Broil for about 3 to 4 minutes or until you notice the sauce starts to bubble. 
  5. Flip the ribs to the other side and heat for 3 minutes. 
  6. Take the reheated ribs out of the oven and cover them loosely with foil. 
  7. Allow cooling slightly under the foil for 4 minutes before serving. 

Reheat Ribs in Toaster Oven?

The toaster oven is not a gadget that would come readily to your mind when thinking about how to reheat beef ribs. 

However, let me say that this is a neat little way of reheating cooked ribs if you have only a few pieces of pork ribs. 

You’ll have warm and juicy ribs within just 20 minutes. 

  1. Take the cooked ribs out of the fridge 30 minutes before you reheat them so that they can cool down to room temperature.
  2. Preheat the toaster oven to 250°F (121°C).
  3. Grab your favorite bbq sauce and slather it on the ribs to cover them completely if you don’t want to have dry ribs. 
  4. Cover the ribs tightly with double foil to keep all the juices in and prevent the sauce from getting burned. 
  5. Put the pork or beef ribs on a baking tray and heat in the toaster oven for 15 to 20 minutes or until the temperature in the ribs hit the mark of 145°F (63°C).
  6. Let the reheated ribs rest for 10 minutes before serving so that all the juices and flavors can combine and you can enjoy them to the fullest.

💡Pro Tip: Check the temperature after the first 10 minutes as reheating time will depend on the thickness of the ribs. 

Pros and Cons of Reheating Ribs in Various Ways

Reheating ApplianceProsCons
1MicrowaveFaster heatingDries up meat
Fresh grill flavor is lost
Sauce gets too watery
Doesn’t heat uniformly
2Air FryerWorks fast
Gives a nice crisp
Good for ribs with more fat
Meat dries up
3OvenRetains moisture and smokey flavorTakes time
4GrillFresh,
off-the-grill flavor
Charred taste
Weather-dependent
Setting up takes time
5Slow CookerTender and juicy meatCrispiness is missing
Takes more time
6SteamerKeeps meat moist
Healthier as uses no oil
Sauce melts
7SkilletProvides better moisture
than microwave
Less juicy
Takes longer than the microwave method
8Water BathPrevents overcooking
No need to add sauce or juices to retain moisture
Can be placed directly from the fridge or freezer
Takes time
9BroilerFast method
Leaves the sauce sticky, not runny
Dries out the meat a little
10Toaster ovenFast methodSuitable for fewer pieces

Tips for Reheating Your Ribs

Here’s how you can make sure your ribs taste like you just got them off the grill:

  • Slow and steady temperature. Cooking the ribs on low heat for 30-40 minutes will make your ribs soft and tender, and juicy.
  • Add a broiling pan. If you are worried about the ribs losing too much moisture on the oven or grill, add a pan of hot water over the burner. It will steam some moisture into the meat.
  • You can even add coke, root beer, apple juice, or stock for exciting flavors.
  • Let them rest. Give your ribs some time to settle in their juices before cutting into them.

How Long Do Leftover Ribs Last In The Fridge?

Exactly How To Reheat Ribs - I Test 10 Methods 13

If stored properly in an airtight container and at a temperature of below 40°F (4°C), leftover ribs will last for three to four days in the fridge

It’s best to add all the juices or barbecue sauce in which you cooked the ribs inside the container or a vacuum-sealed bag. 

This ensures the meat is juicy and flavorful.

How To Freeze Ribs?

The key to freezing spare ribs in the freezer is to get a tight seal in the container. 

Vacuum-sealed bags work best but you can also place the ribs in a Ziploc or freezer bag, or even foil as long as there is no opening to let any air in. 

The benefit of freezing ribs in vacuum-sealed bags is that you can put them directly in the sous vide machine for reheating ribs. 

If stored properly, the ribs will last for 6 to 12 months in the freezer

How To Thaw Frozen Ribs?

How to reheat ribs after freezing them?

Leave the frozen ribs in the fridge overnight to thaw. 

Keep them on the bottom shelf of the fridge and in a container that has high sides so that any dripping from the defrosting ribs doesn’t contaminate the other food in the fridge.

FAQs

How To Reheat Ribs In The Microwave?

Slice the ribs and place them on a microwave-safe dish. Splash some water or stock or apple juice or sauce. Cover with a damp towel and microwave on Medium for 60 seconds. Continue reheating at 30-second intervals until the temperature is 145°F.

How Long Do Leftover Ribs Last In The Fridge?

If the temperature is below 40°F, you may keep your leftover ribs in the refrigerator for 3 to 4 days. Keep your ribs in an airtight container or vacuum bag to prevent moisture loss for optimum preservation.

How Do You Freeze Ribs?

Your ribs can be kept in the freezer for six to twelve months if you properly seal them. The best bags are vacuum bags because they can be put directly into the sous vide machine. However, a zip-lock bag, plastic wrap, or foil with a tight seal will also work well.

Can You Eat Cold Ribs?

Yes, you can eat cold ribs if you had smoked them to an internal temperature of 145°F (63°C) and refrigerated them in an airtight container or sealed plastic bag.

Reheating Smoked Chicken: The Best Ways To Do It Without Drying Out The Meat

Learn tricks of reheating smoked chicken in the microwave, oven, air fryer, smoker, or stove, and when reheating chicken what temperature to look out for. 

Reheating Smoked Chicken: The Best Ways To Do It Without Drying Out The Meat
Reheating Smoked Chicken The Best Ways To Do It Without Drying Out The Meat

There are a number of different ways to reheat cooked chicken, and each has its own benefits and drawbacks.

You should choose the best way to reheat smoked chicken based on the size of the chicken pieces. 

Thankfully, the reheating process is a breeze with various kitchen and cooking appliances. 

Let’s find out how to reheat leftover chicken without drying them out. 

What Is Smoked Chicken?

Reheating Smoked Chicken: The Best Ways To Do It Without Drying Out The Meat 14
smoked chicken

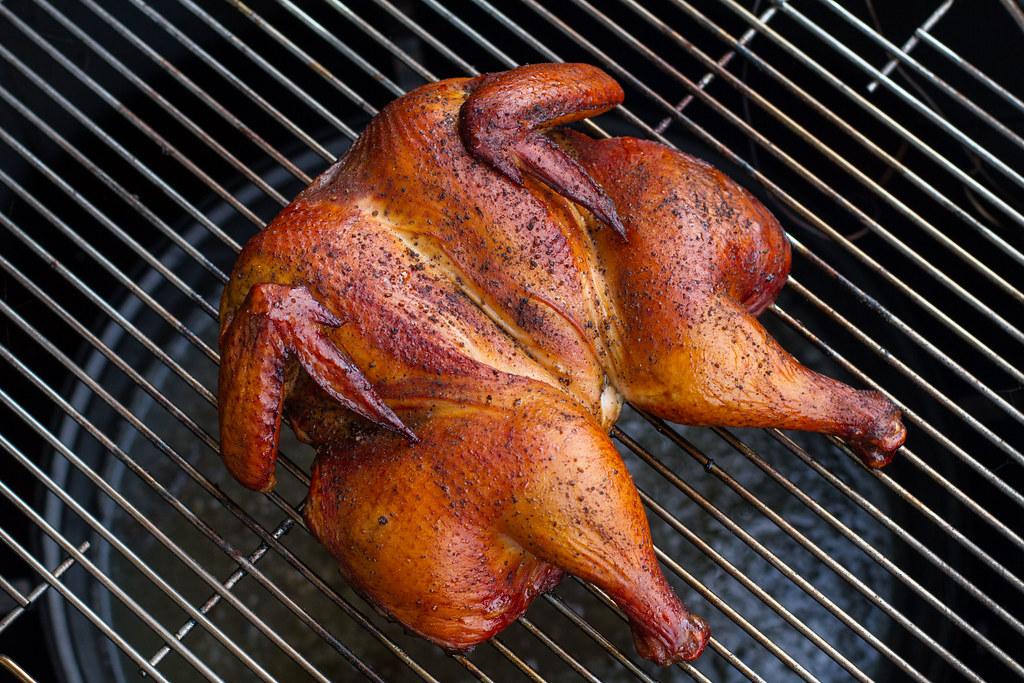
Chicken that has been cooked on a smoker on low heat with a burning, fragrant wood fire. 

As a result, the chicken has a sweet, slightly smokey flavor and a soft texture, thanks to the smoke from the burning wood. 

Can You Reheat Smoked Chicken?

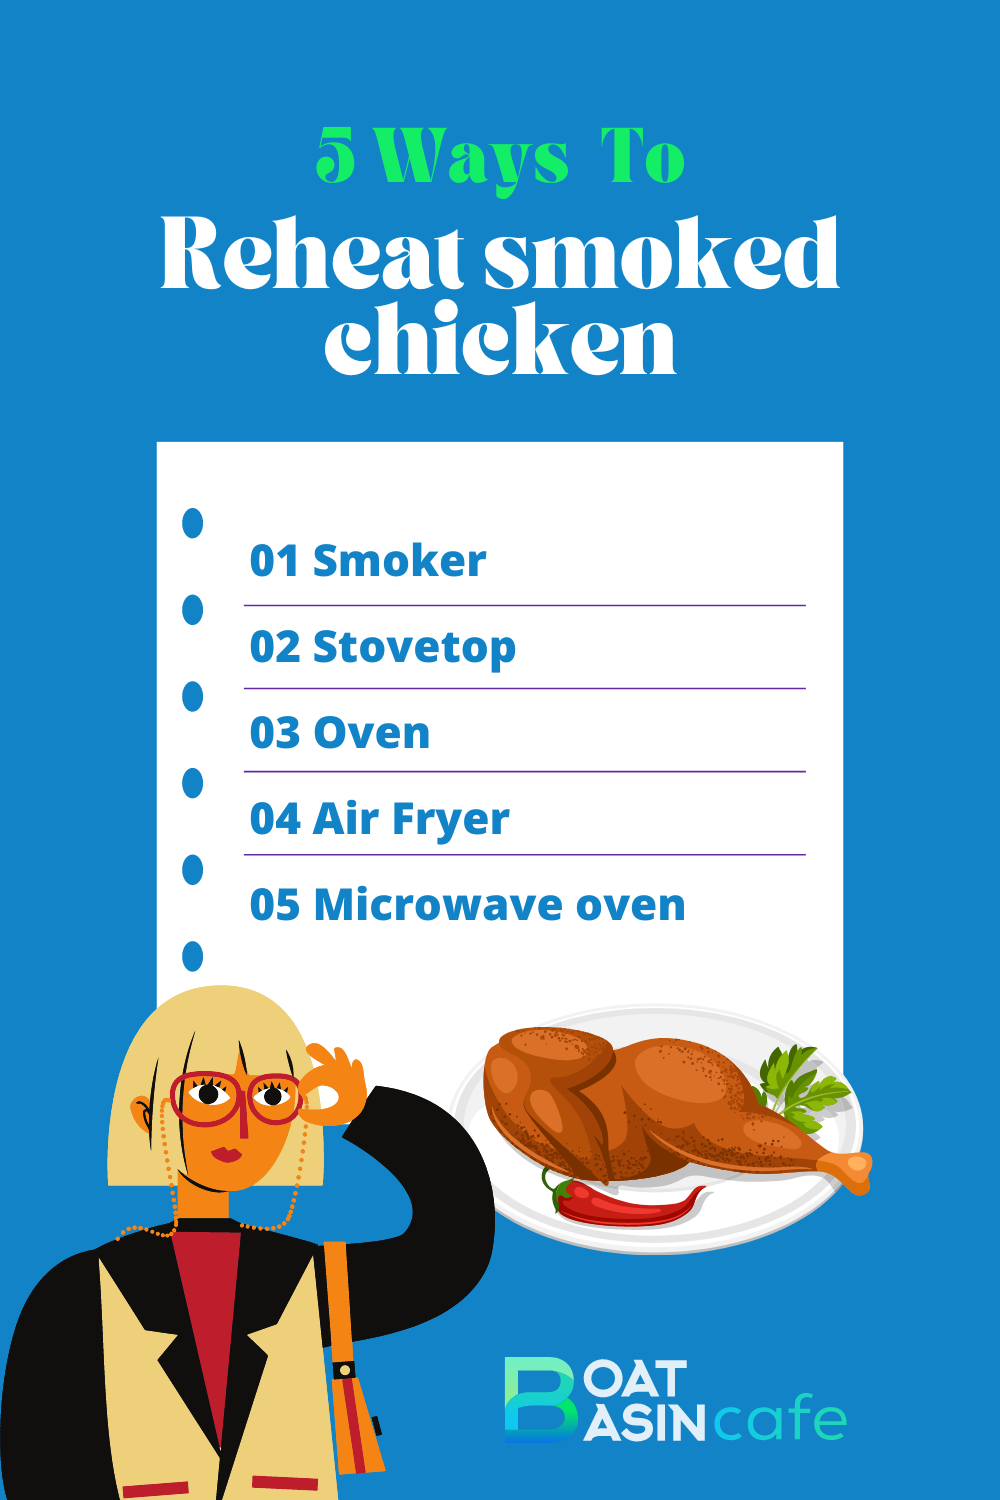
5 Ways To Reheat Smoked Chicken

Yes, you can reheat chicken in several ways – smoker, stovetop, oven, microwave, or air fryer. 

Before you reheat chicken, it’s essential to store it properly so that all the smokey flavor is packed in and the texture remains intact. 

Use a vacuum sealer to package the smoked chicken for storage. 

This will prevent oxygen from getting to the chicken and allowing bacteria to grow and overdrying the meat and ruining its texture due to freezer burn.

How long to reheat smoked chicken depends on the chicken pieces, whether it’s a bone-in chicken or skinless and boneless pieces of smoked chicken. Best Methods to Reheat Chicken below:

OvenLarge, bone-in pieces of chicken but it takes longer.
StoveSkinless, boneless chicken
Air FryerTo get back crispiness in fried chicken or chicken tenders
MicrowaveQuick method but can leave the chicken soggy
SmokerSlow method but retains original flavor and texture

When reheating chicken what internal temperature should you check it at? 

The magic number is 165°F or 75°C.

How To Reheat Smoked Chicken In The Oven

Reheating Smoked Chicken: The Best Ways To Do It Without Drying Out The Meat 15
How To Reheat Smoked Chicken In The Oven

The oven is your best bet when it comes to reheating whole smoked or rotisserie chicken. 

Because the size is large and you have all the bones, you can pop it inside the oven and let it reheat. 

Follow the steps below to reheat chicken in the oven.

  1. Take the chicken out of the fridge and take off any plastic wrap. Preheat the oven to 350°F (177°C). Let the chicken sit at room temperature on the counter while you wait for the oven to heat up.
  2. To reheat chicken thighs, place the chicken on a baking dish and add a few tablespoons of water or chicken stock, just enough to cover the bottom of the pan with a very thin layer of liquid.
  3. Then use two layers of aluminum foil to tightly cover the pan. The steam formed inside will keep the chicken moist.
  4. Put the pan with the meat in the oven and keep it there until it gets warmed up enough. It’s already cooked so you won’t need to wait long. Use a meat thermometer to check if the internal temperature of the chicken is 165°F (74°FC).
  5. Let the smoked chicken wrapped in foil sit for a couple of minutes before serving. 

To reheat poultry in the oven is alright as long as you’re not looking for an outer crispy skin. 

If you are, simply place the chicken under the broiler for a few minutes to get the skin crispy.

How To Reheat Cooked Chicken On The Smoker

Reheating Smoked Chicken: The Best Ways To Do It Without Drying Out The Meat 16
How To Reheat Cooked Chicken On The Smoker

If the weather and time permits, you can fire up your smoker to reheat cooked chicken to get the maximum original flavor

Whether you want to reheat chicken quarters or whole smoked chicken, the smoker can handle either with ease if you follow the steps below. 
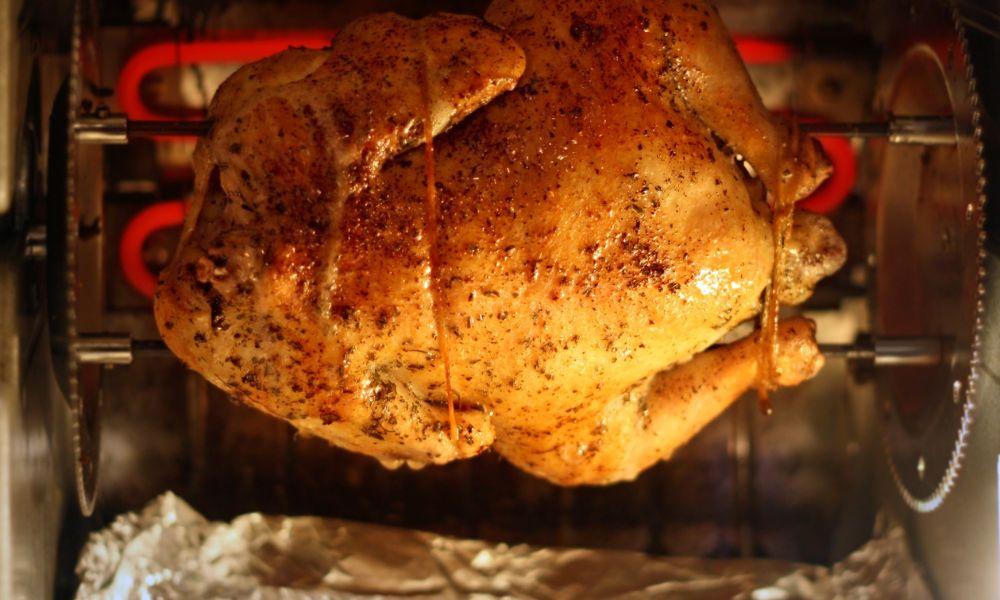
  1. Remove any plastic wrap and spray the roasted chicken pieces with chicken or beef broth or apple juice to keep the meat moist. 
  2. If you had refrigerated the leftover smoked chicken instead of freezing it, chances are you still have some of the juices left from the first smoke. If so, pour it over the chicken pieces. This will ensure that the reheated smoked chicken thighs or quarters are adequately moistened. 

💡Pro Tip: As you don’t want to steam the smoked chicken, just use ¼ part of the liquid for each pound of meat.

  1. Cover the whole thing with aluminum foil without any opening through which air can escape. 
  2. Set the smoker temperature to 225°F (107°C). A higher temperature will cook the meat instead of warming the already-cooked meat. 
  3. Put the aluminum foil-wrapped meat pieces in the smoker and heat to your desired temperature level
  4. A good rule of thumb is to reheat smoked chicken for 10 to 15 minutes per pound of meat. 
  5. Allow a standing time of 2 minutes before serving so that the reheated chicken absorbs all the liquid and flavor. 

Steps To Warm Smoked Chicken Breast On The Stovetop

Reheating Smoked Chicken: The Best Ways To Do It Without Drying Out The Meat 17
Steps To Warm Smoked Chicken Breast On The Stovetop

Skinless and boneless chicken pieces are easier to warm on the stovetop. 

When you’re planning to reheat chicken wings or thighs, it’s better to remove all bones. 

For any small leftover chicken pieces, reheating them on the stovetop can save you time. 

Here’s how:

  1. Remove bones and cartilage from the chicken pieces. If you’re warming up skinless chicken breast, cut it into inch-thick cubes. 
  2. Get a cast iron skillet or a nonstick pan
  3. Turn the flame to medium-low heat. 
  4. Add some butter or oil to the pan. The alternative is to add enough water to cover the bottom of the pan. 
  5. Once the oil or butter is warm, add the smoked chicken thighs. If you’re using water, wait until the water simmers before you add the meat. 
  6. Don’t be tempted to turn on the heat to high to rewarm the chicken pieces faster. It will only burn the outside of the meat while leaving the inside cold. 
  7. After about a few minutes, flip to warm the other side. 

If you were wondering how to reheat smoked chicken wings, this is how to do it when you’re running out of time. 

How To Reheat Smoked Chicken Quarters In An Air Fryer

Reheating Smoked Chicken: The Best Ways To Do It Without Drying Out The Meat 18
How To Reheat Smoked Chicken Quarters In An Air Fryer

Ideal for reheating fried chicken or chicken tenders, the air fryer is versatile enough to accommodate smoked chicken thighs, wings, and other small pieces for perfect reheating.

It retains the great, crispy texture of the chicken without letting it become dry. Here’s how to do it.

  1. Preheat the air fryer for 5 minutes at 375°F (190°C) after you have read the instructions manual for your particular model. Make sure you are aware of how to preheat air fryer
  2. Arrange the smoked chicken quarters in a single layer without stacking them. 
  3. This step is optional. You can brush a layer of oil or butter to prevent the smoked chicken from getting dry while reheating. 
  4. Heat the chicken quarters for 2 minutes and then shake the basket or tray. 
  5. Continue heating for another 2 minutes
  6. Check if the internal temperature of the chicken quarters is 165°F (74°C).
  7. Remove from the tray/basket and serve. 

How To Reheat Smoked Chicken In The Microwave

Reheating Smoked Chicken: The Best Ways To Do It Without Drying Out The Meat 19
How To Reheat Smoked Chicken In The Microwave

Although the microwave is the last resort to reheat chicken, it is still a good idea to use it when you don’t have the time to reheat smoked chicken thighs or other parts on the stovetop or in the oven. 

For the best results, follow these steps:

  1. On a microwave-safe dish, arrange the chicken so that the smaller pieces are in the middle and the larger ones are close to the plate’s edge. 

This will prevent the smaller pieces of smoked chicken from drying out.

  1. Brush the chicken pieces with a mixture of water and olive oil

Alternatively, you can use any sauce, chicken broth, or salsa to moisturize the chicken to preserve its crispiness and also give it an added flavor. 

  1. Use a microwave-safe plastic wrap to cover the chicken. We recommend covering it with a food plate cover
  2. Remove the plate from the microwave after one minute on full power, then check to see if the chicken is reheated. 
  3. If not warm enough, flip and warm at 30-second intervals to reheat smoked chicken thighs thoroughly. 

Ways To Reheat BBQ Chicken

Reheating Smoked Chicken: The Best Ways To Do It Without Drying Out The Meat 20
Ways To Reheat BBQ Chicken

The best way to reheat BBQ chicken is to pop it on the BBQ. 

Put the chicken on a BBQ-safe dish and brush on BBQ sauce or any other sauce you like on the chicken for the meat moist. 

With the BBQ lid on, heat the BBQ chicken on a slow flame until the internal temperature of the chicken reaches 165°F (74°C).

If reheating on the BBQ is not an option, you can always pop the BBQ chicken in the oven within a temperature range of 300-325°F (148 -163°C) for warming it up.  

Reheating Shredded Chicken The Right Way

Reheating Smoked Chicken: The Best Ways To Do It Without Drying Out The Meat 21
Shredded Chicken

Shredded or pulled chicken is a great solution for quick meals. To store shredded chicken, you can choose either the fridge or the freezer. For freezing shredded chicken, you need to cool the cooked chicken and then freeze it in an airtight container within two hours.

You can reheat shredded chicken on the stovetop, in the microwave, or in the oven.

On the stovetop, simply put a skillet on medium heat and add butter or oil. Add the shredded chicken and stir until the temp clocks at 165°F (74°C). 

If you want to use the microwave to reheat shredded chicken, put it in a microwave-safe bowl and cover it with a damp paper towel to prevent drying. Microwave on High at one-minute intervals for five minutes. Stir after every minute. Remove the towel and serve. 

Reheating shredded chicken in the oven will require you to defrost the chicken overnight in the fridge if it’s frozen. Then put the chicken in an oven-proof dish and cover it with aluminum foil. Keep in the oven at 425°F (218°C) for 20 minutes or until the temperature of the chicken reaches 165°F (74°C). Stir in between to ensure uniform heating. 

FAQs

How To Reheat Pulled Chicken?

You can reheat pulled chicken in the same way as shredded chicken – in the oven or microwave or on a stovetop. 

Can You Reheat BBQ Chicken?

Yes, you can. Reheating BBQ chicken requires you to fire up your BBQ and reheat the chicken with the lid on and on a slow flame until the chicken hits the internal temp of 165°F (74°C). 

Can You Reheat BBQ Chicken In Air Fryer?

Yes, you can reheat BBQ chicken in an air fryer by preheating the air fryer for 5 minutes at 375°F (190°C), placing the chicken in a single layer, and reheating for 4 minutes. After 2 minutes of heating, you can brush the chicken with some BBQ sauce for moisture.