LG Ice Maker Not Working? Fix It FAST With These DIY Hacks

Is your LG refrigerator ice maker not making ice? As a former restaurant chef, I know firsthand the frustration of a faulty ice maker.

But fear not! I’ve compiled an ultimate DIY LG ice maker troubleshooting guide to help you get those cubes flowing again in hours, not days.
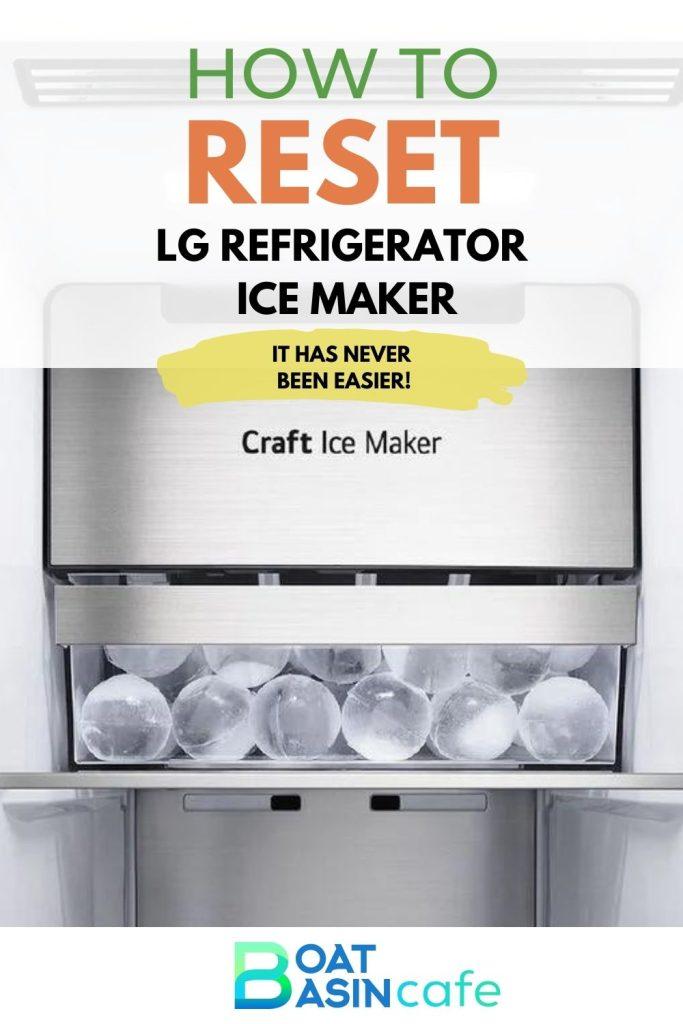
How to Reset LG Refrigerator Ice Maker in 4 Easy Steps
How to Reset LG Refrigerator Ice Maker

Quick Fix Table: Common LG Ice Maker Issues

Before we dive into detailed solutions, check out this handy table for a quick glance at common LG ice maker problems and their speedy fixes:

ProblemPossible CausesFix Steps
LG refrigerator ice maker not making ice– On/off switch accidentally bumped
– Water filter clogged
– Water line kinked or frozen
1. Check the ice maker’s on/off switch and ensure it’s in the “on” position.
2. Replace the water filter if it’s more than 6 months old.
3. Inspect the water line for kinks or signs of freezing, and straighten or thaw as needed.
Ice dispenser jammed– Large ice clumps blocking the chute
– Dispenser switch faulty or stuck
1. Use a hairdryer to melt any ice clumps in the dispenser chute.
2. Test the dispenser switch and replace it if it’s not working properly.
Slow ice production– Freezer temperature set too high
– Low water pressure
1. Adjust the freezer temperature to 0°F (-18°C) or lower.
2. Check the water pressure and ensure it’s between 20 and 120 psi. Install a pressure regulator if needed.

The 60-Second LG Ice Maker Reset That Works Like Magic
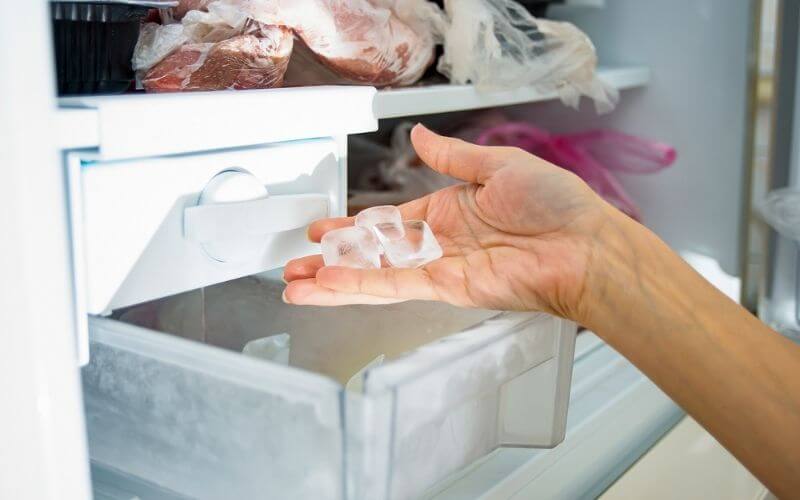
Ices

Before we roll up our sleeves and start tinkering, let’s try the fastest fix of them all: the good old-fashioned reset.

You’d be surprised how many LG ice maker problems can be solved with a simple on/off switch toggle.

💁🏻‍♂️Just follow these quick steps:

  1. Locate the on/off switch on your ice maker (usually found in the freezer compartment).
  2. Flip the switch to the “off” position, wait 5 seconds, then flip it back to “on.”
  3. Keep an eye out for the reset indicators: the ejector blades should start turning, water should begin to fill the mold, and fresh ice should drop into the bin.

Voila! If your ice maker springs back to life, congratulations – you just saved yourself a whole lot of time and trouble.

If the reset didn’t do the trick, don’t worry. We’re just getting started. But first, let’s eliminate a few common culprits:

  • Is your freezer temperature too high? Aim for 0°F (-18°C) or lower for optimal ice production.
  • Is the water line kinked or frozen? Gently straighten any kinks and thaw frozen sections with a hairdryer.
  • Is the water filter clogged? If it’s been more than six months since your last filter change, swap in a fresh one.

Fixing Common LG Ice Maker Jams Like a Pro
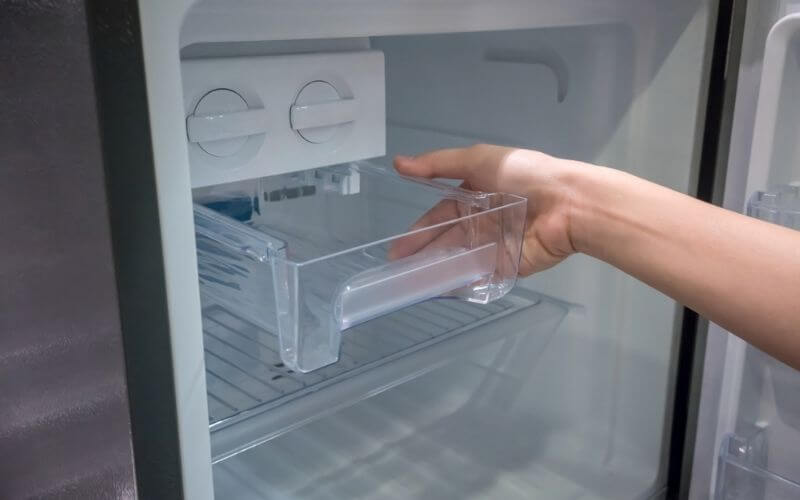
LG Ice Maker Not Working? Fix It FAST With These DIY Hacks 1

As a chef, I’ve tackled my fair share of ice maker jams. From clogged dispensers to funky-tasting cubes, I’ve seen (and fixed) it all.

Here are some of the most common LG ice maker issues and my go-to solutions:

Problem 1: Ice Dispenser Jammed

There’s nothing quite like the disappointment of reaching for ice, only to find your dispenser chute clogged with a giant, immovable clump. To break through the ice jam:

  1. Grab your trusty hairdryer and aim it at the clogged chute. The gentle heat should melt away the blockage.
  2. If the ice proves stubborn, use a plastic utensil to carefully chip away at the edges of the clog, then try the hairdryer again.
  3. Once the ice is clear, test the dispenser switch. If it’s stuck or unresponsive, you may need to replace it.

Problem 2: Ice Tastes Like Last Week’s Leftovers

Is your LG ice maker producing cubes that taste more like the back of your fridge than fresh, clean water? The likely culprits are:

  1. Freezer odors: Ice is incredibly porous and readily absorbs any funky smells lingering in your freezer. To banish the stench:
    • Remove all food items and thoroughly clean the interior with a baking soda solution.
    • Toss any old or expired items that might be causing the odor.
    • Store pungent foods in airtight containers to prevent future ice contamination.
  2. Old or dirty water filter: A past-its-prime water filter can introduce all sorts of unpleasant tastes and odors to your ice. For a quick fix:
    • Replace the filter with a fresh, LG-approved model.
    • Run a few cycles and discard the first batches of ice to flush any residual funk.

Problem 3: Slow Ice Production

Is your LG ice maker’s output more trickle than torrent? Two sneaky culprits could be to blame:

  1. Freezer temperature set too high: As any chef worth their salt knows, ice needs a brisk environment to form properly. Ensure your freezer is set to 0°F (-18°C) or lower for optimal production.
  2. Low water pressure: Your ice maker requires a steady flow of water to work its magic. If your home’s water pressure is below 20 psi, it may struggle to fill the mold in time. You can:
    • Test your water pressure with a simple gauge from the hardware store.
    • If it’s below 20 psi, consider installing a pressure boosting system to get your flow back on track.

💁🏻‍♂️ You may also like: Common LG Refrigerator Problems: Fix Them Like a Pro

When to Bring in the Big Guns (Or, When to Call a Pro)

While most LG ice maker issues can be resolved with a little DIY know-how, some problems are best left to the experts. If you’ve exhausted all troubleshooting avenues and your ice maker is still on the fritz, it might be time to call in a pro.

Here are a few surefire signs it’s time to throw in the towel and dial up an appliance repair technician:

  • Your ice maker is making scary noises that sound more like a haunted house than a kitchen appliance.
  • You’ve got a leak that’s threatening to turn your kitchen into an impromptu swimming pool.
  • Your once-cubed ice is now a surrealist sculpture that Salvador Dali would envy.
  • You’ve replaced every part but the kitchen sink (twice), and still no dice.

The Wrap-Up: Keeping Your Cool with a Well-Oiled Ice Maker

As a veteran of the Cafe industry, I know the importance of a reliable ice maker. Whether you’re serving up frosty margaritas or just trying to keep your iced tea chilly, a steady supply of clean, fresh ice is non-negotiable.

By following the tips and tricks in this guide, you’ll be well-equipped to tackle the most common LG ice maker issues with confidence and ease. And if all else fails, don’t hesitate to call in the cavalry – even the most seasoned DIYers need a little backup sometimes.

So go forth, intrepid ice maker troubleshooters, and may your freezer always be full of perfectly formed, crystal-clear cubes. And if you’ve got a quirky ice maker issue that’s got you stumped, drop a comment below – I’m always happy to lend my chef’s expertise to a fellow culinary adventurer.
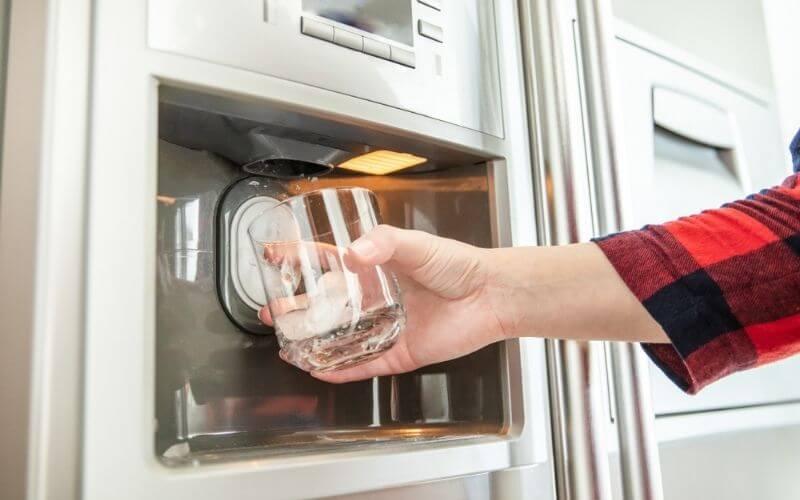
Why Does My Fridge Temperature Keep Changing? (And How You Can Fix This)

If your fridge temperature keeps changing, it’s more than an annoyance—it’s a risk to your food’s safety.

The ideal fridge temperature should be 40°F (4°C) or lower to prevent bacterial growth and food spoilage 🦠.

Multiple factors like frequent door opening and seasonal changes can affect it, but the good news is, they can be managed 🔄.

What is the Ideal Normal Fridge Temperature?

why does my fridge temperature keep changing
fridge temperature keep changing
ConditionTemperatureConsequences
Too Cold ❄️Below 40°F/4°CFreezes veggies and changes their texture.
Optimal 🟢40°F/4°CPrevents bacterial growth and spoilage.
Too Warm 🔥Above 40°F/4°CFood spoils easily.

Why Does My Refrigerator Temperature Keep Fluctuating?

A fluctuating fridge temperature is both annoying and risky. The constant rise and fall in temperature can result in bacterial growth and spoil your food quickly.

CauseImpactSolution
Frequent Door Opening 🚪Affects steady temperatureOpen only when necessary
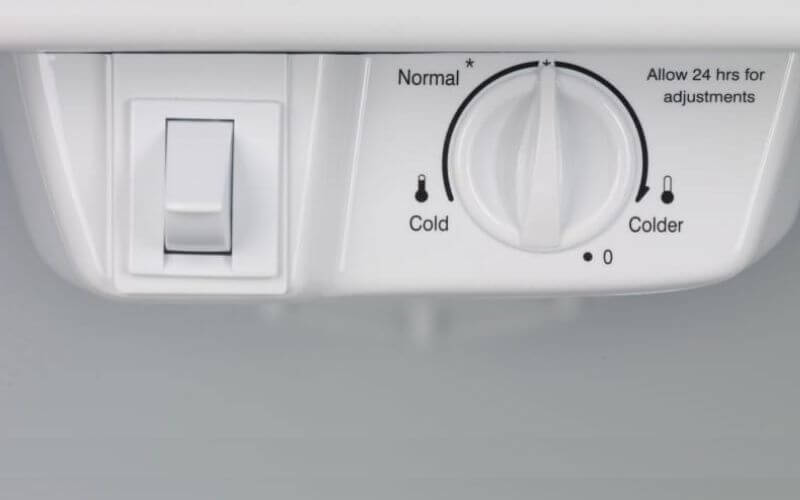
Altered Thermostat Setting 🌡️Changes in coolingCheck and reset the thermostat
Faulty Cooling System 🛠️Fridge temperature can reach 50°F overnightCall a technician
Electrical Issues ⚡Voltage spikes affect temperatureCheck electrical setup
Blocked Thermostat Sensors 🍲Makes the fridge too cold or too warmDon’t place food near the thermostat
Blocked Vents 🌬️Warm air builds up, heating the fridgeEnsure proper ventilation
Dirty Compressor Coils 🌀Causes wild temperature fluctuationsClean the coils

You Keep Opening the Fridge Door🚪

If the fridge door is opened and closed repeatedly or is kept open for a long time, the fridge will be unable to maintain a steady and constant temperature.

The Thermostat Setting was Altered🌡️

Check the thermostat if your refrigerator has a bad temperature sensor, you may need to contact the manufacturer for a replacement.

The Problem with a Refrigerator Temperature at 50 Degrees

Why Does My Fridge Temperature Keep Changing? (And How You Can Fix This) 2
50 degrees Fahrenheit

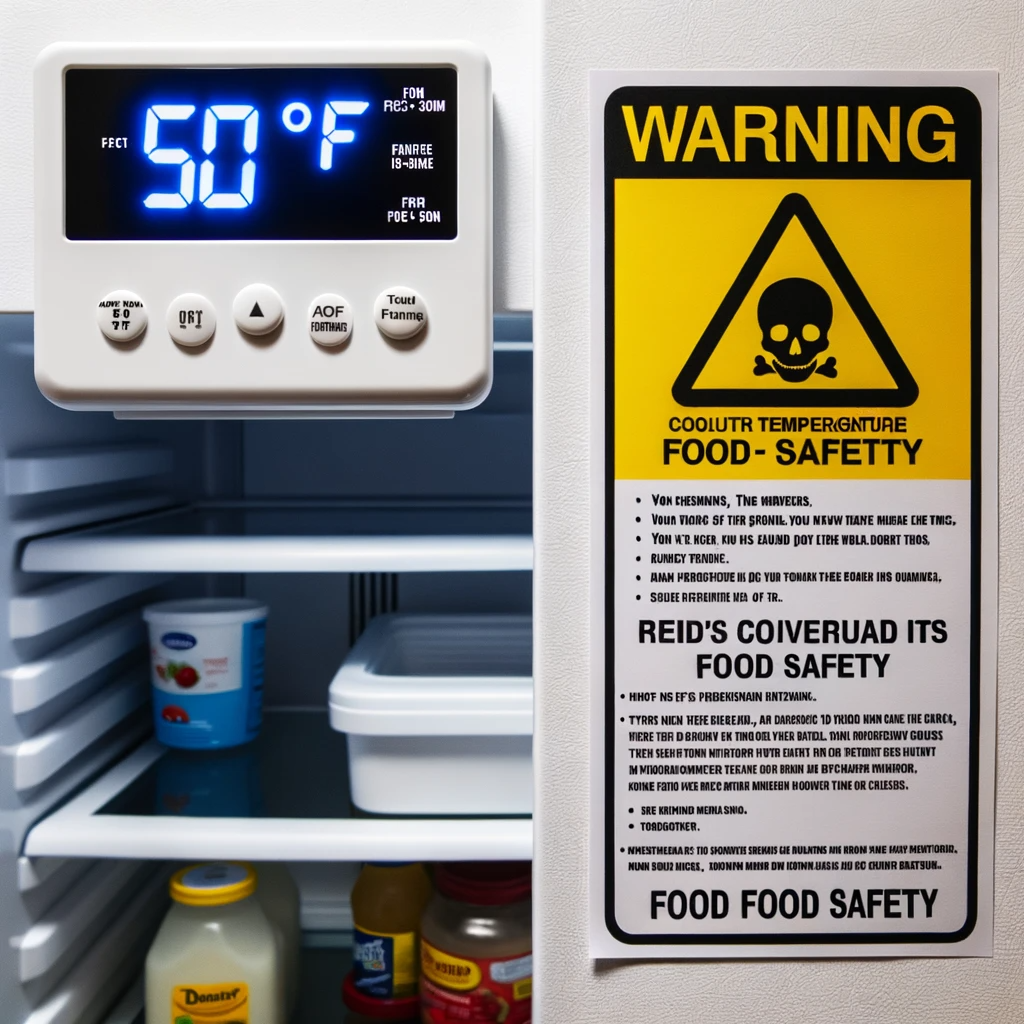
Keeping your refrigerator at the right temperature is crucial for food safety. When your fridge is consistently at 50 degrees, you put yourself at risk of foodborne illness.

  • 50 degrees is not a safe temperature for food storage. At this temperature, bacteria can grow quickly, leading to foodborne illness.
  • To fix the issue, first check the thermostat setting. If the temperature is correct, but the fridge is still at 50 degrees, you might need to call a technician.

Importance of the Temperature Danger Zone

Normal Fridge Temperature

Why You Should Be Concerned Understanding the temperature danger zone is important for food safety. This range is usually between 40 and 140 degrees Fahrenheit. When food is in this zone, it is more susceptible to potentially harmful bacteria growth.

How to Avoid Risks

  • Store foods below or above the temperature danger zone to minimize the risk of bacterial growth.
  • Use a calibrated food thermometer to ensure your fridge and freezer are set at the correct temperatures.
  • Always keep hot and cold foods cold, and don’t leave food at room temperature for extended periods.

👩‍🍳 Read More: Refrigerator Maintenance Tips

FAQs

Below, you’ll find answers to questions we get asked the most about why is my refrigerator temperature not constant.

01. What is the Best Refrigerator Temperature?

The optimum temperature for a fridge is between 0°C and 4°C or 40°F and 32°F.

02. How to Test a Refrigerator Thermostat?

Put a glass of water with a thermometer in it in the middle rack of the fridge. Wait 5-6 hours before measuring to see what temperature the thermostat is set to.

03. What Would Make a Refrigerator Stop Getting Cold?

Food blocking the thermostat sensor, a dirty compressor coil, or even opening and closing the fridge door too often.

04. How to Check Fridge Temperature without the Thermometer?

You can put a glass or bottle of water in the fridge to estimate the temperature. After 5-6 hours, take it out of the fridge and look at the water container. 
Keep an eye out for condensation; the faster it appears on the surface, the colder the temperature.

05. Why is My Fridge Not Cold?

Ensure no food is at the back of the fridge, blocking any sensors. Also, blocked vents and coils can cause fridges to heat up.

06. How Do I Find the GE Profile Refrigerator Troubleshooting Temperature?

If your fridge isn’t cooling properly, ensure the thermostat and sensors are working properly, and the temperature is set to the correct number. If this doesn’t work, contact customer service.

07. What Should the Internal Temperature of My Fridge Be?

The internal temperature of your fridge should ideally be between 0C and 4C or 40F and 32F. Anything outside this range could lead to food spoilage.

08. What Is the Hot Holding Temperature for Foods in My Fridge?

While your fridge is not designed for hot holding, if you are storing cooked foods, the hot holding temperature should not exceed 140 degrees Fahrenheit to minimize bacterial growth.

09. Why Does My Fridge Temperature Exceed 140 Degrees Fahrenheit?

If your fridge temperature ever exceeds 140 degrees Fahrenheit, it is a sign of a serious malfunction and you should seek immediate professional help. This temperature is unsafe for food storage and could lead to foodborne illnesses.

In All

The next time your cold brew is too warm for your liking, you won’t have to ask yourself: why does my fridge keep changing temperature? You’ll know just what to do.

Refrigerator Maintenance Tips: How to Keep Your Fridge Running Smoothly

Ever find your morning juice lukewarm and leftovers spoiled? Your fridge needs regular care to work well. Good maintenance saves you money and hassle.

[su_box title=”Essential Fridge Care for Longer Life

” style=”default” box_color=”#1383C8″ title_color=”#FFFFFF” radius=”3″]Coil Clean: Vacuum condenser coils twice a year. Helps the fridge run better.

Seal Test: Wipe and check door seals. Replace if damaged.

Temperature: Keep fridge at 37-40°F for best performance.

Stay Stocked: A full fridge uses less energy.

Quick Cleanup: Wipe spills right away to prevent mold and bad smells.[/su_box]

Essential Refrigerator Cleaning Practices

Refrigerator Maintenance Tips: How to Keep Your Fridge Running Smoothly 3
Refrigerator Cleaning

Your refrigerator needs regular cleaning to work well and stay hygienic. Not cleaning it can lead to higher energy use, a shorter lifespan, and even health risks.🌡️

For example, clean up spills like soup or eggs right away. Quick action saves time and prevents bacterial growth.

One study shows that bacteria like Listeria can grow fast in unclean fridges. This can cause serious health problems.🦠

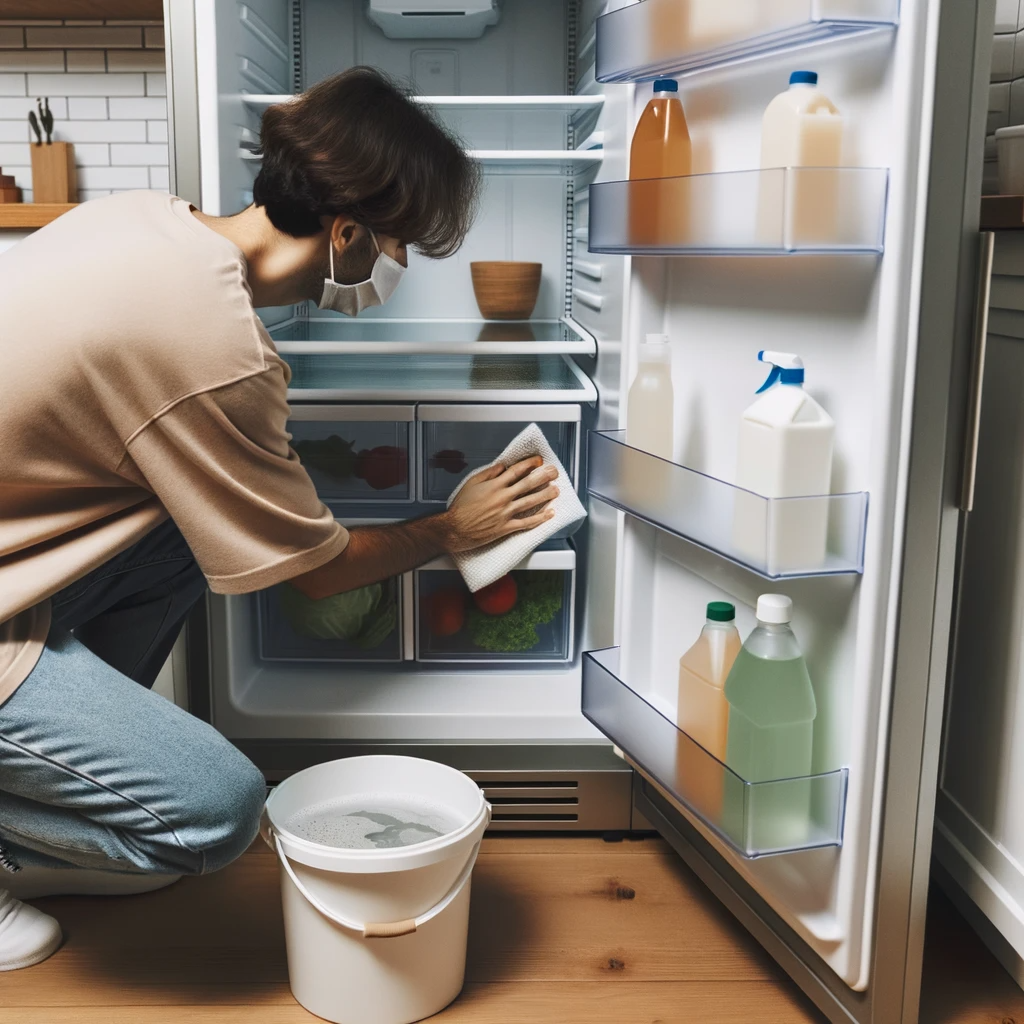
A monthly deep-cleaning is also helpful. Remove all food and toss expired items. Check for moldy produce. Wipe the inside with warm water and mild soap.

Rinse and dry it well. Deep-cleaning reaches spots that daily cleaning might miss. It’s like going to the dentist for a thorough clean, even if you brush every day.😁

Now, let’s focus on why quick cleaning matters.

Quick Response to Spills and Stains

Immediate attention to spills is crucial because it impacts both hygiene and fridge performance. Spills can block proper airflow in the fridge. The longer spills sit, the harder they are to clean. 🌬️

Spilled sugary drinks can be a problem. These spills can attract ants and other insects. They also interfere with the fridge’s temperature settings and could even attract termites over time. 🐜

Stains on wire racks are hard to remove if left unattended. These stains can block air circulation, leading to higher energy use and potentially spoiled food. 🍲

Being busy is no excuse for neglecting quick cleaning. A fast response doesn’t mean scrubbing every corner; a quick wipe with warm soapy water will do. 🕒

The next section will cover monthly deep-cleaning routines. These will help keep your fridge free from grime and moldy spots. More on this later. 😷

Monthly In-Depth Cleaning

Cleaning your fridge monthly is essential for its longevity and efficiency. Monthly cleaning prevents odors, stains, and bacterial growth. If you skip regular cleaning, you risk mold, unsafe food, and appliance breakdowns.

Steps for monthly cleaning start with emptying the fridge. Remove all items and throw away spoiled foods. Wipe down shelves, bins, and trays with warm soapy water. Focus on crevices where spills and crumbs may hide.

Don’t forget the door seals. A damaged seal can cause air leaks, more energy use, and less effective cooling. Clean the seal with a baking soda and water mix.

For hard-to-reach spots, use small tools like toothbrushes or cotton swabs. This gets rid of tough stains and grime. Monthly deep cleaning prevents issues between regular check-ups.

After monthly cleaning, regular check-ups are next. These keep your fridge in optimal condition.

Regular Check-ups for Optimal Refrigerator Performance

Refrigerator Maintenance Tips: How to Keep Your Fridge Running Smoothly 4
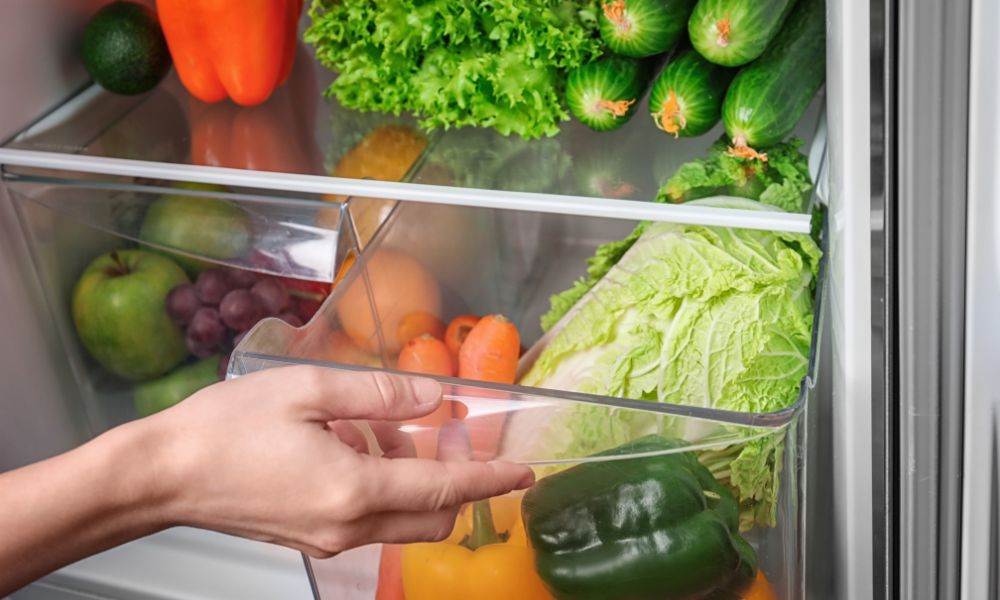
Refrigerator drawer

Regular check-ups are important in addition to routine cleaning. These check-ups focus on three core areas for proper appliance functioning.

Temperature levels are critical for performance. The ideal range is 37-40 degrees Fahrenheit for the fridge and 0 degrees for the freezer. A thermometer can help maintain this. Incorrect temperatures can lead to more energy use or spoilage.

Replacing filters is another key step. Change the water filter about every six months. Even if you have concerns about built-in filtration systems, keeping filters updated is essential.

Cleaning refrigerator coils is crucial. Think of these coils as the fridge’s lungs. When clogged, they reduce efficiency and can even cause breakdowns. Keeping coils clean ensures optimal performance.

In summary, regular practices keep your fridge efficient. Monthly cleanouts, temperature checks, filter monitoring, and coil cleaning make a difference. Following these steps will keep your fridge running well for years.

  • The U.S Department of Energy estimates that proper refrigerator maintenance can reduce energy consumption by up to 15%, based on average household usage.
  • According to a study published in the Journal of Applied Energy, regular cleaning of refrigerator coils can increase efficiency by around 30%.
  • A report from the Food and Drug Administration advises that refrigerators should maintain a steady temperature of 40 degrees Fahrenheit or below to minimize bacterial growth, something that recurrent checks and maintenance can ensure.

Maintaining Ideal Temperature and Humidity Levels

Your fridge has an ideal temperature range of 37-38 degrees Fahrenheit, and the freezer should be at 0 degrees. Staying in this range is key for food safety and appliance performance.

Regular temperature checks are needed, especially after power outages or adding lots of new groceries. A thermometer can help you monitor this.

Controlling humidity is also important for food quality. Different foods need different humidity levels. Use crisper drawers for fruits that need higher humidity and regular shelves for others.

Keep ethylene-emitting fruits separate. Apples and bananas release ethylene gas. Store them away from vegetables and delicate fruits to avoid wilting.

Don’t overcrowd your fridge. Too many groceries block air circulation, causing uneven cooling and higher humidity.

Clean filters for optimal performance. This is as important as keeping the right temperature and humidity levels.

Monitoring and Replacing Filters as Needed

Air filters in modern fridges are important. They use activated charcoal to remove impurities and odors. Regular checks for dirt or poor air quality help keep them effective.

Change filters when dirty or every six months. Neglecting this can result in bad smells and mold growth inside the fridge.

Consult your user manual for specific guidelines. Different fridge models have different filter replacement intervals.

Consider additional air quality measures. An air purifier or plants near the fridge can further improve air quality and add to indoor aesthetics.

Don’t neglect filters even if they seem optional. While some fridges function without them, maintaining filters is important if your unit has them.

Regular filter changes save energy and extend fridge life. A clogged filter makes the fridge work harder, using more electricity. This simple task minimizes costly repairs in the long run.

Maintaining Your Refrigerator’s Energy Efficiency

defrosting refrigerators

Refrigerators consume the most energy among household appliances. Proper maintenance is key for optimal energy efficiency. Here are some checks and adjustments for your fridge.

Maintaining door seals boosts energy efficiency. Check the seals twice a year and keep them clean. A dollar-bill test can help you know when to replace them.

Keeping your fridge stocked saves energy. An empty fridge loses cold air faster, making it work harder. Stock it with water jugs, fruits, or vegetables that retain moisture.

Think of your fridge like a leaky bucket. Just as water escapes from holes in a bucket, cold air escapes from an empty fridge. Keeping it full makes it more efficient.

Refreshing thermal mass reduces energy usage. This helps maintain low temperatures inside your fridge. More on this in the next section.

Checking and Maintaining Door Seals

Door seals affect more than just energy efficiency. Poor seals can also cause moisture buildup, leading to bacteria growth and bad smells. Here’s how to ensure a tight door seal.

Cleaning with baking soda and water helps. Scrubbing the seals with this mixture prevents food debris and stains from affecting the seal.

Watch for physical damage on the seals. Cracks or tears mean it’s time to replace them. Ignoring this can lead to costly repairs.

Even minor damages are a problem. Small tears in the seals can severely impact their effectiveness. They are designed to create an airtight seal, so never underestimate even minor damage.

Proper care of door seals is just a part of fridge maintenance. More tips on keeping your fridge running smoothly will follow.

Importance of Refreshing Thermal Mass

Refreshing thermal mass is key for energy efficiency. Thermal mass refers to the amount of food and drinks in your fridge. A filled fridge maintains low temperatures with less energy use.

An empty fridge works harder. When the fridge is nearly empty and you open the door, cold air escapes easily. This makes the fridge work more to keep the temperature low.

Energy Star confirms a full fridge is efficient. A full fridge balances the temperature and eases the workload on the compressor, reducing energy use.

Thermal mass is like home insulation. Just as insulation keeps your home warm and saves energy, a filled fridge does the same.

Refreshing thermal mass is easy. Fill empty spaces with water jugs, fresh produce, or leftovers. This not only improves fridge efficiency but also promotes healthier eating and reduces food waste.

Maintaining the Refrigerator’s Exterior Mechanisms

Don’t Neglect the Exterior of Your Fridge Cleaning the inside of your fridge is important, but don’t forget about the exterior mechanisms. These include condenser coils, fan blades, and the compressor. They keep your fridge running efficiently.

The Cost of Dirty Coils and Fans If coils or fans are dirty, your fridge has to work harder. This uses more energy and increases your bills. For example, pet fur in fan blades can slow down airflow, causing overheating and potential breakdowns.

Is It Too Time-Consuming? Some people avoid this task because it seems hard or time-consuming. But ignoring it can cost more in the long run.

How to Maintain Exterior Mechanisms To clean these parts, unplug your fridge and move it away from the wall. Use a vacuum with a brush attachment to clean dust, dirt, or pet hair from coils and fan blades. You might need to remove grates or covers for better access. Do this cleaning every six months or as needed.

Regularly Cleaning Refrigerator Coils

Importance of Cleaning Exterior Coils

The exterior components of your fridge, specifically the condenser coils, are crucial for efficient performance. Dirty coils reduce cooling capacity and increase energy consumption, possibly leading to mechanical failure.

What Do Condenser Coils Do?

Located either at the bottom front or back of your fridge, these coils help remove heat from the inside. When clogged with dust or debris, they can make your fridge work harder, raising your energy bills and shortening the fridge’s lifespan.

How to Clean Coils

To clean the coils, pull your fridge away from the wall and unplug it. Use a vacuum cleaner with a brush attachment to remove dust and dirt. Handle the coils gently to avoid damage.

Think of Your Fridge Like a Car Engine

Just as a car needs regular maintenance to run well, so does your fridge. Cleaning the coils is a key part of this upkeep. Aim to do it twice a year to keep your appliance running smoothly.

Tips to Reduce Limescale Buildup

What is Limescale?

Limescale is a white, alkaline substance that forms from hard water evaporation. It can accumulate around your fridge’s water dispenser or ice maker. Over time, limescale can affect your appliance’s performance and energy efficiency.

Prevention Steps

To prevent limescale, promptly clean any spills or leaks inside the fridge. Leftover moisture can evaporate, leaving minerals that contribute to limescale.

How to Remove Limescale

For existing limescale, use a mixture of equal parts water and vinegar. Spray it on the affected areas and wipe down. The vinegar’s acidity will dissolve the mineral buildup and sanitize surfaces. Avoid using abrasive cleaners that could damage your fridge.

Is Limescale a Big Deal?

While limescale may not affect the quality of food stored, it can lead to appliance malfunctions and increase repair costs. Therefore, it’s important to address it.

Additional Prevention Method

If you live in an area with hard water, consider investing in a water softener. This can significantly reduce mineral buildup and prolong the life of your appliances.

Importance of Limescale Prevention

Preventing limescale is part of a broader maintenance strategy for your fridge. Along with cleaning exterior coils and regular internal cleaning, it helps extend the lifespan of your appliance, improve energy efficiency, and save you money in the long run.

How to Defrost a Mini Fridge the Easiest Way!

There used to be a time when mini-fridges were associated with dorms and small apartments only. But now, almost everybody has a mini-fridge somewhere in their house. 

Some like to put a fridge in the gaming room while others enjoy a small fridge in the master bedroom. Who says you can’t be luxurious on a budget?

While we all love the functionality and compact features of a mini-fridge, we don’t regularly clean or take care of it. A big part of it is because defrosting a deep freezer seems like too much work to do. 

In this article, you will find how to easily defrost a mini-fridge and some other helpful tips to make the process super simple. 

But first, let’s talk about the different types of freezers out there. Not all of them use the same cleaning process!

You may also like: How to Reset Ice Maker on LG Refrigerator

What is a Frost-free Freezer?

We have all heard this term many times in our lives. There are usually two types of freezers in the market: frost-free and manual defrost. But what do they actually mean?

A frost-free freezer is a type of freezer with a built-in technology that prevents any buildups of ice particles. We all know about manual defrost refrigerators. We grew up with them. They always have a thick layer of ice inside which needs to be cleaned and removed once every few months.

Frost-free freezers don’t have that. As they have little to no first, cleaning and maintenance are very simple. 

Most people prefer frost-free options nowadays. There are also auto defrosting freezers that come with a hose to remove excess water.

Best Way to Defrost a Freezer

how to defrost a mini fridge
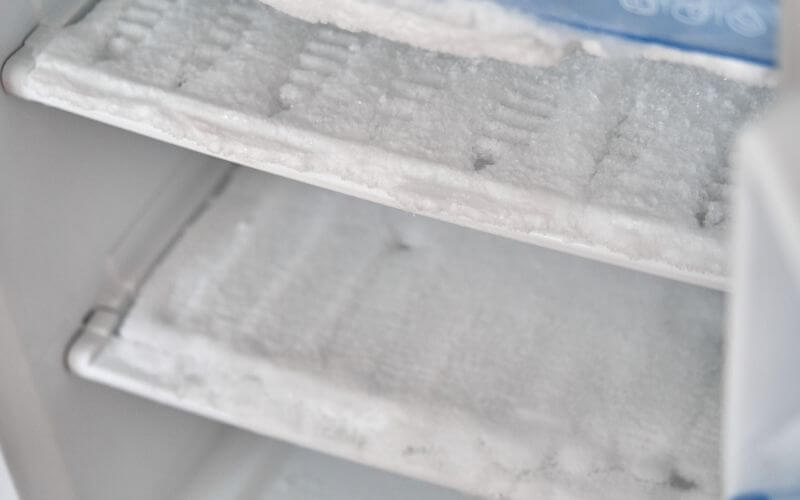
mini fridge ice build up

If you have a manual defrosting freezer, removing the thick layer of ice every few months is very important. Otherwise, you love a lot of storage space, and the overall performance of your freezer decreases. When everything in the freezer covered in frost, you know it’s time to clean. 

As high-maintenance as it might seem, defrosting refrigerators is really very easy to do. Btw, this is the same way you defrost a fridge freezer combo.

Before You Defrost:

Here’s what you should do to remove mini fridge ice build up without too many complications:

  1. Try to eat all the food throughout the week to empty the freezer as much as possible. If you have a big freezer, reorganizing everything after cleaning can feel like a lot of work. So eating all the food you won’t be needing a few weeks later is a smart idea to solve this problem.
  2. If you can, find a cooler to temporarily store raw meat/fish until the cleaning is done. Cleaning a freezer takes a few hours including the defrosting time. If you leave the raw food on the countertop, they can rot. So find a cooker and put the food there.

What You Need:

  • Hot water
  • Spatula
  • Old rug/towels
  • Dishcloths
  • Bakings sheet

Here’s what we found to be the best way to defrost an upright freezer:

01. Turn off the Freezer:

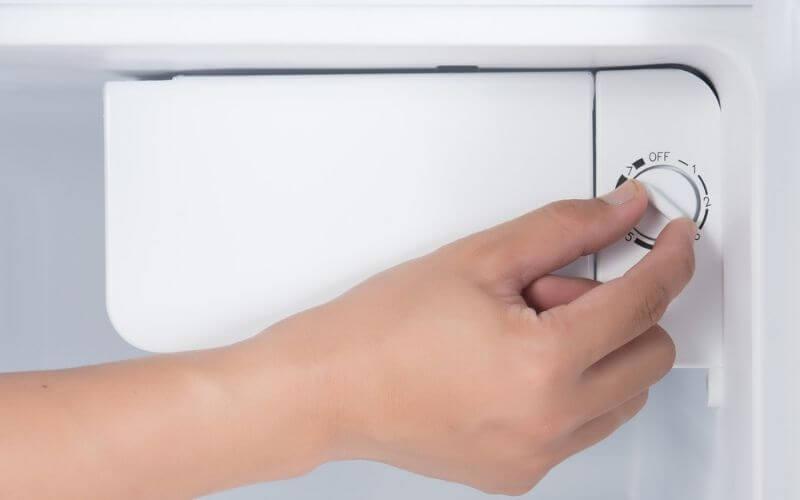
The first thing you should do is turn off the freezer. Some fridges have an only on/off button for both the freezer and the refrigerator. 

For those, you will have to unplug the whole thing. If you do not have a time limitation, just letting the freezer sit like this for a few hours will be enough to defrost it. 

02. Place the Towels:

Before you start defrosting, lay down some old towels and fabrics at the bottom layer of your freezer. We would advise placing some cotton fabrics in front of your refrigerator too, in case there is a spillage. 

When you defrost it, there will be a lot of water. So if you do not follow this step, the whole kitchen will end up messy and wet. 

You can also put baking trays to catch the extra water. 

03. Remove the Shelves:

If you are trying to remove the frost faster, remove the shelves and all the removable arts inside the freezer. It’s important to leave the door open to let fresh and warm air travel inside. 

You can remove the drawers too. This is a good time to soak them in soapy warm water to thoroughly wash them later. While you are waiting for the freezer to defrost, you can go ahead and clean them. 

Some shelves might get stuck due to the overgrown frost. Just let it sit like that for 10 minutes and you will be able to remove it. 

04. Use Your Scraper:

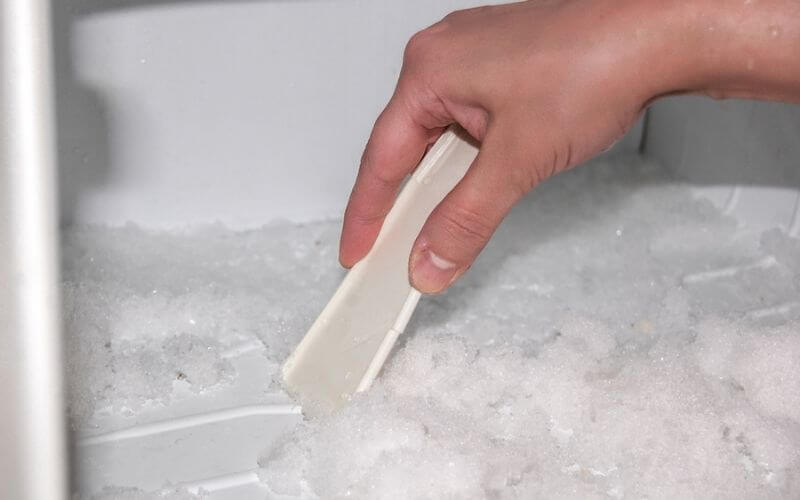
defrost a freezer quickly

After you have removed all the parts inside the freezer, use a plastic spatula to scrape off the thin layer of frost. You won’t be able to remove all ice this way but scraping off the frost layer by layer helps to melt the ice faster. 

You can also use a proper ice scraper, designed to be very safe for the freezer. Make sure to not use anything too sharp as it can damage the lining. 

05. Bring Out Hot Water:

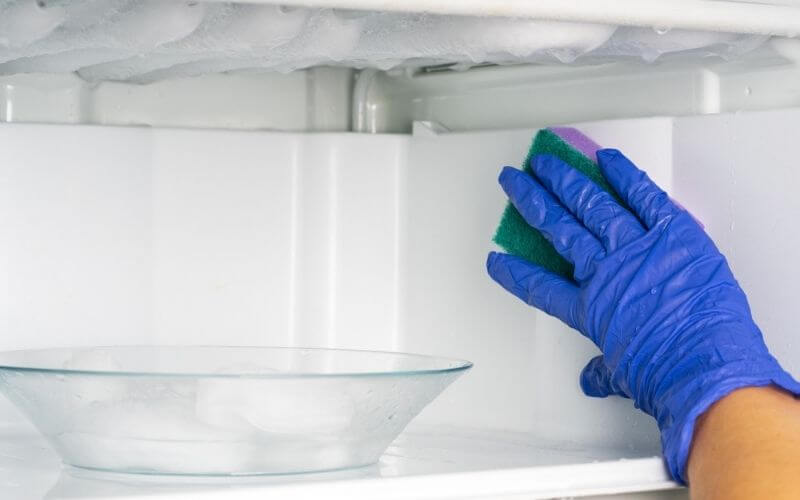
If you want a faster-defrosting result, boil about a liter of water until it is super hot. Then pour it into a large bowl and place the bow inside the freezer. Let it sit for a while and you will notice the ice has started to melt. 

This is a very easy and convenient way to defrost. You can change the water continuously as it starts to cool down. 

06. Use Hairdryers:

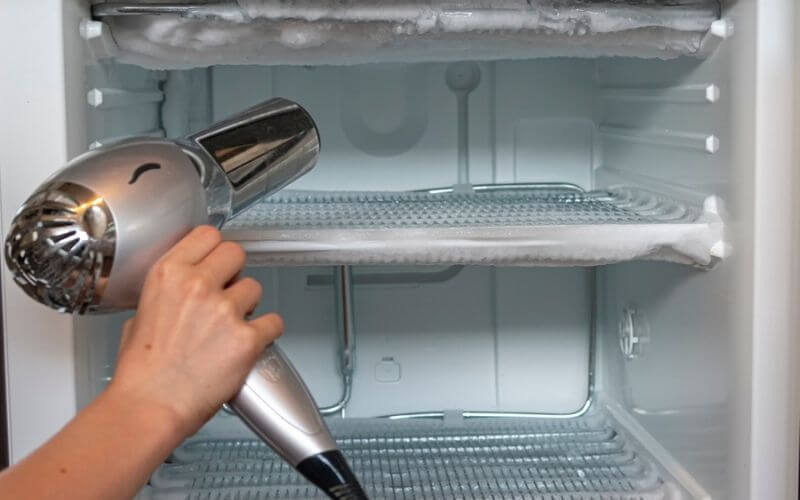
defrost a deep freezer

If this is not fast enough, use a hairdryer or a blow dryer to melt the ice using hot air. Make sure to keep the hairdryer six inches away from the lining of the freezer. Otherwise, it can damage the surface. 

This process can work wonderfully if you are being very careful. If you are someone who is clumsy with gadgets, we don’t recommend using them. But if you can use it, the process speeds up rapidly and you won’t have to spend 30-40 minutes on defrosting. 

07. Keep on Scrapin: 

After using hot water and a blow dryer, you will notice the ice has started to melt by itself. You don’t have to work too much at this point. Apply a gentle pressure sign to your scraper and you will see chunks of ice falling down the walls. 

If you want to know how to remove ice from freezer without defrosting, the process is fairly simple. Just wipe the fridge with hot cloth to meth the thin layers of frost. This is a good trick if there isn’t too much ice or if you don’t have time for deep cleaning.

And that’s about it. Defrosting a mini freezer or any freezer is that easy! Now let’s talk about how to clean it. 

How to Clean a Mini Fridge

Clean a Mini Fridge
Clean a Mini Fridge

After you are done defrosting, it’s time to properly clean the freezer and the fridge. As this kitchen appliance is used every single day, it needs frequent cleaning. Otherwise, the performance decreases a lot. Here’s how to clean a minifridge very easily:

What You Need:

  • Dishwashing liquid
  • Baking soda
  • Washcloth
  • Towels 

Here’s our step-by-step guide on how to clean a mini-fridge:

01. Empty the Fridge:

Remove all the food and containers from the fridge including sauce bottles and milk. This is a good time to check which food items have perished or expired. Throw them away and only keep the fresh ones.

02. Remove All Drawers:

Remove all the drawers and shelves from the fridge. As we have mentioned earlier, soak them in warm water with soap to weaken the grease and grimes. 

Use a sponge or washcloth to gently wipe away the inside of the fridge. Use soap if there are any tough grimes stuck to the surface.  

03. Use Dishwashing Liquid:

Use a sponge and dishwashing soap to clean all the compartments thoroughly. Wash them in the sink in cold water. 

04. Use Baking Soda:

If your fridge has a bad odor, pour some baking soda on a dish and let it sit inside for a couple of hours. Keep the door open during this time. The baking soda will soak all the impurities from the air. 

If this method does not work, keep the door open for a few hours while the fridge is unplugged. Make sure the room is well ventilated.  

05. Clean the Exterior:

After you are done, use a wet fabric to wipe the outer body of the fridge too. It is ideal to clean the exterior of the fridge once a week. As we touch the handles very frequently, bacteria and germs tend to stick to those places a lot. So make sure to clean.

06. Let It Dry:

Let all the parts and compartments dry thoroughly before putting them back into the fridge. 

And that’s it. Cleaning a mini-fridge is that easy to do! So do it more!

Helpful Tips to Maintain a Mini Fridge

manual defrost refrigerator

Using a mini-fridge is not all the same as using a regular refrigerator. Taking care of it is necessary if you want it to work efficiently. We have found these key things to be very useful in the maintenance of a mini-fridge:

  • Do not keep your fridge where sunlight directly heats it. It is not ideal to keep the fridge straight in front of any heater or furnace either. Make sure it is in a dry and cool place.
  • Do not overstock or overcrowd the mini-fridge with too much stuff. Keep the food at a certain distance from each other so the cold air can travel everywhere easily. 
  • Do regular cleaning once a month to prevent any molds from growing inside. 
  • Use baking soda to clean the mini-fridge as it removes unwanted odors. 
  • Do not put any food openly inside the fridge. Instead, keep them all inside Tupperware and boxes to prevent any funky smell from occurring. 

Frequently Asked Questions (FAQs)

01. How Long Does It Take to Defrost a Refrigerator?

If you are planning to do it manually and letting the ice melt by itself, defrosting can take 2-3 hours. It takes longer during wintertime. 

But if you use hot water or a blow dryer, the whole process becomes much faster. It will only take an hour to defrost using our process.

02. How Long Does It Take a Mini Fridge to Get Cold?

Time might vary depending on the model and brand you have. But usually, it takes four hours to have a decent amount of coolness. There are some advanced fridges that take only to hours to cool down but usually, you will have to wait much longer,

The standard freezer takes 24 hours to reach the maximum cooling capacity. So if you have a brand new mini fridge or you have just cleaned the whole thing thoroughly, let it sit for a day and then reload it with food. 

03. Why Won’t My Mini Fridge Get Cold?

If your mini-fridge is not properly cooling down like it used to, it can be very well because of poor maintenance. Ask yourself when was the last time you cleaned your mini-fridge? If it was more than a few months ago, there you have the answer.

If your fridge is clean but it still isn’t cooling down, there might be a problem with the air vents. Sometimes if the door doesn’t close properly, it increases the internal temperature. So make sure to check that as well.  

Takeaway

Now that you know how to defrost, clean, and maintain your mini-fridge, we hope you will take good care of it. A mini-fridge is a very convenient and useful gadget to have not only in a dorm but in your game room or lounge area. 

Was this article helpful?

Let us know in the comments!