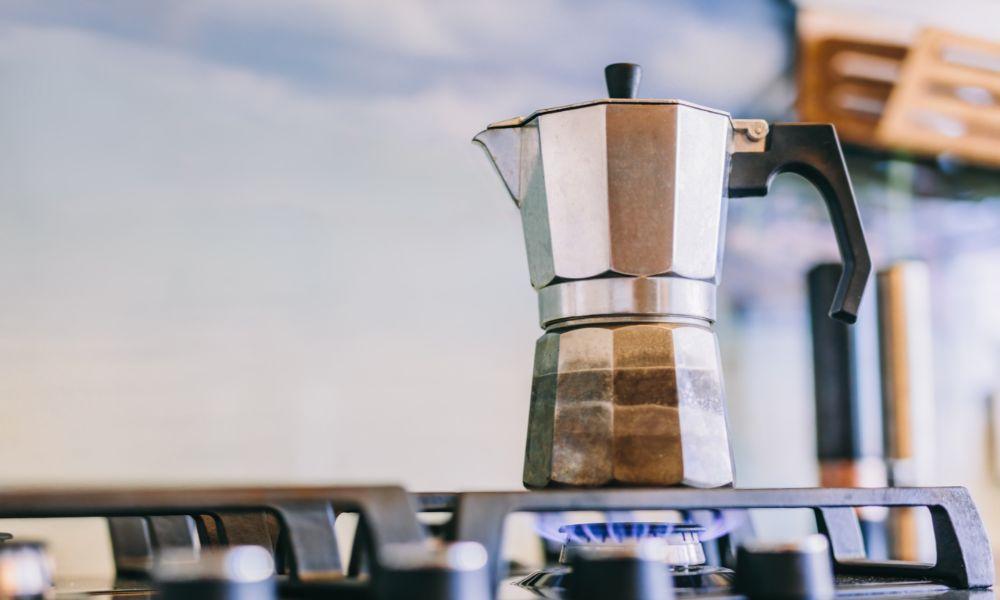
Ah, coffee! It’s more than just a morning boost—it’s an essential part of daily life. Have you ever tried to brew coffee using a Stovetop Espresso Maker, also known as the Moka Pot? If not, then you’re in for a treat.
From my days at Boat Basin Cafe in Downtown New York, I can attest that the aroma and flavor of stovetop-brewed coffee truly stand out. The following comprehensive guide will take you through the fundamentals of perfecting your stovetop espresso brewing skills.
Selecting the Perfect Moka Pot

Choosing the right equipment is the first step to brewing the perfect espresso. There are various types of Moka Pots available in the market designed to cater to everyone from the novice to the coffee connoisseurs. You might find a Moka Pot perfectly suitable for your needs under $50 with incredible reviews. Personally, I started my stovetop brewing journey with a Bialetti Moka Pot—a brand known for its quality and affordability.
Consider factors like capacity, material, and the method of heating when selecting your Moka Pot. With materials ranging from aluminum to stainless steel, there’s something for everyone. And for those who love spending time outdoors, a Moka Pot doubles as an excellent portable coffee maker, perfect for brewing over a campfire.
Achieving Perfect Coffee Grind Consistency
Getting the right coffee grind size is crucial when brewing with a Stovetop Espresso Maker. Grind size can greatly influence the final taste of your coffee—a coarse grind can make your coffee taste weak, while a fine grind can lead it to be overly strong and bitter.
But fret not! Aim for a grind that’s somewhere between espresso and drip coffee grind size. If you’re unsure, using a burr grinder will help you achieve the perfect balance. Remember, always grind your beans just before brewing to ensure the freshest taste.
Managing Water Temperature and Preheating

Managing water temperature is essential to ensure adequate extraction. If the water is too hot, it might burn the coffee, and if too cool, your brew might taste under-extracted and weak.
Begin with water that’s freshly off the boil—but slightly cooled. This provides an ideal heat level without causing over-extraction or burning of the grounds. In terms of preheating the water, this typically depends on the size of your Moka Pot and your coffee preference. For smaller pots, preheating isn’t usually necessary. However, with larger coffee makers, preheating can help maintain consistent heat throughout the process, guaranteeing a strong and smooth tasting cup of coffee.
Correctly Loading and Leveling the Coffee
When it comes to the right method of loading your coffee into the Moka Pot, avoid overpacking the filter basket. Overpacking can lead to pressure-related issues like leakage and negatively affect the quality of your coffee.
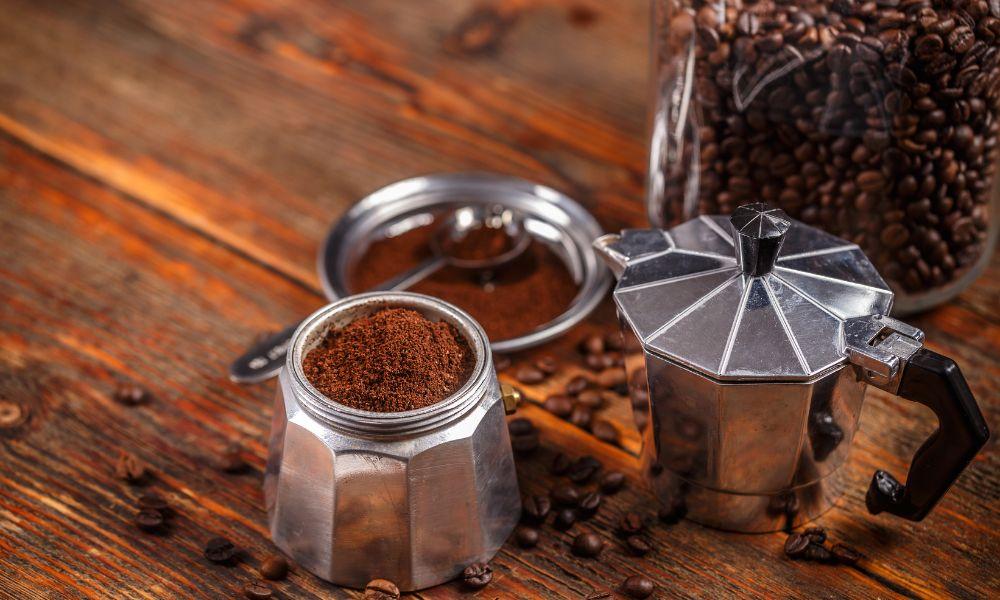
Hence, rather than tightly packing your filter basket, lightly fill it with coffee ground and level off the excess. This strategy not only ensures a simple brewing process but also lends you a delightful well-extracted cup of coffee.
Assembling and Heating the Moka Pot
Proper assembly of your Moka Pot is crucial to prevent leakage or disturbances in the brewing process. Make sure your Moka Pot is dry and clean (specifically the threads), fit the filter basket into the boiler section, and screw the coffee collector on securely.
For the heat source, anything ranging from an electric stove to an open campfire can be used. Remember, medium heat is key. Excessively high heat can rush the brewing process and might adversely affect the flavor of your coffee.
Undertaking the Brewing and Extraction Process
Get ready for some magic! Once you place your Moka Pot on the heat source, wait for the water to heat up, create pressure, and push a stream of coffee slowly up through the upper chamber.
Most importantly, monitor your brew. Listening out for a hissing, bubbling sound is essential. This sound indicates that your coffee is about to start making its way into the upper chamber. Keeping an eye on your brew ensures you avoid over-extraction, which could potentially make your coffee taste bitter.
Knowing When to Serve Your Stovetop Espresso
As your coffee starts to appear in the upper chamber, allow the brew to form a rich, deep honey color. Once the coffee starts to appear as a pale-yellow froth, it’s time to remove it from the heat source.
Note of caution – avoid waiting for every last bit of water to get pushed through the grounds as that would lead to over-extraction, potentially giving your coffee a bitter aftertaste. Let the residual heat extract the remaining liquid.
Voila! Your pot of gold is now ready to serve. Pour yourself a cup of this aromatic stovetop espresso and savor each sip.
Cleaning and Maintaining Your Stovetop Brewer

To ensure that your Stovetop Espresso Maker serves you well for a good few years, proper cleaning and maintenance are crucial. After each use, rinse the pot thoroughly with warm water and let it air dry. Avoid using soap and never put your Moka Pot in the dishwasher.
For maintenance, it’s a good practice to perform a ‘deep clean’ every month or so, depending on your usage. You can do this using a solution of vinegar and water to remove any build-up. Hard-to-reach crevices may be cleaned with a bristle brush.
Troubleshooting Common Brewing Issues
Even the most experienced coffee brewers might face a hiccup or two when using a Stovetop Espresso Maker. Here are some common issues you might face along with their solutions to keep your brewing journey smooth:
- Weak coffee: This can be due to the incorrect coffee grind size or incorrect heating time. Try using a finer grind and adjust your heating time.
- Leakage: Make sure you’re not overfilling the water reservoir, and your coffee grounds are not packed too tightly. Check the assembly of your Moka Pot for any improper fittings.
- Bitter taste: This could be due to over-extraction, excessively hot water, or coffee grounds that are too fine. Experiment with your process until you find what suits your palate best.
FAQs
What type of coffee grind should I use for a Moka Pot?
You should aim for a grind that’s somewhere between espresso and drip coffee grind size. Using freshly ground beans will yield the best results.
How much coffee should I add to the filter basket?
How much coffee should I add to the filter basket?
Should I preheat the water I pour into the Moka Pot?
This usually depends on your preference and the size of your Moka Pot. Preheating the water is generally done for larger pots to maintain consistent temperature throughout the brewing process.
What temperature should the stovetop be for brewing espresso with a Moka Pot?
Medium heat is ideal. Using too high a heat can rush the brewing process and affect your coffee’s flavor.
How do I know when my stovetop espresso is ready to serve?
When your coffee appears as a pale-yellow froth in the upper chamber, it’s time to remove it from heat. Avoid letting every last drop get pushed through, as this can lead to over-extraction.
How do I clean my Moka Pot?
After each use, rinse your Moka Pot with warm water and let it air dry. Avoid using soap as it can leave residue and affect future brews. A deep clean with a vinegar and water solution is recommended about once a month.
What if my coffee is tasting weak or bitter?
Weak coffee could result from the incorrect coffee grind size or not enough brewing time. A bitter taste might result from over-extraction, overly hot water, or coffee grounds that are too fine. It’s worth experimenting with these variables to achieve your perfect brew.
What should I do if my Moka Pot is leaking?
Check if you are overfilling the water reservoir, or if your coffee grounds are packed too tightly. You should also inspect your Moka Pot for any improper assembly.
Conclusion
Remember, mastering the Moka Pot is a journey. Experiment, make tweaks, and have fun along the way! Share your brewing adventures with the world using #MokaPotMagic. Your experiences might help fellow coffee lovers in their quest to perfect stovetop brewing. Here’s to brewing perfect coffee—one cup at a time!
With this comprehensive guide, you can now embark on your coffee brewing journey with confidence. Happy brewing!