Foods to Eat After a Colonoscopy: A Day-by-Day Guide

I still remember the discomfort and uncertainty I felt after my first colonoscopy. As a chef, I was used to thinking about food all the time, but suddenly I was unsure about what to eat to feel better after my colonoscopy. Sound familiar?

Don’t worry, I’ve got you. In this article, I’ll share the practical eating plan I wish I had back then, so you can recover as comfortably and quickly as possible.

Foods to Eat After a Colonoscopy: A Day-by-Day Guide 1
Foods to Eat After a Colonoscopy

🔍 What is a Colonoscopy?

A colonoscopy is a screening test that allows your doctor to look inside your colon for abnormalities like polyps or cancer.

It involves inserting a thin, flexible tube with a camera into the rectum and through the entire colon. For a more in-depth explanation of the procedure, check out this overview from the Mayo Clinic.

👩‍⚕️ Why Your Post-Colonoscopy Diet Matters

Choosing the right foods to eat after your colonoscopy can speed up healing, reduce side effects like bloating and diarrhea, and just plain make you feel better faster.

Your colon has been through a lot, so it needs some extra TLC in the food department for a few days.

🍏 Your Colonoscopy Recovery Meal Plan

Here’s your day-by-day guide on what to eat after a colonoscopy to feel better:

Foods for Day 1 After Your Colonoscopy: Keep it Clear and Cozy For the first few hours, focus on clear liquids like:

Two cups of healthy herbal tea with mint
two cups of healthy herbal tea with mint
  • Water (aim for 8 ounces per hour)
  • Clear broth (for a savory comfort)
  • Apple juice (for a hint of sweetness and electrolytes)
  • Herbal tea (chamomile is especially soothing)
  • Popsicles (an easy-to-digest, cooling treat)

These gentle options rehydrate you and wake up your digestive system gradually. Plus, they’re easy to prepare or sip on when you’re feeling tired from the procedure.

Foods for Day 2 After Your Colonoscopy:

Introduce Easy, Nutritious Solids Now that your system is humming again, it’s time to add in some mildly flavored, soft solids like:

Scrambled eggs
Scrambled eggs
  • Scrambled eggs (1-2 for a protein boost)
  • Mashed bananas (for potassium and pectin)
  • White rice (1/2 cup is easy on the stomach)
  • Mashed potatoes (1/2 cup for gentle carbs)
  • Steamed, soft veggies like carrots or green beans (1/2 cup max)

💁🏻‍♂️ A Day 2 After Colonoscopy Sample Meal Plan:

Breakfast: 1 scrambled egg, 1/2 mashed banana, chamomile tea Snack: 1/2 cup mashed potatoes

Lunch: 1/2 cup white rice with 1/4 cup steamed carrots

Snack: 1 popsicle Dinner: 1 scrambled egg, 1/2 cup steamed green beans, herbal tea

💁🏻‍♂️Foods for Day 3 and Beyond After Your Colonoscopy:

Slowly Back to Normal Over the next few days, you can slowly reintroduce other simple dishes like baked chicken, salmon, and cooked fruits.

Just take it meal by meal and keep listening to your body. If this article has been helpful so far, you might also enjoy my tips on healthy eating for busy professionals.
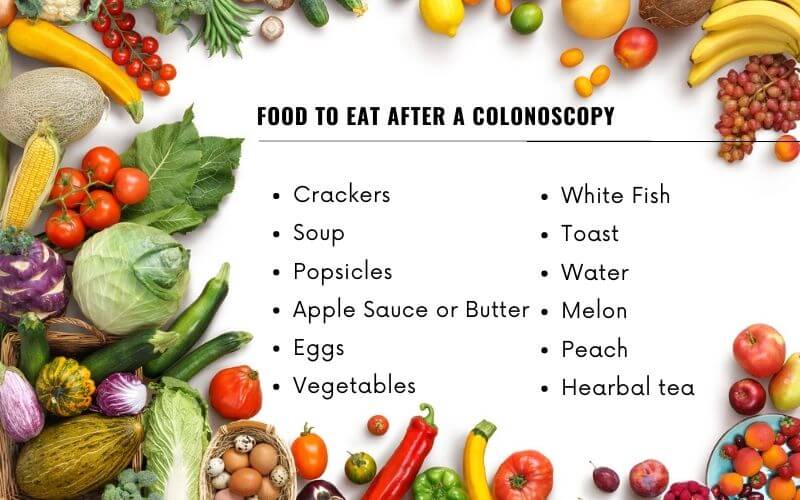
what to eat after colonoscopy
diet after colonoscopy

FAQs

Below, you’ll find answers to questions we get asked the most about diets after colonoscopies.

What can I eat immediately after my colonoscopy?

Right after your colonoscopy, stick to clear liquids like water, apple juice, broth, and herbal teas. These are easy on your digestive system and help prevent dehydration.

Is it normal to have diarrhea for a few days after a colonoscopy?

Yes, loose stools or diarrhea are common in the days following a colonoscopy. Eating binding foods like bananas and rice can help firm things up. If diarrhea lasts more than 3 days, call your doctor.

What are some good foods to eat 2-3 days after a colonoscopy?

On days 2-3 post-colonoscopy, most people can start eating a wider variety of simple foods like baked chicken, white fish, cooked fruits, and creamy soups. Just keep avoiding overly spicy, fatty, or fibrous foods for another day or two.

What Foods Should You Avoid After a Colonoscopy for Fast Healing?

To dodge tummy troubles and promote speedy healing, just say no to:
Spicy foods: Your colon is sensitive right now, so save the five-alarm chili for later unless you want some five-alarm bathroom trips!
Fatty, fried foods: Your recovering digestive system isn’t ready to break down heavy foods like fried chicken and French fries. Stick to light cooking methods.
High-fiber foods: Raw veggies, legumes, and whole grains are amazing, but they can also cause painful gas and bloating after a colonoscopy. Cooked produce is the way to go for now.
Nuts, seeds, & popcorn: Those little particles can irritate your healing colon. Swap in creamy nut butter if you need a fix.
Alcohol & caffeine: Both can cause dehydration and GI irritation. Herbal teas and water are your BFFs for a bit!

The Probiotic Power-Up

Once you’re back on semi-solid foods, adding some probiotic-rich options like yogurt, kefir, sauerkraut, or kimchi can help repopulate your good gut bacteria.

“Having a healthy balance of gut bacteria supports the healing process after a colonoscopy,” says Dr. Sarah Thompson, gastroenterologist at NYC Gastro.

“Just check with your doctor first, especially if you have a compromised immune system or other health issues.”

What to Expect During Colonoscopy Recovery

Some common, normal side effects you may experience for 1-3 days after your colonoscopy include:

  • Gassiness/Bloating: Your colon had a lot of air pumped into it, so some toots are totally expected! Avoid carbonated drinks and chewing gum to minimize the bloat.
  • Slight cramping: Your digestive muscles are waking up again, which can cause some discomfort. Applying a warm compress and avoiding fried or spicy foods helps.

If any of these symptoms are severe or last more than 3 days, give your doc a ring.

Chef John’s Gut-Friendly Recipes

As the former chef-owner of Boat Basin Cafe, I’ve whipped up my share of meals for sensitive stomachs. Here are a couple of my go-to recipes perfect for post-colonoscopy recovery:

Soothing Scrambled Eggs (Serves 1) Ingredients:
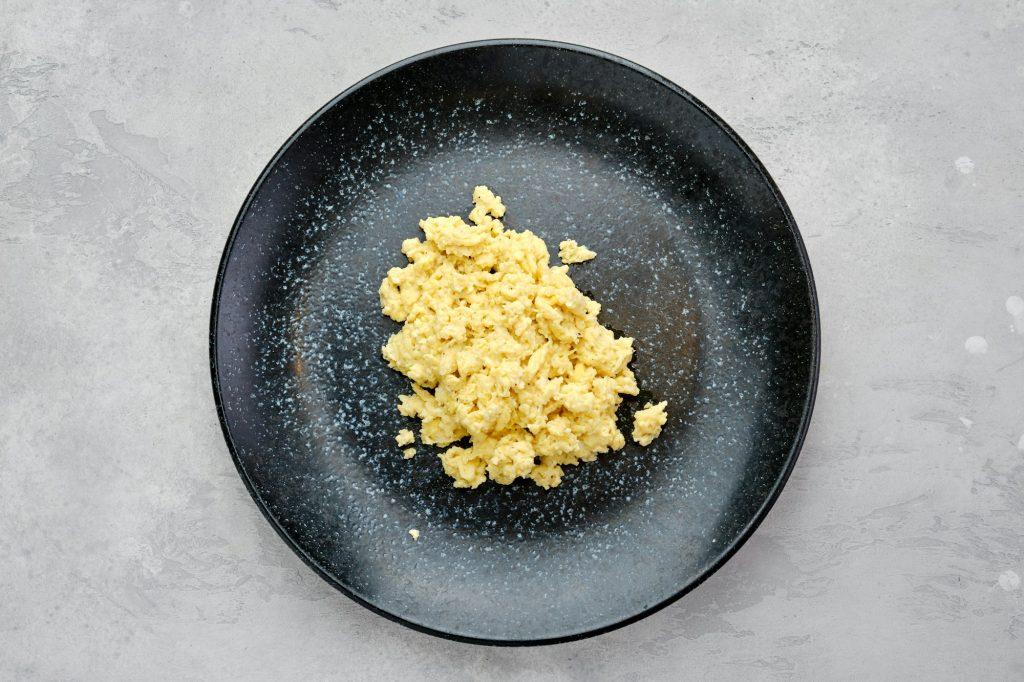
Top view of classic scrambled eggs on a plate.
top view of classic scrambled eggs on a plate
  • 2 eggs
  • 1 tbsp milk
  • Salt & pepper to taste
  • 1 tsp butter

Instructions:

  1. Whisk eggs, milk, salt and pepper in a bowl.
  2. Melt butter in a nonstick pan over low heat.
  3. Add egg mixture and gently push around pan until softly set.

Comforting Chicken Soup (Serves 4) Ingredients:
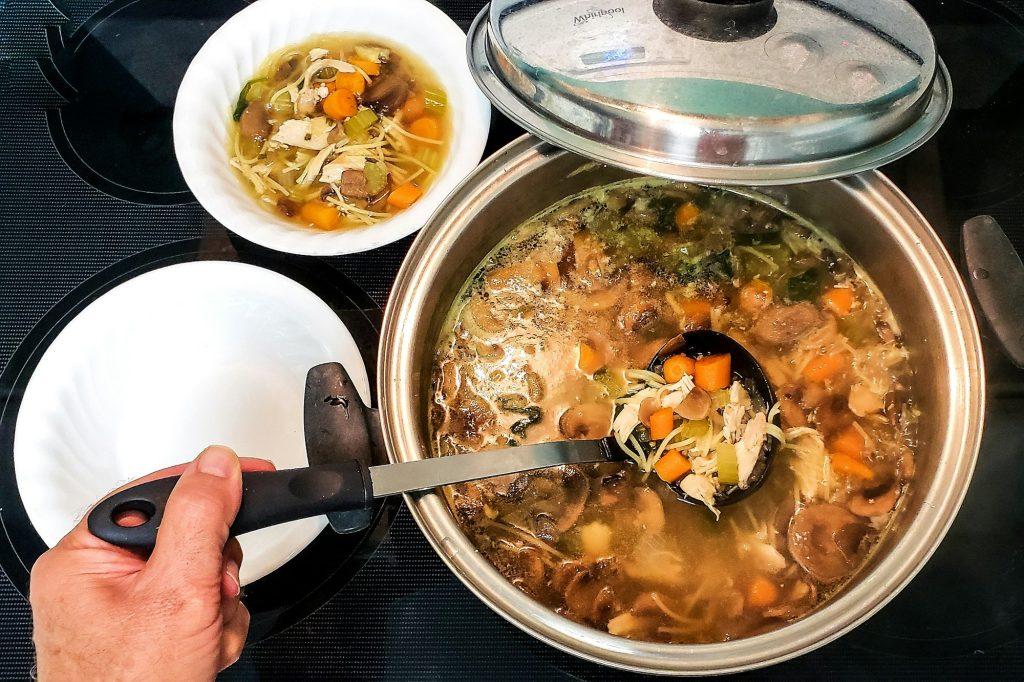
Chicken noodle soup for the soul...
chicken noodle soup for the soul
  • 1 lb boneless, skinless chicken breast
  • 4 cups chicken broth
  • 2 carrots, chopped
  • 2 celery stalks, chopped
  • 1 onion, diced
  • Salt & pepper to taste

Instructions:

  1. Bring broth to a boil in a large pot.
  2. Add chicken, cover, and simmer for 15 mins.
  3. Remove chicken and shred with forks.
  4. Add carrots, celery, onion to broth. Simmer 10 mins.
  5. Return chicken to pot. Season with salt and pepper. Simmer 5 more mins.

Other Tips for a Speedy Colonoscopy Recovery

  • Stay hydrated with at least 8 ounces of fluid per hour
  • Engage in light activity like walking to stimulate digestion
  • Listen to your body and don’t push yourself too hard too fast

The Bottom Line

on Eating After a Colonoscopy Everyone’s body reacts a bit differently after a colonoscopy, but this food guide gives you the essential building blocks for a comfortable recovery.

Focus on hydration, gentle foods, and listening to your body’s cues. With these strategies (and maybe a couple of my recovery recipes) you’ll be back to feeling like yourself in no time. Happy healing!

If you are preparing for colonoscopy, check this article: 9 Ways to Drink Colonoscopy Prep Without Throwing Up
Can You Eat Chia Seeds and Hemp Seeds Together? Benefits, Recipes, & More!

Hey there, superfood seekers! John Bird here, coming to you from my cozy corner of the internet, the Boat Basin Cafe blog.

Today, we’re diving into the delicious and nutritious world of hemp and chia seeds. 🌿

Can you eat hemp seeds and chia seeds together?

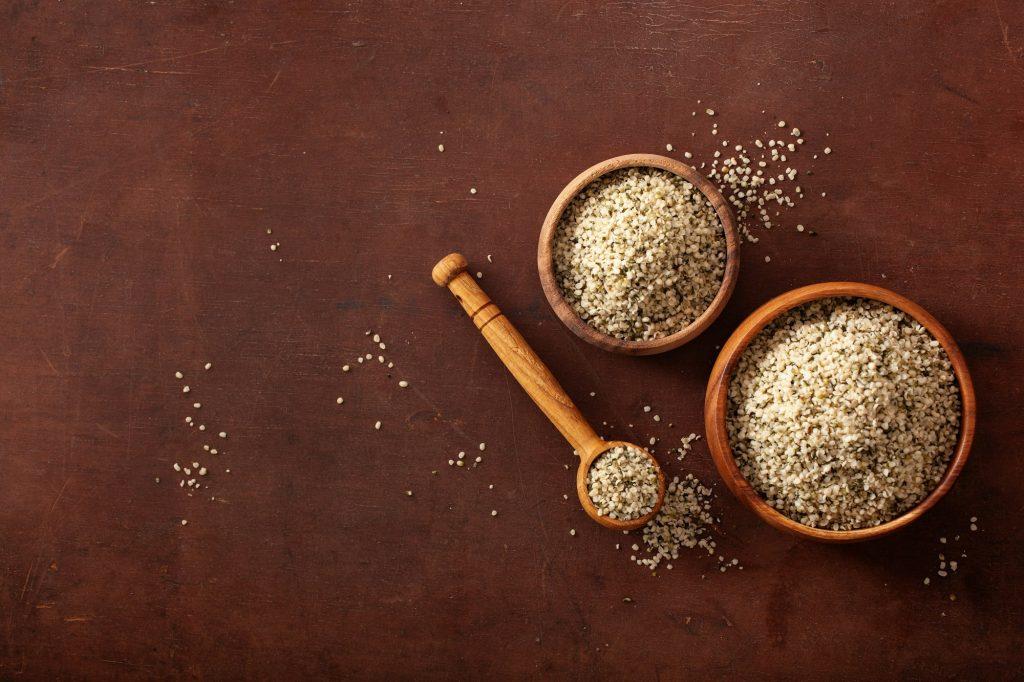
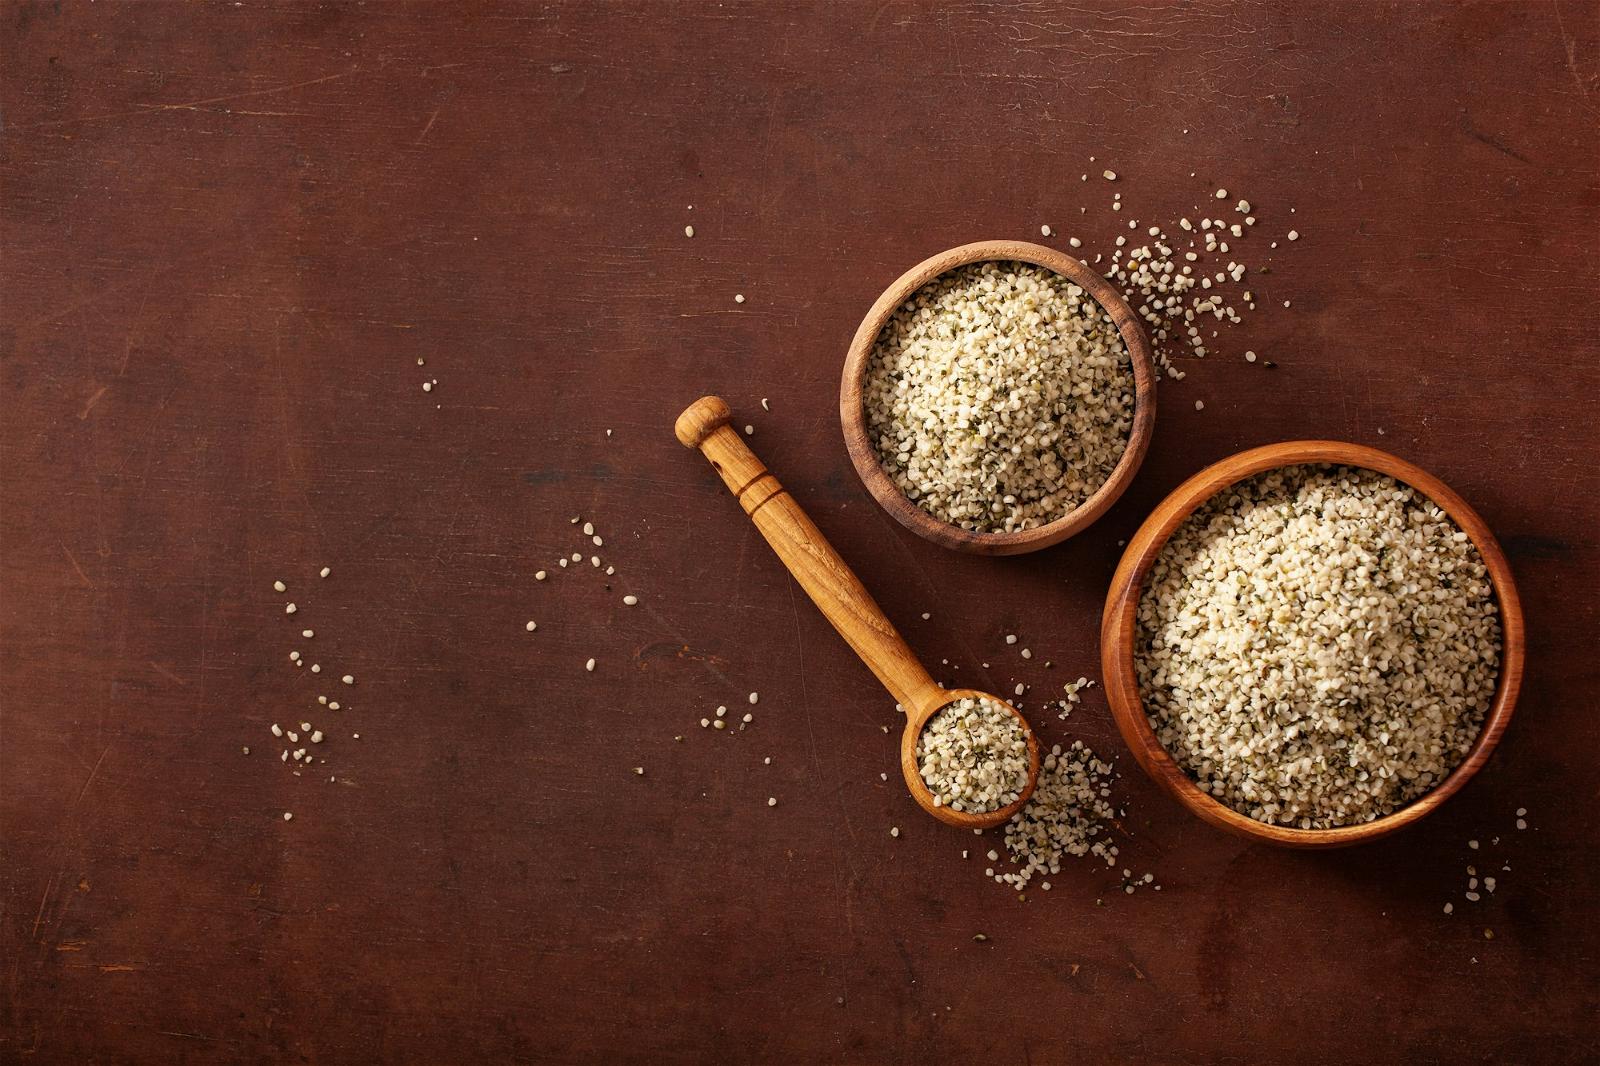
hulled hemp seeds, healthy superfood supplement
hulled hemp seeds healthy superfood supplement

The answer is a resounding yes! These superfood seeds offer a powerful nutritional punch when combined, making them the dynamic duo of the healthy eating world.

I discovered this firsthand when I was chef at the Boat Basin Cafe in downtown New York. My hemp and chia parfaits, loaded with fresh fruit and yogurt, were a huge hit among our health-conscious customers.

Benefits of Eating Hemp Seeds and Chia Seeds Together

When it comes to the nutritional power of combining hemp and chia seeds, there are three key areas where they shine: omega-3 and omega-6 balance, complete protein, and mineral content.

Hemp seeds boast an impressive 3:1 omega-3 to omega-6 fatty acid ratio, making them a powerful tool to fight inflammation.

Chia seeds further boost your healthy fat intake with their rich omega-3 content. Together, they provide the ideal balance of essential fatty acids your body craves.

Another significant advantage of combining hemp and chia seeds is their ability to provide a complete protein source, containing all nine essential amino acids.

This is especially important for those following a plant-based diet. As Dr. Andrew Weil notes, “Combining plant-based protein sources can ensure you get all the essential amino acids your body needs.”

Hemp SeedsChia Seeds
10g protein per 3 tbsp4g protein per 2 tbsp
All 9 essential amino acidsAll 9 essential amino acids
Ideal omega-3 to omega-6 ratioRich in omega-3 fatty acids

In terms of mineral content, both hemp and chia seeds are packed with essential minerals like magnesium and iron.

Hemp seeds are particularly rich in phosphorus, while chia seeds boast an impressive amount of manganese.

MineralHemp Seeds (per 3 tbsp)Chia Seeds (per 2 tbsp)
Magnesium210mg95mg
Iron2.4mg2.2mg
Phosphorus495mg244mg
Manganese2.6mg0.6mg

Flavor, Texture, & Sustainability: What Makes Hemp & Chia Special

FeatureHemp SeedsChia Seeds
TasteMild, nutty flavor similar to sunflower seeds or pine nutsNearly flavorless
TextureLight, crunchy texture similar to sesame seedsAbsorbs liquid and forms a gel-like consistency
VersatilityCan be sprinkled on top of dishes for added crunchHighly versatile due to their neutral flavor
Water FootprintMore water-efficient, can be grown in drought-prone areasRequire a significant amount of water to grow (about 12 liters per tablespoon)
SustainabilityMore sustainable compared to chia seedsLess sustainable due to high water requirements
Nutrient DensityRich in protein, healthy fats, and various mineralsHigh in fiber, omega-3 fatty acids, and antioxidants
Culinary UsesIdeal for adding crunch to dishes like salads, yogurt, or smoothiesGreat for thickening puddings, smoothies, and sauces

When it comes to the taste and texture of hemp and chia seeds, these two superfoods offer a unique and complementary experience.

What do hemp seeds taste like? Hemp seeds have a mild, nutty flavor that’s reminiscent of sunflower seeds or pine nuts. On the other hand, what do chia seeds taste like? Chia seeds are nearly flavorless, making them incredibly versatile in recipes.

The textural difference between hemp and chia seeds is equally exciting. Hemp seeds have a light, crunchy texture similar to sesame seeds, while chia seeds have the unique ability to absorb liquid and form a gel-like consistency.

This textural duo opens up a world of possibilities in the kitchen, from sprinkling crunchy hemp seeds on top of creamy chia pudding for a satisfying contrast to blending them together in a smoothie for a nutrient-dense treat.

One little-known fact about chia seeds is their significant water footprint. How much water do chia seeds need to grow? Chia seeds are hydrophilic and require a lot of water to grow – about 12 liters per tablespoon! In contrast, are hemp seeds more sustainable than chia seeds? Hemp seeds are more water-efficient and can be cultivated in drought-prone areas. When it comes to sustainable superfoods: hemp vs. chia, hemp seeds come out on top.

💁🏻‍♂️Pro Tip: Unlock More Nutrients with Toasting

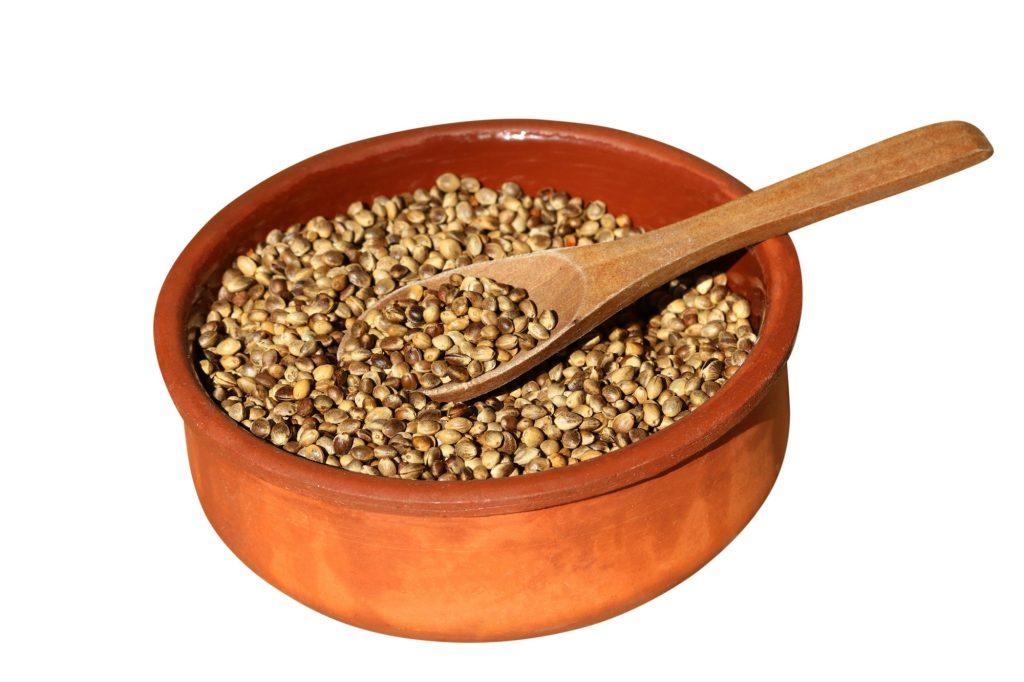
roasted hemp seeds in the plate

Here’s a pro tip for getting the most out of your hemp seeds: try toasting them! Toasting hemp seeds can enhance their digestibility by breaking down the tough outer shell, making it easier for your body to absorb the nutrients.

It also adds a delightful nutty flavor to the seeds. While you can still eat both hemp and chia seeds raw and reap their benefits, toasting is a tasty bonus!

Delicious Ways to Eat Hemp & Chia Seeds

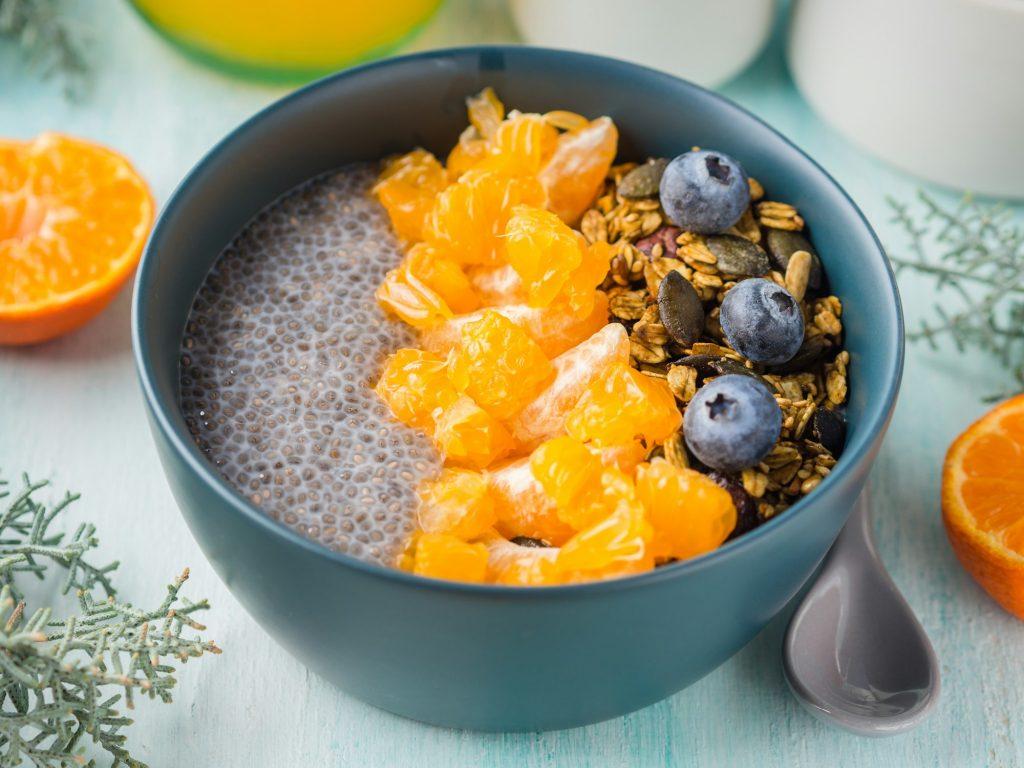
Chia pudding with tangerines and granola
Chia pudding

Now that you know all about the power of combining hemp and chia seeds, let’s explore some delicious ways to enjoy them together:

  • Sprinkle them on top of yogurt, oatmeal, or chia pudding for added crunch and nutrition.
  • Blend them into your favorite smoothie recipe for a nutrient-dense boost. Some delicious combos include:
    • Spinach, banana, almond milk, hemp seeds, chia seeds
    • Mango, pineapple, coconut water, hemp seeds, chia seeds
    • Blueberries, avocado, almond butter, hemp seeds, chia seeds
  • Incorporate them into salads, baked goods, granola bars, and more!

One of my favorite recipes featuring hemp and chia seeds is a simple chia pudding with a hemp crunch topping.

Here’s how to make it:

Ingredients:

  • 1/2 cup chia seeds
  • 2 cups milk of choice (almond, coconut, oat, etc.)
  • 1-2 tbsp maple syrup or honey (optional)
  • 1/4 tsp vanilla extract (optional)
  • 1/4 cup toasted hemp seeds
  • Fresh fruit for topping

Instructions:

  1. In a large bowl or mason jar, whisk together chia seeds, milk, sweetener (if using), and vanilla extract (if using).
  2. Let sit for 5 minutes, then whisk again to prevent clumping.
  3. Cover and refrigerate overnight, or at least 4 hours.
  4. When ready to serve, top with toasted hemp seeds and fresh fruit.

FAQs

Can I eat too many chia seeds and hemp seeds?

While both chia and hemp seeds are incredibly nutritious, it’s best to enjoy them in moderation as part of a balanced diet. Consuming large amounts of either seed may lead to digestive discomfort due to their high fiber content.

Are there any side effects to eating chia seeds and hemp seeds?

Most people can safely enjoy chia and hemp seeds without experiencing side effects. However, if you have a seed allergy or are taking blood-thinning medications, consult your healthcare provider before adding these seeds to your diet.

What’s the best way to store hemp and chia seeds for freshness?

To maintain freshness and prevent rancidity, store your hemp and chia seeds in airtight containers in a cool, dry place. For longer storage, you can refrigerate or freeze them. Check out my post on hemp seed shelf life for more tips!

Conclusion

We’ve covered a lot of ground today, from the nutritional benefits of combining hemp and chia seeds to their unique flavors and textures.

To recap, hemp seeds have the ideal omega-3 to omega-6 ratio, while chia seeds are rich in omega-3s, creating a powerful inflammation-fighting duo. Combining these super seeds provides a complete protein source, especially important for plant-based diets.

Plus, hemp and chia offer a delightful textural contrast that elevates your favorite recipes. And let’s not forget that hemp seeds are a more sustainable choice when it comes to water usage compared to chia.

As a chef and nutritionist, I’ve seen firsthand the incredible benefits of incorporating hemp and chia seeds into your diet. At Boat Basin Cafe, we loved getting creative with these mighty ingredients, and I hope this article has inspired you to do the same.

LG Ice Maker Not Working? Fix It FAST With These DIY Hacks

Is your LG refrigerator ice maker not making ice? As a former restaurant chef, I know firsthand the frustration of a faulty ice maker.

But fear not! I’ve compiled an ultimate DIY LG ice maker troubleshooting guide to help you get those cubes flowing again in hours, not days.

How to Reset LG Refrigerator Ice Maker in 4 Easy Steps
How to Reset LG Refrigerator Ice Maker

Quick Fix Table: Common LG Ice Maker Issues

Before we dive into detailed solutions, check out this handy table for a quick glance at common LG ice maker problems and their speedy fixes:

ProblemPossible CausesFix Steps
LG refrigerator ice maker not making ice– On/off switch accidentally bumped
– Water filter clogged
– Water line kinked or frozen
1. Check the ice maker’s on/off switch and ensure it’s in the “on” position.
2. Replace the water filter if it’s more than 6 months old.
3. Inspect the water line for kinks or signs of freezing, and straighten or thaw as needed.
Ice dispenser jammed– Large ice clumps blocking the chute
– Dispenser switch faulty or stuck
1. Use a hairdryer to melt any ice clumps in the dispenser chute.
2. Test the dispenser switch and replace it if it’s not working properly.
Slow ice production– Freezer temperature set too high
– Low water pressure
1. Adjust the freezer temperature to 0°F (-18°C) or lower.
2. Check the water pressure and ensure it’s between 20 and 120 psi. Install a pressure regulator if needed.

The 60-Second LG Ice Maker Reset That Works Like Magic

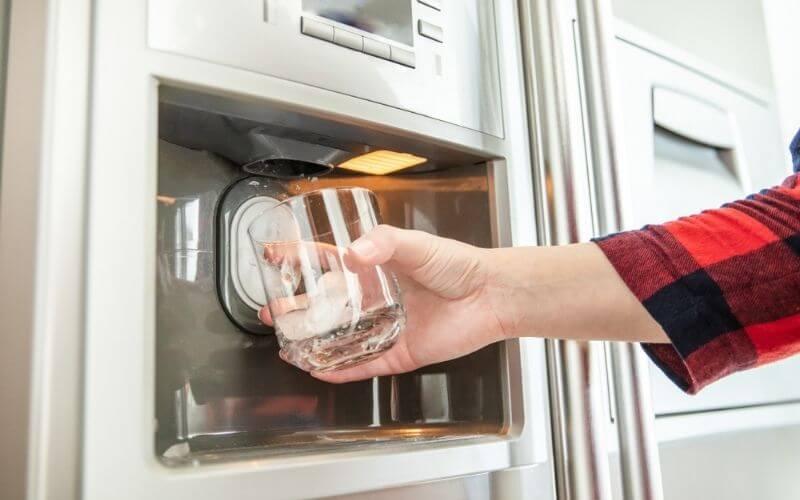
Ices

Before we roll up our sleeves and start tinkering, let’s try the fastest fix of them all: the good old-fashioned reset.

You’d be surprised how many LG ice maker problems can be solved with a simple on/off switch toggle.

💁🏻‍♂️Just follow these quick steps:

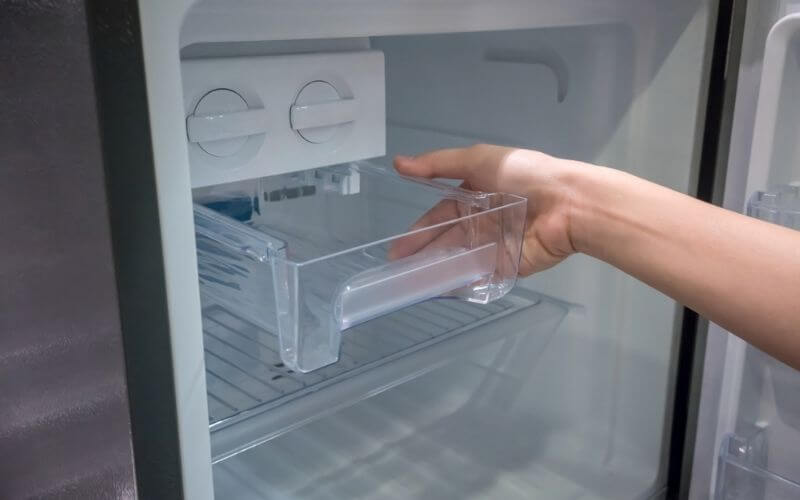
  1. Locate the on/off switch on your ice maker (usually found in the freezer compartment).
  2. Flip the switch to the “off” position, wait 5 seconds, then flip it back to “on.”
  3. Keep an eye out for the reset indicators: the ejector blades should start turning, water should begin to fill the mold, and fresh ice should drop into the bin.

Voila! If your ice maker springs back to life, congratulations – you just saved yourself a whole lot of time and trouble.

If the reset didn’t do the trick, don’t worry. We’re just getting started. But first, let’s eliminate a few common culprits:

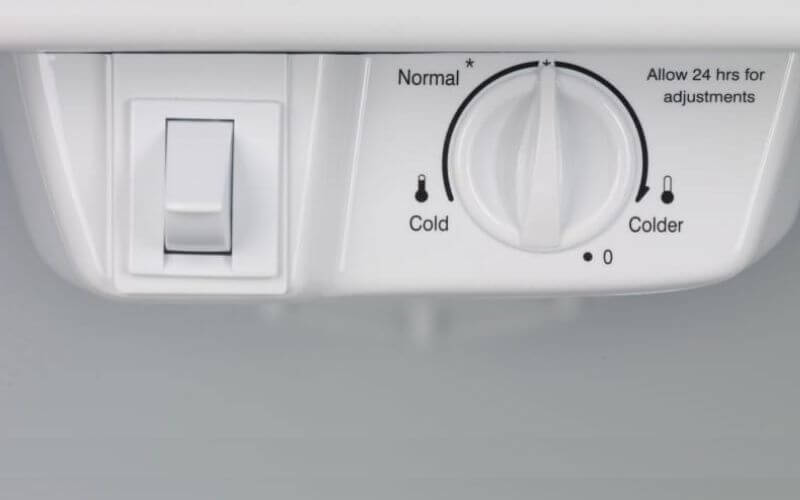
  • Is your freezer temperature too high? Aim for 0°F (-18°C) or lower for optimal ice production.
  • Is the water line kinked or frozen? Gently straighten any kinks and thaw frozen sections with a hairdryer.
  • Is the water filter clogged? If it’s been more than six months since your last filter change, swap in a fresh one.

Fixing Common LG Ice Maker Jams Like a Pro

LG Ice Maker Not Working? Fix It FAST With These DIY Hacks 2

As a chef, I’ve tackled my fair share of ice maker jams. From clogged dispensers to funky-tasting cubes, I’ve seen (and fixed) it all.

Here are some of the most common LG ice maker issues and my go-to solutions:

Problem 1: Ice Dispenser Jammed

There’s nothing quite like the disappointment of reaching for ice, only to find your dispenser chute clogged with a giant, immovable clump. To break through the ice jam:

  1. Grab your trusty hairdryer and aim it at the clogged chute. The gentle heat should melt away the blockage.
  2. If the ice proves stubborn, use a plastic utensil to carefully chip away at the edges of the clog, then try the hairdryer again.
  3. Once the ice is clear, test the dispenser switch. If it’s stuck or unresponsive, you may need to replace it.

Problem 2: Ice Tastes Like Last Week’s Leftovers

Is your LG ice maker producing cubes that taste more like the back of your fridge than fresh, clean water? The likely culprits are:

  1. Freezer odors: Ice is incredibly porous and readily absorbs any funky smells lingering in your freezer. To banish the stench:
    • Remove all food items and thoroughly clean the interior with a baking soda solution.
    • Toss any old or expired items that might be causing the odor.
    • Store pungent foods in airtight containers to prevent future ice contamination.
  2. Old or dirty water filter: A past-its-prime water filter can introduce all sorts of unpleasant tastes and odors to your ice. For a quick fix:
    • Replace the filter with a fresh, LG-approved model.
    • Run a few cycles and discard the first batches of ice to flush any residual funk.

Problem 3: Slow Ice Production

Is your LG ice maker’s output more trickle than torrent? Two sneaky culprits could be to blame:

  1. Freezer temperature set too high: As any chef worth their salt knows, ice needs a brisk environment to form properly. Ensure your freezer is set to 0°F (-18°C) or lower for optimal production.
  2. Low water pressure: Your ice maker requires a steady flow of water to work its magic. If your home’s water pressure is below 20 psi, it may struggle to fill the mold in time. You can:
    • Test your water pressure with a simple gauge from the hardware store.
    • If it’s below 20 psi, consider installing a pressure boosting system to get your flow back on track.

💁🏻‍♂️ You may also like: Common LG Refrigerator Problems: Fix Them Like a Pro

When to Bring in the Big Guns (Or, When to Call a Pro)

While most LG ice maker issues can be resolved with a little DIY know-how, some problems are best left to the experts. If you’ve exhausted all troubleshooting avenues and your ice maker is still on the fritz, it might be time to call in a pro.

Here are a few surefire signs it’s time to throw in the towel and dial up an appliance repair technician:

  • Your ice maker is making scary noises that sound more like a haunted house than a kitchen appliance.
  • You’ve got a leak that’s threatening to turn your kitchen into an impromptu swimming pool.
  • Your once-cubed ice is now a surrealist sculpture that Salvador Dali would envy.
  • You’ve replaced every part but the kitchen sink (twice), and still no dice.

The Wrap-Up: Keeping Your Cool with a Well-Oiled Ice Maker

As a veteran of the Cafe industry, I know the importance of a reliable ice maker. Whether you’re serving up frosty margaritas or just trying to keep your iced tea chilly, a steady supply of clean, fresh ice is non-negotiable.

By following the tips and tricks in this guide, you’ll be well-equipped to tackle the most common LG ice maker issues with confidence and ease. And if all else fails, don’t hesitate to call in the cavalry – even the most seasoned DIYers need a little backup sometimes.

So go forth, intrepid ice maker troubleshooters, and may your freezer always be full of perfectly formed, crystal-clear cubes. And if you’ve got a quirky ice maker issue that’s got you stumped, drop a comment below – I’m always happy to lend my chef’s expertise to a fellow culinary adventurer.

Why is My French Press Coffee Watery?

Say goodbye to weak French press forever! This chef reveals the secrets for consistently rich, bold coffee.

As a former chef and barista at New York’s Boat Basin Cafe, I’ve learned the tricks of the trade to ensure you never suffer through a bland, watery brew again.

Forget the frustration of weak coffee – with a few simple fixes, you can transform your morning cup from disappointing to delightful.

Get ready to unleash the full potential of your French press and savor a cafe-quality experience right in your own kitchen!

☕️ Why does my French press coffee taste watery?

why does my french press coffee taste watery
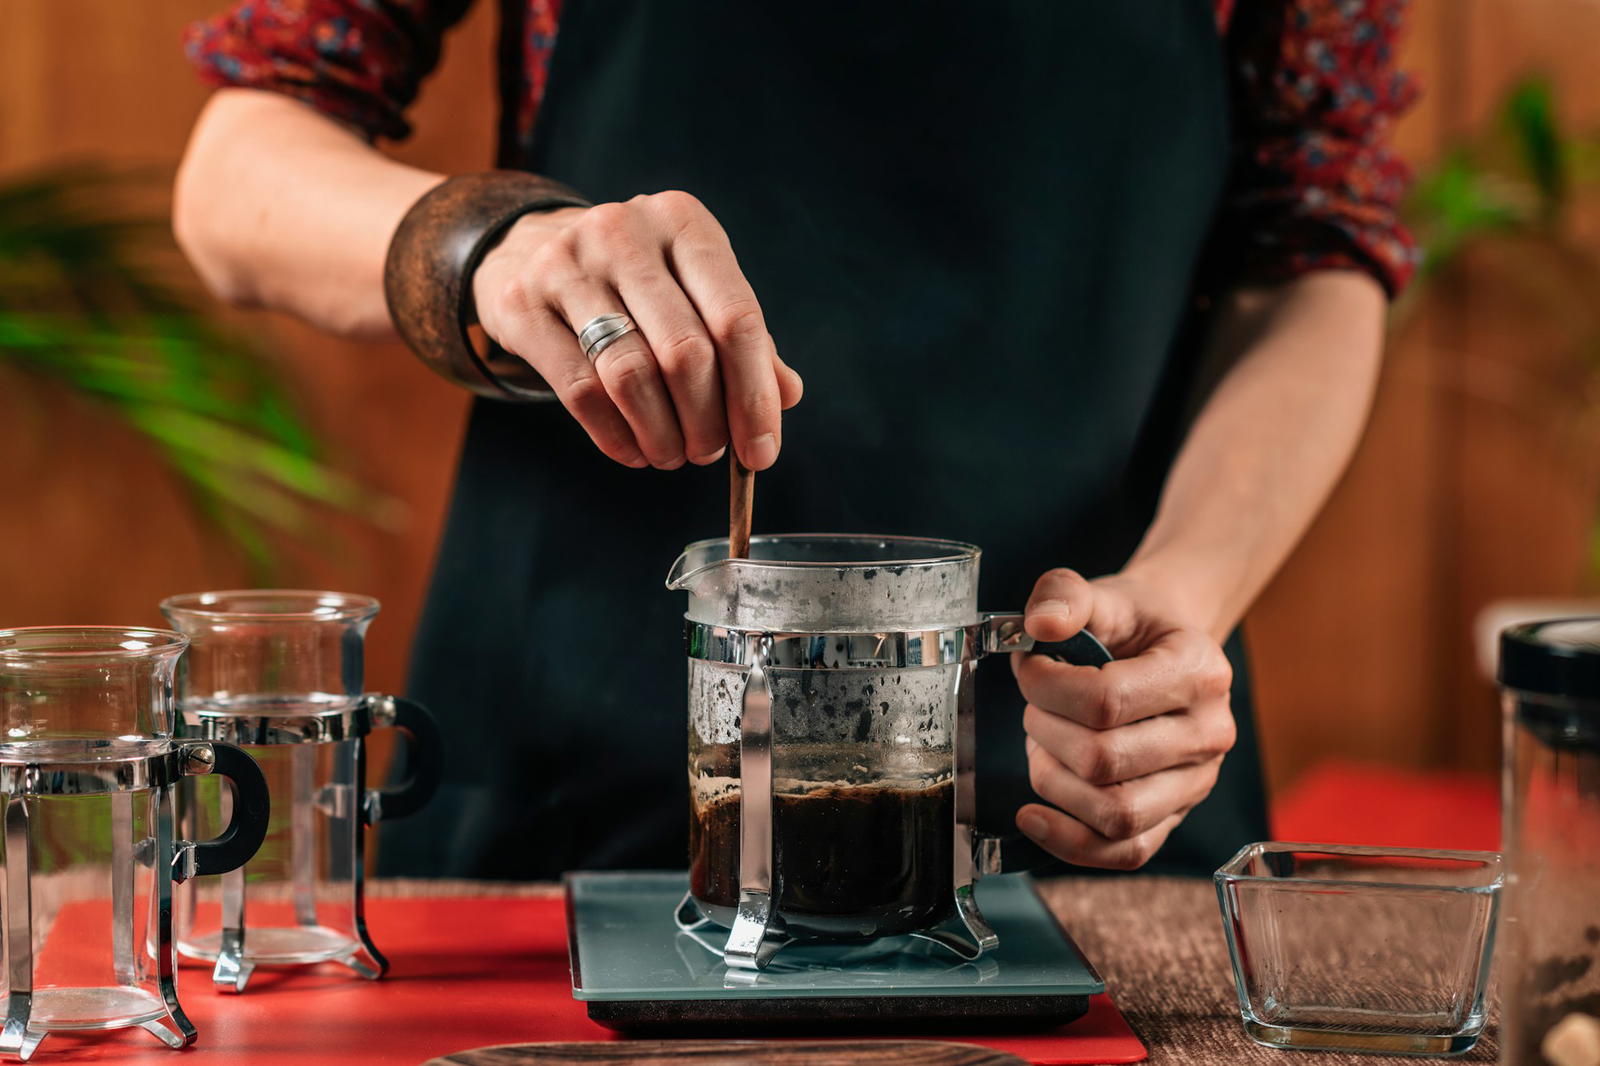
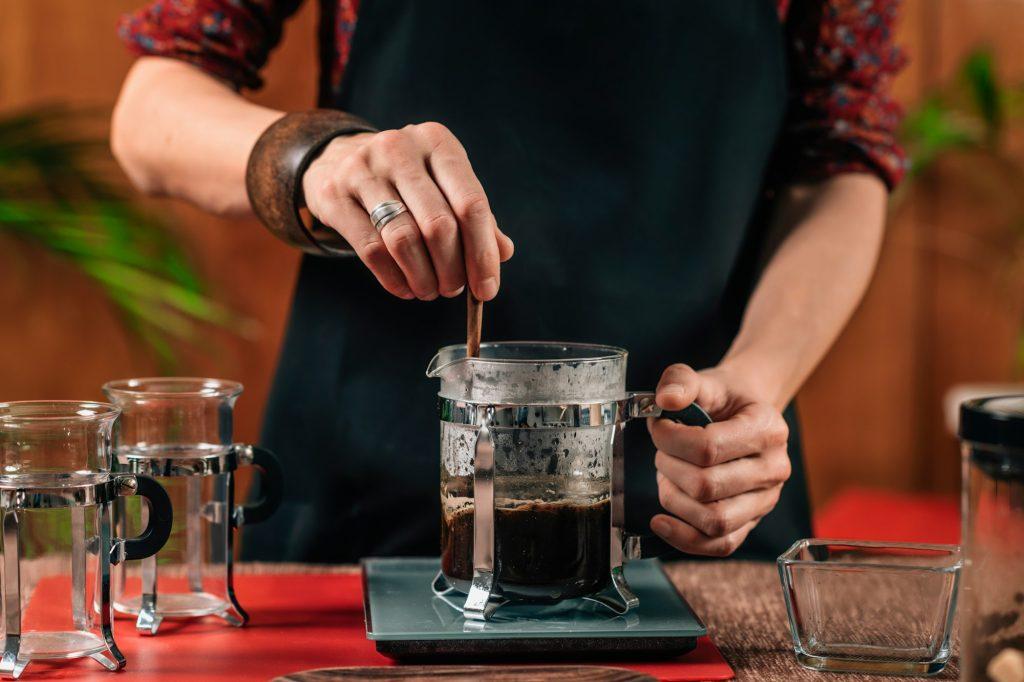
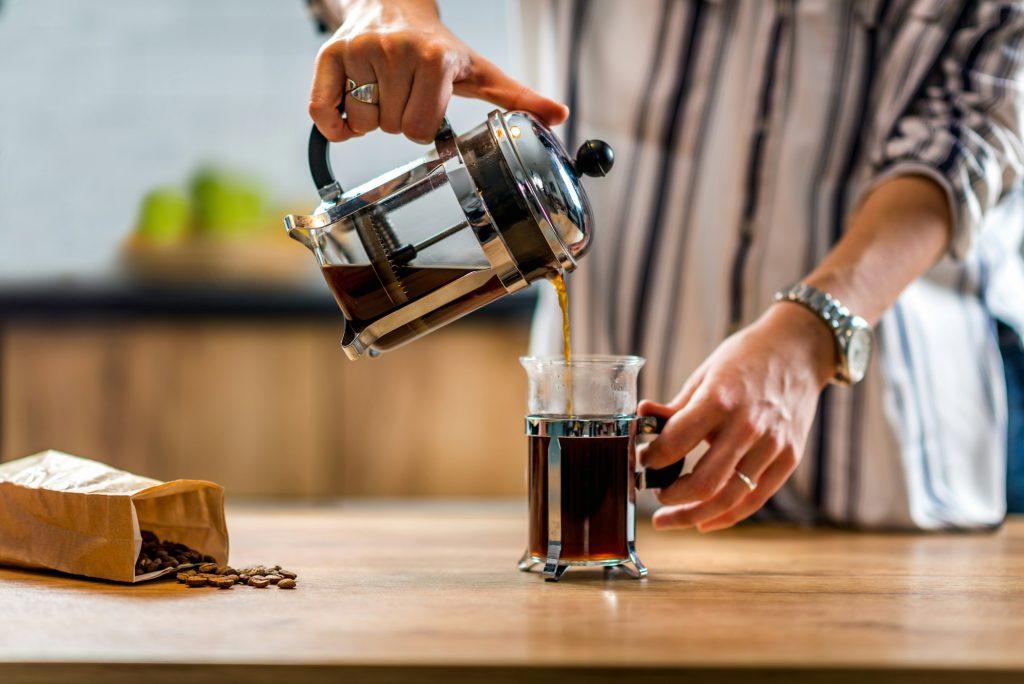
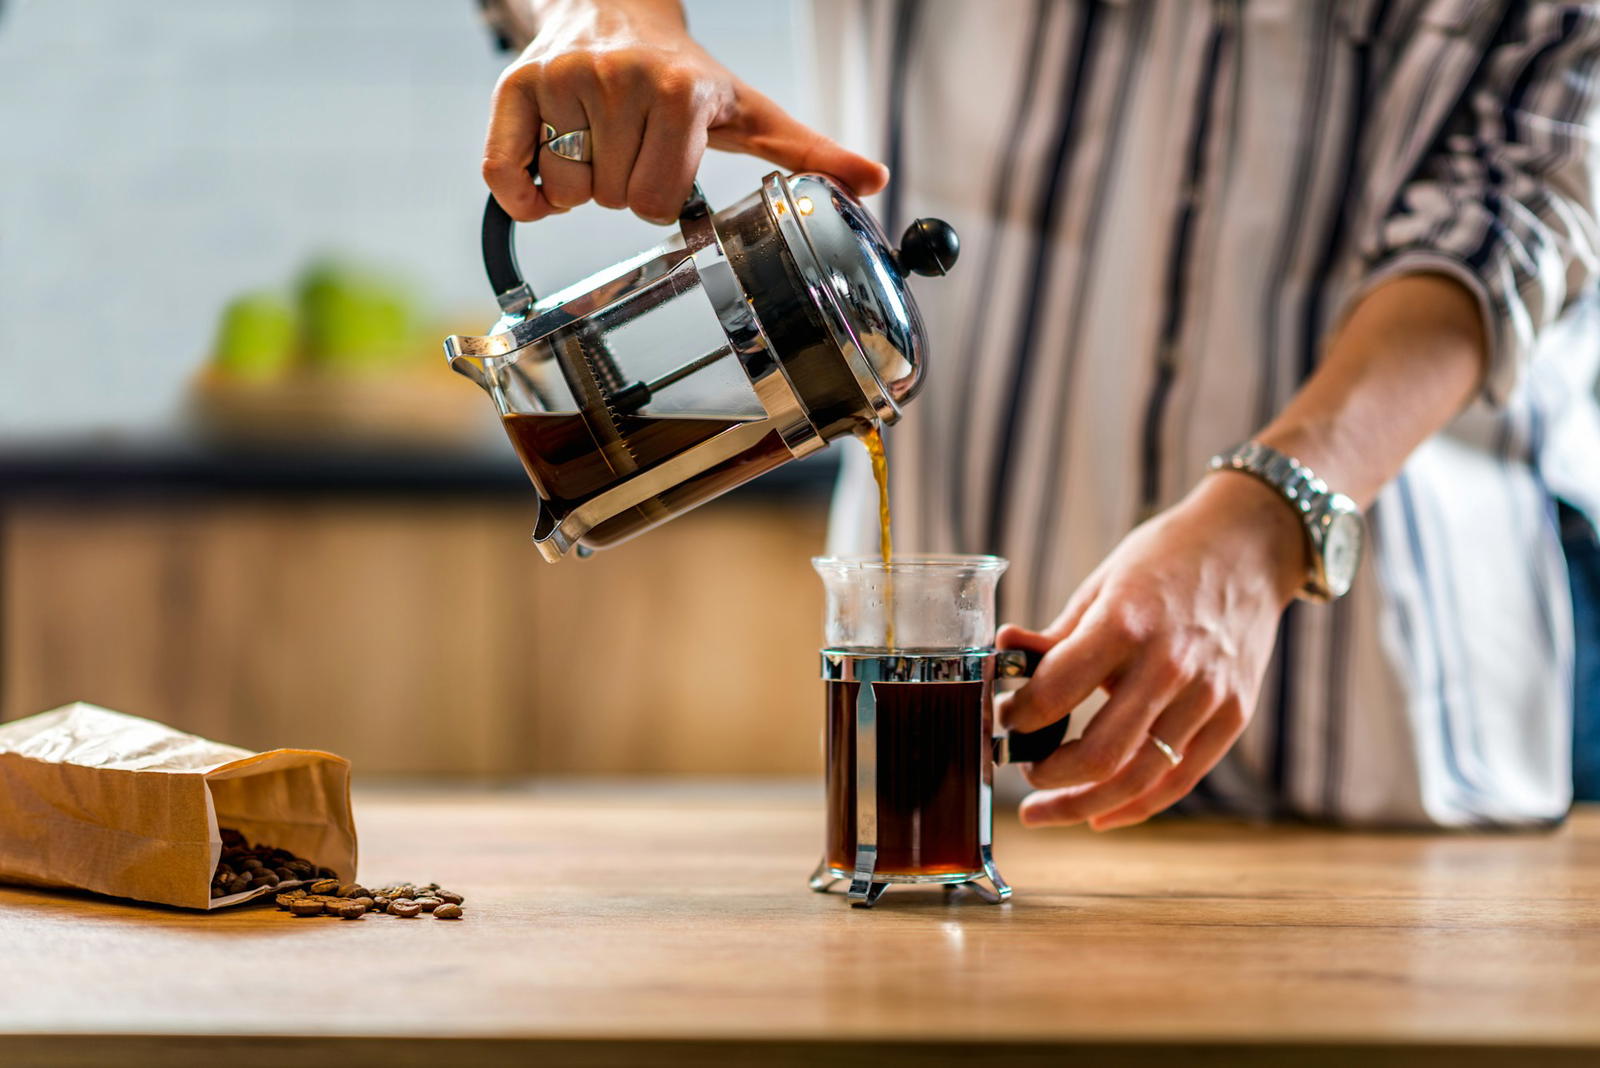
Barista Making French Press Coffee

Watery French press coffee can be caused by several factors:

  • Wrong Grind Size: Aim for a coarse grind resembling sea salt (include image).
  • Incorrect Water Temperature: Use water just off the boil (around 200°F/93°C).
  • Old or Stale Beans: Fresh, quality beans are crucial for a flavorful brew.
  • Poor Water Quality: Hard water with high mineral content can dull the flavor.

While grind size and water temperature are crucial, many overlook the impact of water quality and bean freshness on their brew.

But fear not, we’ll address each issue and provide solutions for a perfect cup every time.

☕️ Troubleshooting Your Technique

👨‍🔬 The Grind Matters

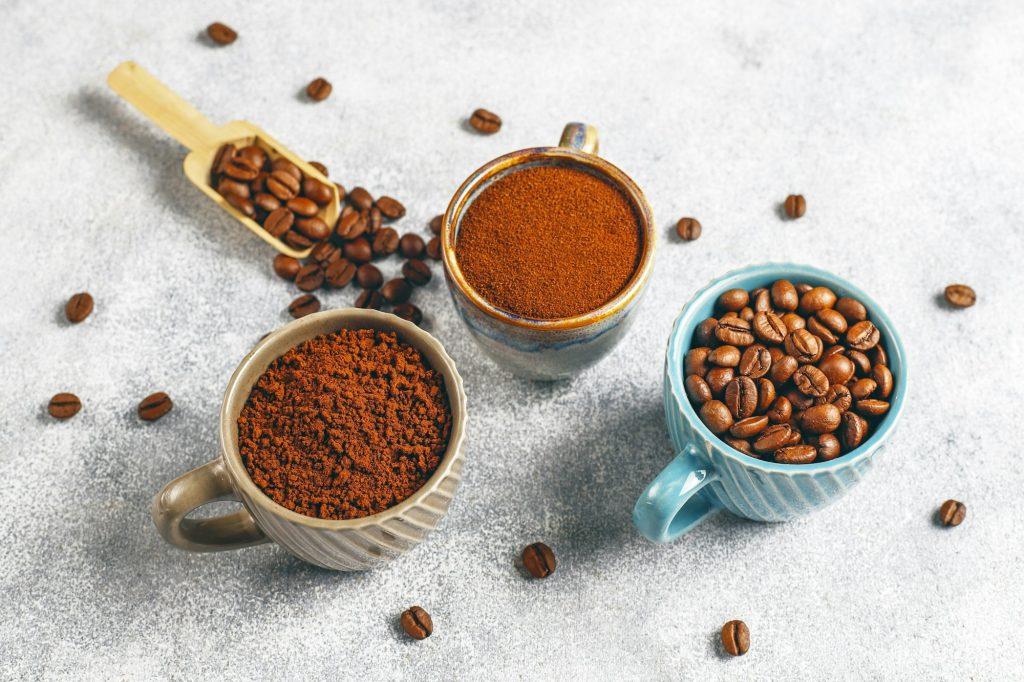
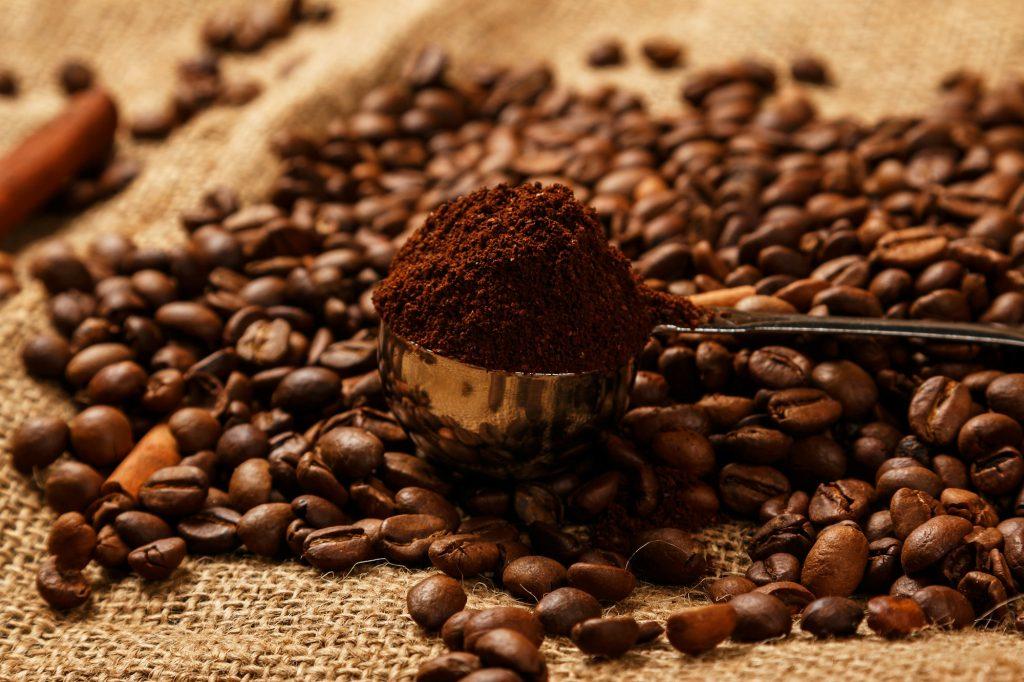
Coffee beans and ground powder.
coffee beans and ground powder 1 1

The right grind size is essential for a full-flavored French press. Use a coarse grind, aiming for the perfect coffee to water ratio.

Too fine, and you’ll end up with a bitter, muddy mess. Too coarse, and your coffee will be weak and watery.

🌡️ Water Temp Trick

Heat your water to just off the boil, around 200°F (93°C).

But don’t stop there – preheat your French press, too! This prevents rapid heat loss, ensuring a consistent brew temperature.

Brands like Bodum and Frieling make presses perfect for this technique.

🌼 Mastering the Bloom

Why is My French Press Coffee Watery? 3
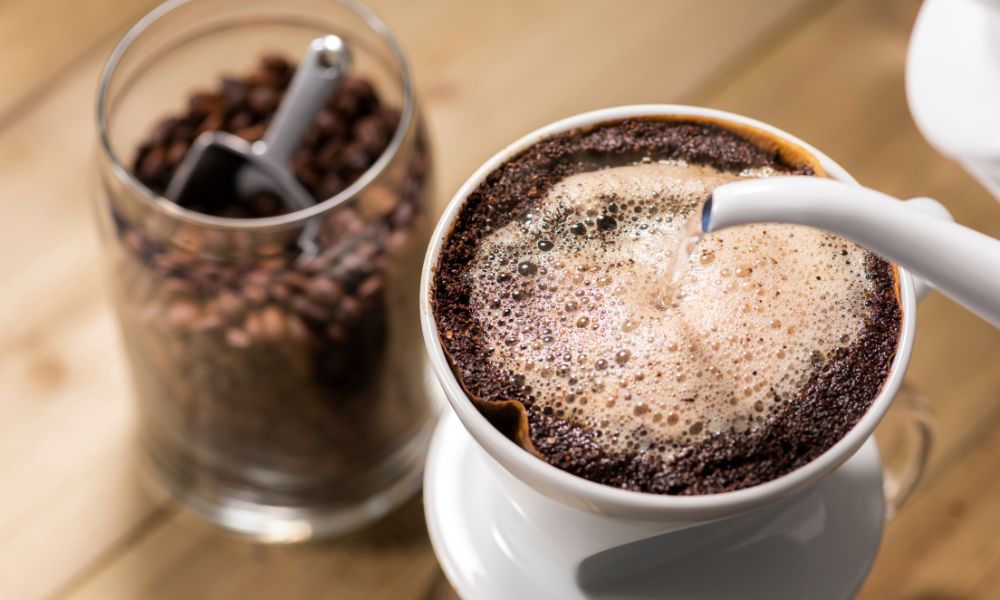
What Makes Coffee Bloom

The bloom is a crucial step often skipped by home brewers. It involves pouring a small amount of hot water over the grounds, letting them “bloom” for 30-45 seconds before adding the rest of the water. This allows CO2 to escape, enhancing the coffee’s flavor.

For a deeper understanding of the bloom process, check out this Wikipedia article.

☕️ It Might Not Be You, It Could Be…

🫘 The Bean Factor

The beans you choose make a big difference in your French press. Opt for a medium-dark to dark roast, as these have the boldness and body to stand up to the immersion brewing method.

Roast LevelCharacteristicsBest For
LightBright, acidic, fruityPour over, AeroPress
MediumBalanced, smooth, nuttyDrip machines, French press
DarkBold, smoky, full-bodiedFrench press, espresso

💧 Hard Water Blues

If you’ve tried everything and your coffee still falls flat, the culprit could be your water. Hard water, packed with minerals, can dull the flavor of your brew.

Here’s a simple test: mix 1/2 cup of water with 1/4 tsp baking soda. If it fizzes vigorously, your water is likely hard.

As a quick fix, try using bottled spring water for your next French press. For more advanced solutions, check out this guide on water filtration for coffee.

☕️ The “Secret” Ingredient (and Other Pro Tips)

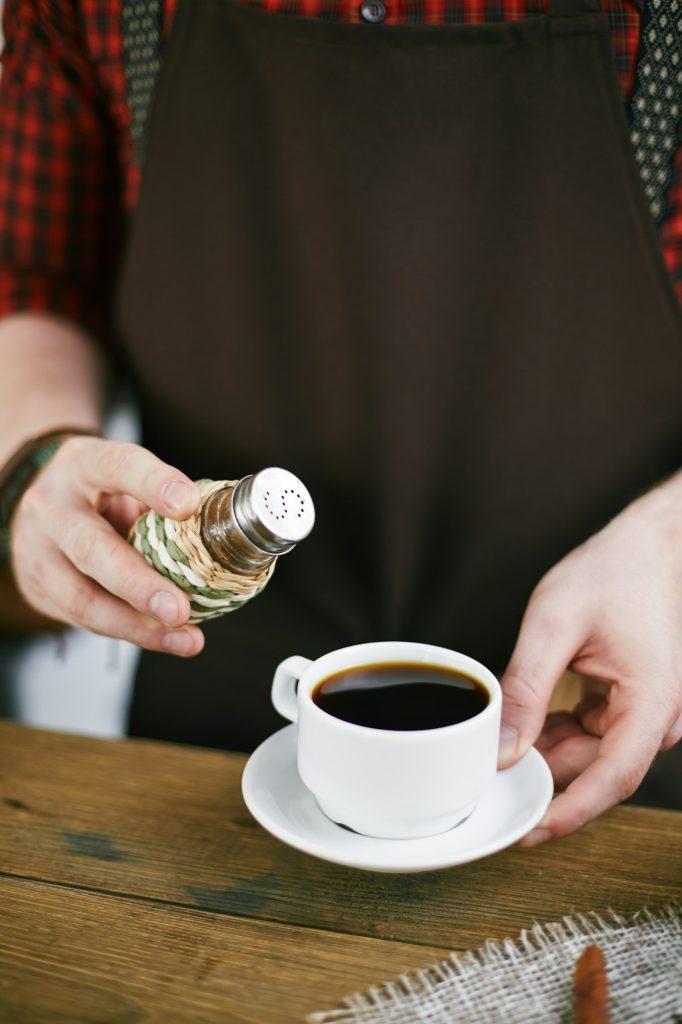
Adding salt in coffee

🧂 A Pinch of Salt

Yes, you read that right – salt! This trick, whispered in the kitchens of high-end cafes, can work wonders for your French press.

Add a tiny pinch (no more!) of salt to your ground coffee beans before brewing. It helps to mellow out bitterness and enhance the overall flavor. Even Alton Brown swears by this trick!

⏰ Timing is Everything

Steep your coffee for 4 minutes EXACTLY – set a timer to avoid over-extraction (bitter flavors) or under-extraction (weak, watery coffee).

When it’s time to plunge, go slow and steady to prevent stirring up the grounds.

☕️ Still Watery? Let’s Get Experimental

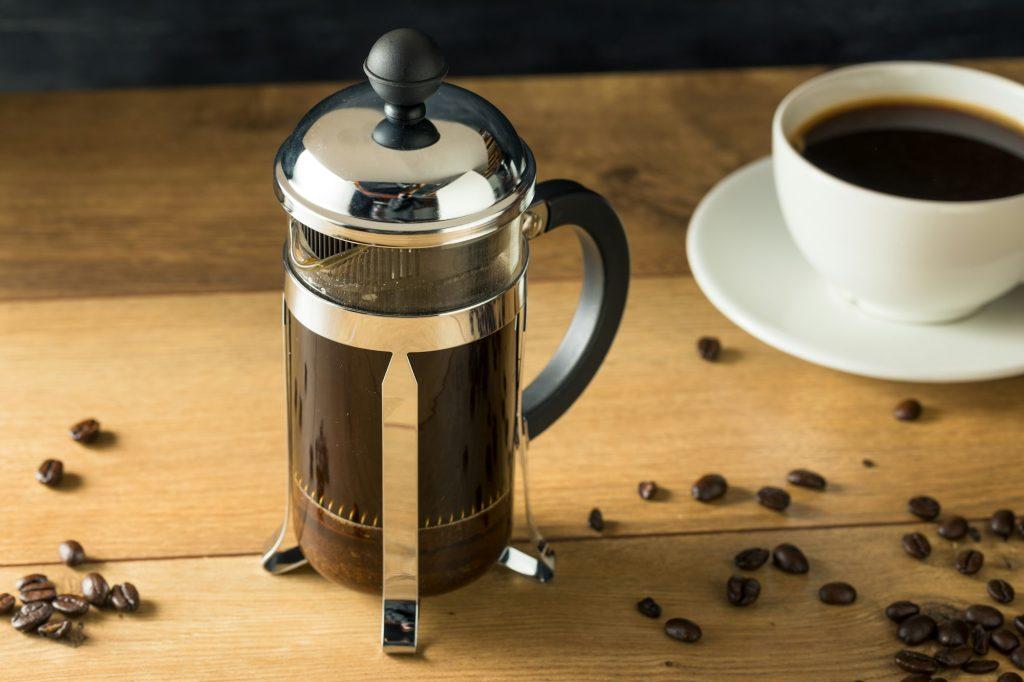
French press coffee
French press coffee

🤔 Check Your Gear

If you’re still struggling with weak coffee, take a look at your French press size. A press that’s too large for your needs can lead to under-extraction and watery results. Here’s a quick guide:

☕️ Wrapping Up: Your Bold French Press Awaits

You’re now equipped with the knowledge to brew an amazing French press! Remember:

  • Use a coarse grind (1 tbsp per 4 oz water)
  • Heat water to 200°F (93°C) and preheat your press
  • Bloom your grounds for 30-45 seconds
  • Choose fresh, dark roast beans
  • Consider your water quality (use filtration or spring water if needed)
  • Add a pinch of salt to mellow bitterness
  • Steep for exactly 4 minutes, plunge gently
  • Experiment and find what works for you

By mastering these techniques, you’ll say goodbye to watery coffee and hello to a rich, bold French press every time!

What’s YOUR best French press tip? Did these changes make a difference in your brew? Share your experiences and any other quirky coffee tricks in the comments below!

Advanced Troubleshooting & Mythbusting

Warm Homemade French Press Coffee
warm homemade french press coffee

Still struggling with your French press? Let’s dive deeper:

  • Water Channeling: If your grounds are clumping or forming “channels” during brewing, give the slurry a gentle stir after the bloom to ensure even extraction.
  • Press Design Flaws: Some French presses have poorly designed filters that allow too many grounds to slip through. Stick with trusted brands like Bodum, Frieling, or Espro for the best results.

Now, let’s bust some common French press myths!

MythFact
“French press coffee is always muddy.”A coarse grind, gentle plunge, and immediate decanting minimize sediment in your cup.
“You need boiling water for French press.”Water that’s too hot will scorch your grounds, leading to a bitter brew. Aim for 200°F (93°C) instead.
“French press is only for dark roasts.”While dark roasts excel in this method, you can use any beans you like – just adjust the steep time and grind accordingly.

Glossary

  • Bloom: The initial release of CO2 when hot water hits coffee grounds, leading to a foamy “bloom” on the surface. Allowing this process to occur enhances extraction and flavor.
  • Extraction: The process of pulling flavor compounds out of coffee grounds into the water. Over-extraction leads to bitterness, while under-extraction results in weak, watery coffee.
  • Immersion Brewing: Any method where grounds are steeped directly in water, like French press or cold brew. This leads to a full-bodied, robust cup compared to pour-over methods.

Recipe: Classic French Press

  • 12 oz water
  • 3 tbsp coarsely ground coffee beans
  • Pinch of salt
  • Timer
  • Scale (optional)
  1. Preheat French press with hot water. Discard water.
  2. Add grounds and salt to press.
  3. Pour 50g water in spiraling motion over grounds. Let bloom 30-45 seconds.
  4. Add remaining water, stir gently.
  5. Place lid on press, but don’t plunge yet. Set timer for 4 minutes.
  6. After 4 minutes, plunge slowly and steadily.
  7. Decant coffee immediately into mugs. Enjoy!

Like this recipe? Check out our guide on Cold Brew French Press for a refreshing summer twist!

The Best Ratio for French Press Made Easy!

Close your eyes and imagine the perfect French press coffee. The rich aroma of freshly ground beans mingles with the buttery scent of pastries baking in the oven.

That’s the magic I used to create every morning at the Boat Basin Cafe. As a chef, I’m obsessed with drawing out the deepest, most complex flavors, and the French press does that with coffee better than any other method.

Today, I’m going to share my secrets with you.

The Best Ratio for French Press Made Easy! 4
The Best Ratio for French Press Made Easy pin
French Press Coffee Calculator

French Press Coffee Calculator


Why French Press? A Chef’s Perspective

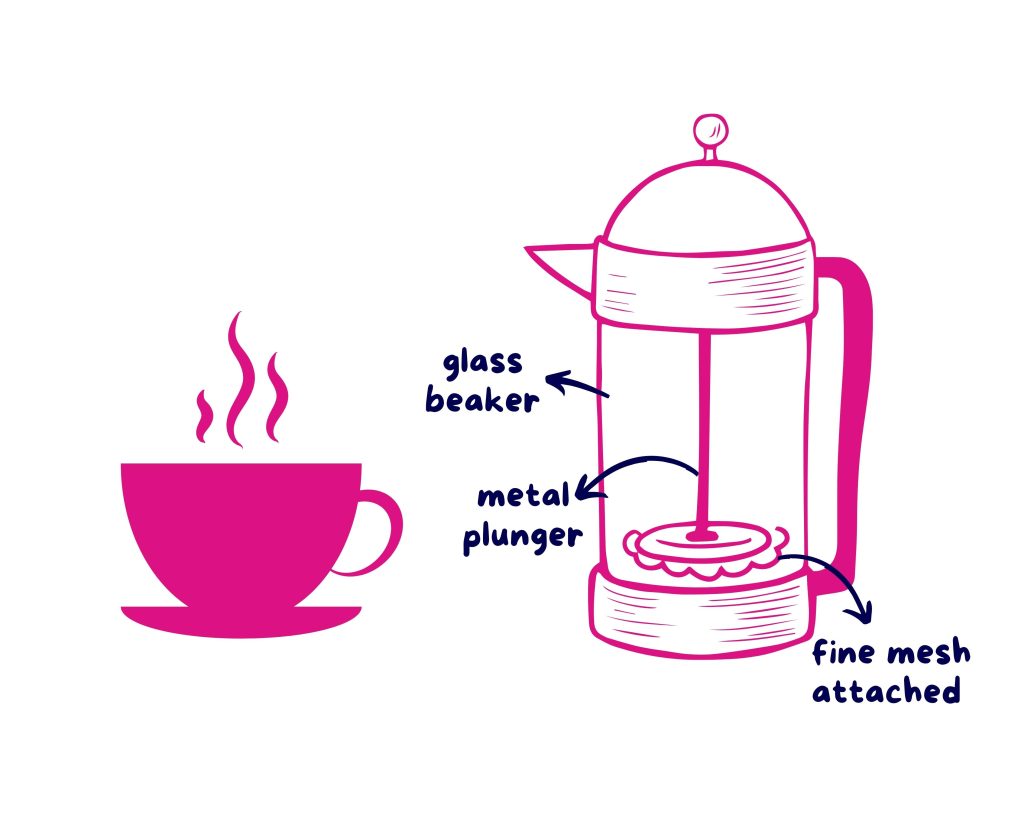
What is A French Press

The French press is the culinary equivalent of a pressure cooker for coffee.

The extended contact time between the grounds and the water yields a brew with the viscosity of a demi-glace, packed with bold flavors you just can’t achieve with a drip machine.

If a pour-over is a delicate consommé, French press coffee is a hearty, slow-simmered stock – robust, full-bodied, and deeply satisfying.

The Golden Ratio Chart

Pouring coffee into cup
Why Should You Use A French Press

Finding your perfect French press ratio is part art, part science.

These ratios provide a foolproof starting point:

StrengthCoffee:Water RatioCoffee per 8ozCoffee per 16ozCoffee per 32oz
Beginner’s Balance1:1714g (0.5oz)28g (1oz)56g (2oz)
French Press Classic1:1516g (0.6oz)32g (1.1oz)64g (2.3oz)
Cafe Bold1:1220g (0.7oz)40g (1.4oz)80g (2.8oz)

💁🏻‍♂️Pro Tip: Start with the French Press Classic for the most balanced flavor, then adjust to taste.

The science behind these ratios? It’s all about extraction.

Too little coffee and over-extraction can lead to bitterness.

Too much and under-extraction can result in weak, sour notes.

The key is finding the Goldilocks zone, where the water has just enough time to pull out the coffee’s delicious flavors and oils.

The Perfect Grind

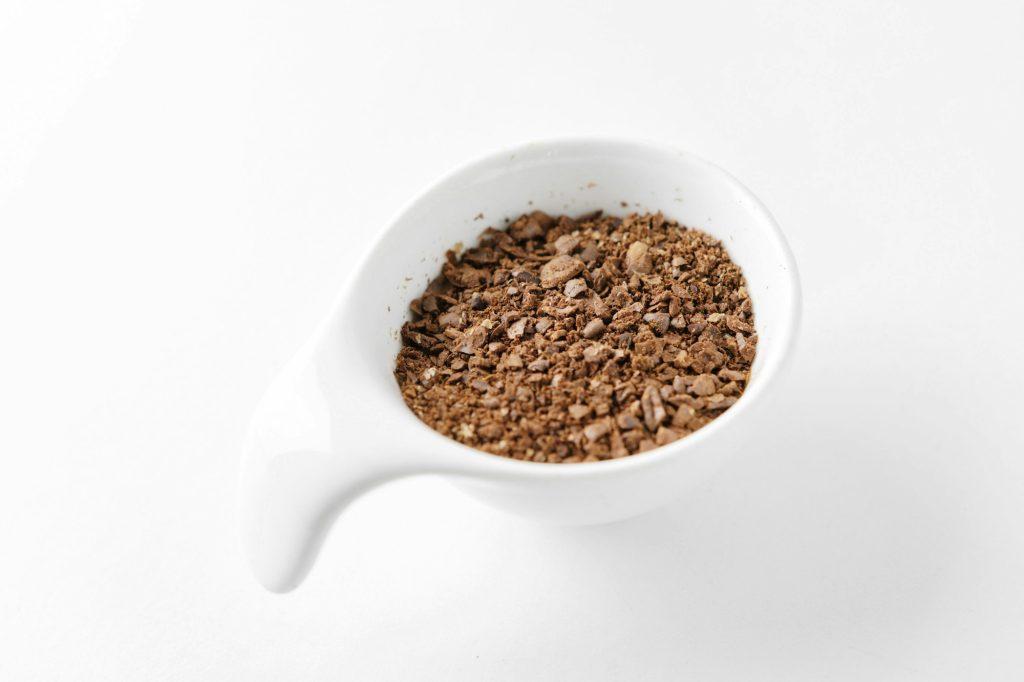
Coarsely ground coffee beans.
The perfect French press grind should have distinct particles, but no powder.

For French press, aim for a coarse grind, like breadcrumbs or coarse sea salt.

💁🏻‍♂️Chef’s Tip: Think of French press grounds like the ideal size for a hearty beef stew – coarse enough to impart flavor without muddying the broth. Too fine, like flour, and your coffee will be over-extracted and gritty.

You may also like: How Many Scoops of Coffee for a 34 oz French Press?

French Press Frustrations? Common Mistakes Solved

ProblemCauseHow to IdentifySolution
Bitter Coffee– Water too hot (over 205°F)
– Over-extraction (brewing too long)
– Stale, low-quality beans
– Harsh, astringent taste
– Feels dry on the tongue
– Lacks sweetness and depth
– Let water cool slightly off boil
– Limit brew time to 4 minutes
– Use fresh, high-quality beans
– Try a coarser grind
Weak Coffee– Grind too coarse
– Under-extraction (not brewing long enough)
– Coffee to water ratio too low
– Water not hot enough (under 195°F)
– Tastes flat, watery
– Lacks body and richness
– Sour, acidic notes dominate
– Use a slightly finer grind
– Increase brew time by 30 seconds
– Increase coffee to water ratio
– Ensure water is 195-205°F
Gritty Coffee– Grind too fine
– Plunging too aggressively
– Old, poor quality filter
– Silty mouthfeel
– Grounds in the cup
– Bitter, over-extracted flavor
– Use a coarser grind
– Plunge gently and steadily
– Replace old filters
Tepid Coffee– Water not hot enough before brewing
– Brewing for too long
– Not preheating the French press
– Lukewarm temperature
– Tastes dull, flat
– Oils not fully extracted
– Ensure water is 195-205°F
– Limit brew time to 4 minutes
– Rinse French press with hot water before brewing

Brewing the Perfect Cup: A Step-by-Step Video Guide

Your French Press Questions Answered

What’s the best water temperature for French press?

For optimal extraction, aim for 195-205°F. Boiling water (212°F) can scorch the grounds and lead to a bitter brew. I let my water cool for about a minute off boil – enough time to grind the beans and prep the press.

How much coffee do I use for a large French press?

While ratios stay consistent, you’ll need to scale up the actual amount of coffee and water used. For a 32oz French press at a 1:15 ratio, use 64g (2.3oz) of coffee and fill the carafe with hot water. Consult the chart above for precise measurements.

Why is my French press coffee gritty?

Gritty coffee is usually due to two things: grinding the beans too fine, or plunging with too much force, which stirs up the sediment. Stick to a coarse grind and plunge with slow, steady pressure.

What’s the best coffee for French press?

I’m partial to medium-dark and dark roasts for French press. The immersion brewing method really highlights those deep, complex flavors. Read on for my top bean picks!

Brewing Better Cold Brew: Ratio & Tips

Want to make cold brew in your French press? You absolutely can! The trick is remembering that cold brew needs a higher coffee to water ratio, as you’re extracting with time instead of temperature.

Brew TypeCoffee:Water RatioExample
Cold Brew Concentrate1:6140g coffee to 840g water. Steep in the fridge for 12-15 hours. Always dilute the concentrate 1:1 with water or milk before enjoying for the perfect strength!

French Press Favorites: Top Bean Picks from a Chef

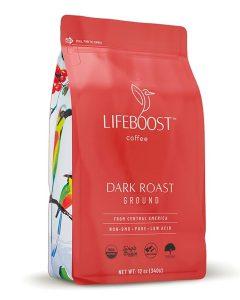
Lifeboost Embolden: For lovers of classic dark roasts

The Best Ratio for French Press Made Easy! 5
dark
  • Flavor Profile: Velvety body with notes of dark chocolate and toasted hazelnut. Low acidity, clean finish.
  • Why It’s Perfect: This is THE bean for a traditional, full-bodied French press. The dark roast really shines with immersion brewing. “I thought I knew dark roasts, but this one redefined bold for me!” – Sarah K.

Purity Coffee Dark Roast: Reinventing the Dark Roast

The Best Ratio for French Press Made Easy! 6
Purity coffee ease whole bean 12 oz
  • Flavor Profile: Deeply complex, balancing molasses-like sweetness, earthy undertones, and a hint of spice. Full-bodied yet smooth.
  • Why It’s Perfect: If you think dark roast means burnt and bitter, Purity will change your mind. Incredibly rich and nuanced when French pressed. “My search for the ideal French press roast ends here. Exquisite!” – Mark T.

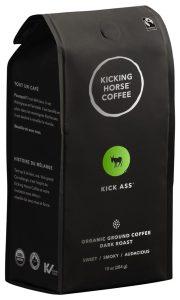
Kicking Horse Kick Ass: Not for the Faint of Heart

The Best Ratio for French Press Made Easy! 7
61FOiKBcW7L. SY879
  • Flavor Profile: An audacious blend of smoke, bracing sweetness, and spice. Tastes like a bonfire in a cup, in the best way.
  • Why It’s Perfect: If you want a French press coffee that wakes you up and then some, look no further. This is as bold as it gets.

No matter which beans you choose, always grind fresh, use proper ratios, and enjoy your French press coffee immediately for the best flavor.

The beauty of this brewing method is its simplicity – so don’t overthink it. Trust your taste buds, and have fun experimenting!

How Many Scoops of Coffee for a 34 oz French Press?

Ever dream of cafe-quality French press coffee at home, but end up with a bitter mess more often than not?

Discover the secrets to consistently delicious French press with my comprehensive guide, drawing from my years as a chef and barista at the beloved Boat Basin Cafe in New York City.

Sure, ratios matter, but I’m about to demystify them and share tricks even seasoned baristas use for perfect French press.

Whether you’re a newbie or a pro looking to fine-tune your technique, you’ll find everything you need to brew coffee you’ll crave, every single time.

☕️ How Many Scoops of Coffee for a 34 oz French Press?

How Many Scoops of Coffee for a 34 oz French Press
scoop with a milled coffee

Let’s cut to the chase: my go-to golden ratio for a rich, balanced 34 oz French press is 1:15 (coffee to water).

But the real magic comes in understanding why…

Here’s a handy table to guide you:

Coffee (grams)Water (grams)Tablespoons (ground coffee)Notes
60g900g~10 tbspIdeal range for classic, balanced brew
65g975g~11 tbspSlightly stronger, perfect for adding milk
70g1050g~12 tbspBold, robust flavor – great for dark roasts

📝Note: 1 tbsp ≈ 5-7g of ground coffee, depending on grind size and bean type.

💁🏻‍♂️Remember, grind size significantly impacts your results: Think coarse sea salt!

But here’s the thing: measuring by volume (like with scoops or tablespoons) can be unreliable. Weighing your coffee ensures the perfect brew every time. Invest in an affordable kitchen scale – your taste buds will thank you!

☕️ The Key to French Press Success: Understanding Ratios

French press coffee
French press coffee

Alright, let’s talk coffee-to-water ratios. Think of your grounds like tea leaves – the right balance controls how much flavor you extract. Too much coffee and your brew is bitter and harsh; too little and it’s weak and watery.

Understanding coffee brewing ratios is the foundation of cafe-quality French press. The magic numbers? 1:15 for a balanced cup, 1:12 for a strong brew, and 1:17 for a milder drink.

But here’s the fun part: ratios give you the power to customize your perfect cup. Love a bold, punchy coffee? Try 1:12. Prefer a smooth, gentle brew? Go for 1:17. The key is to experiment until you find your sweet spot.

When I was honing my craft at the Boat Basin Cafe, I spent countless hours playing with ratios for our French press offerings. It was a game-changer when I realized I could tweak the ratios to suit different beans and customer preferences.

☕️ Pro French Press Tips for Coffee You’ll Crave

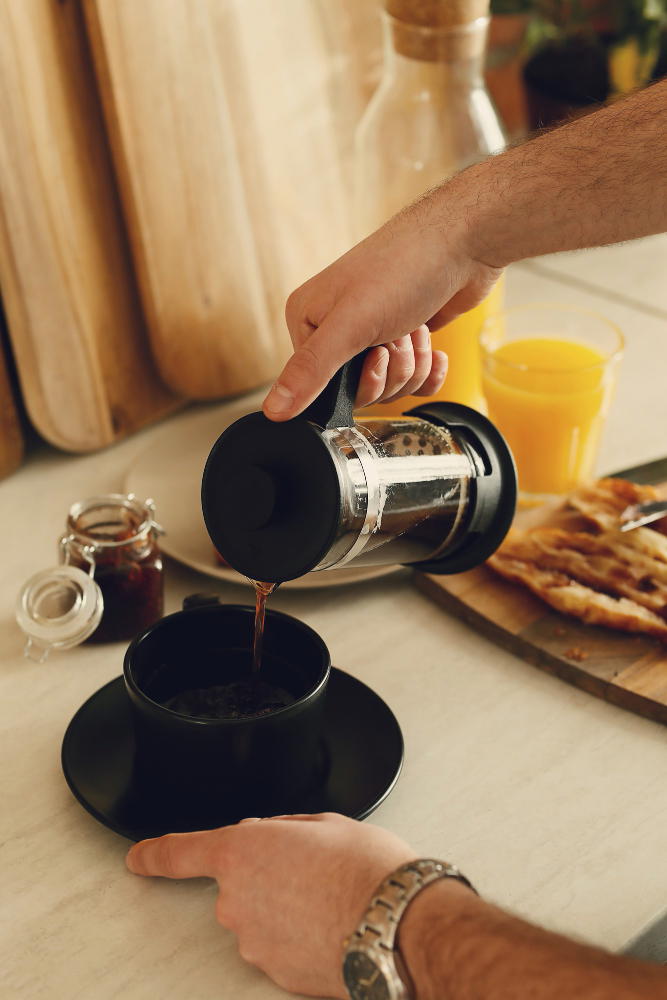
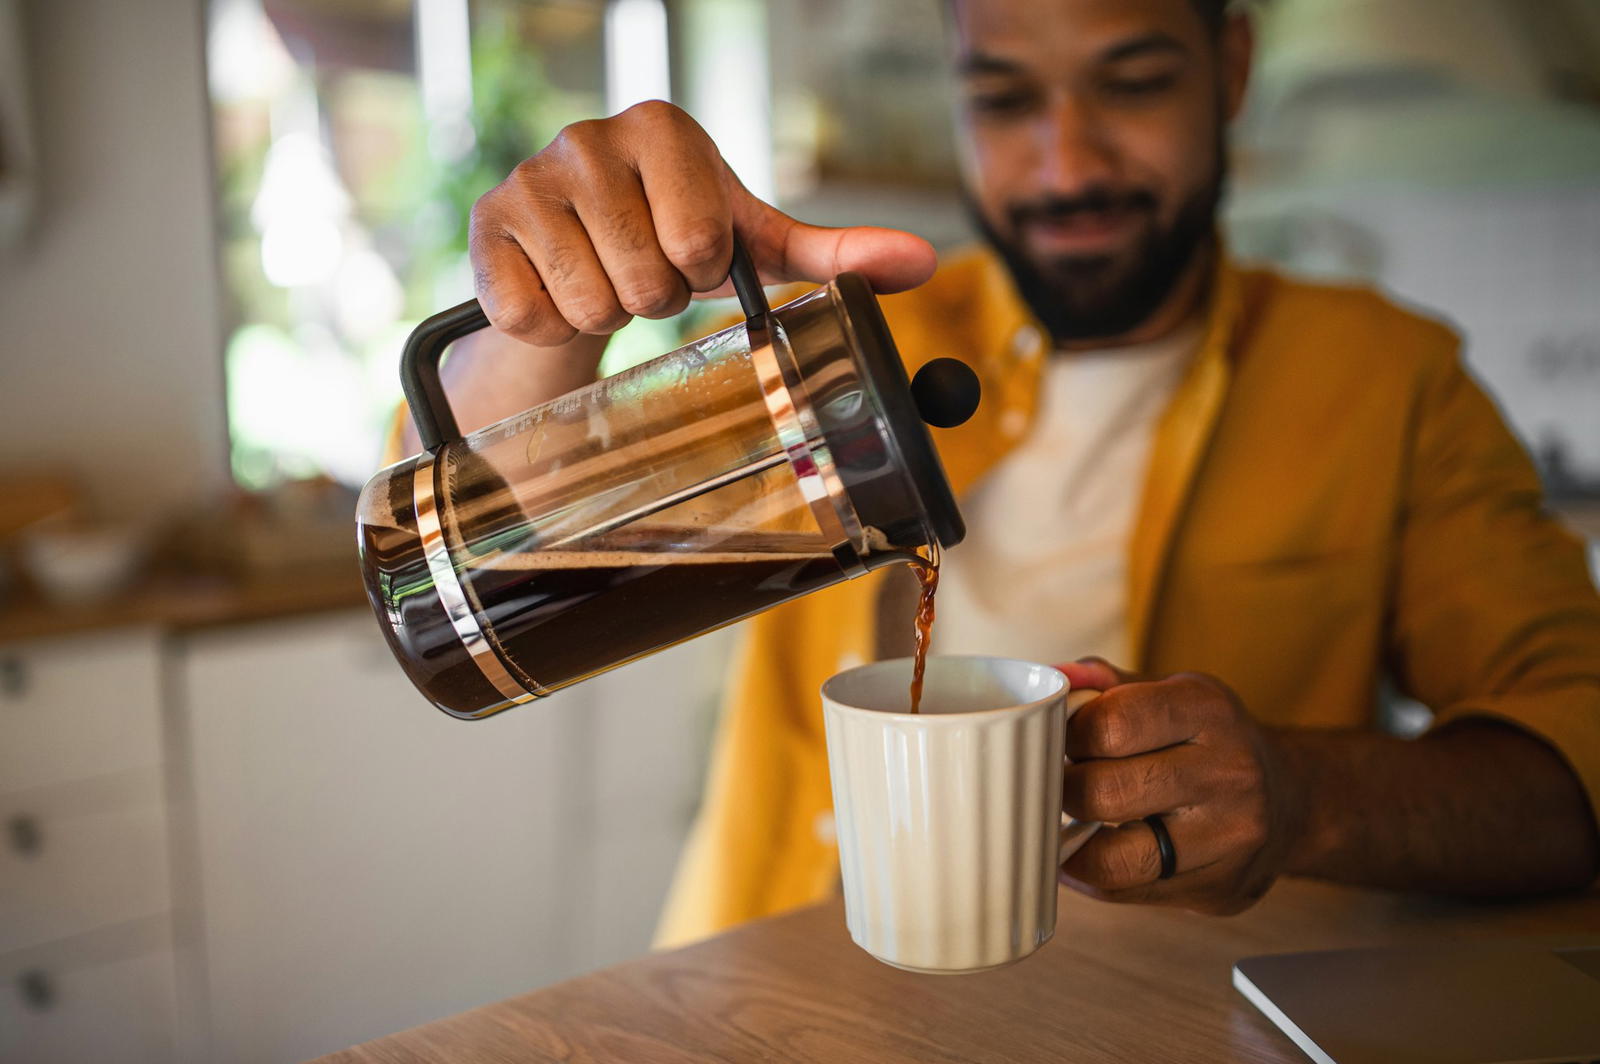
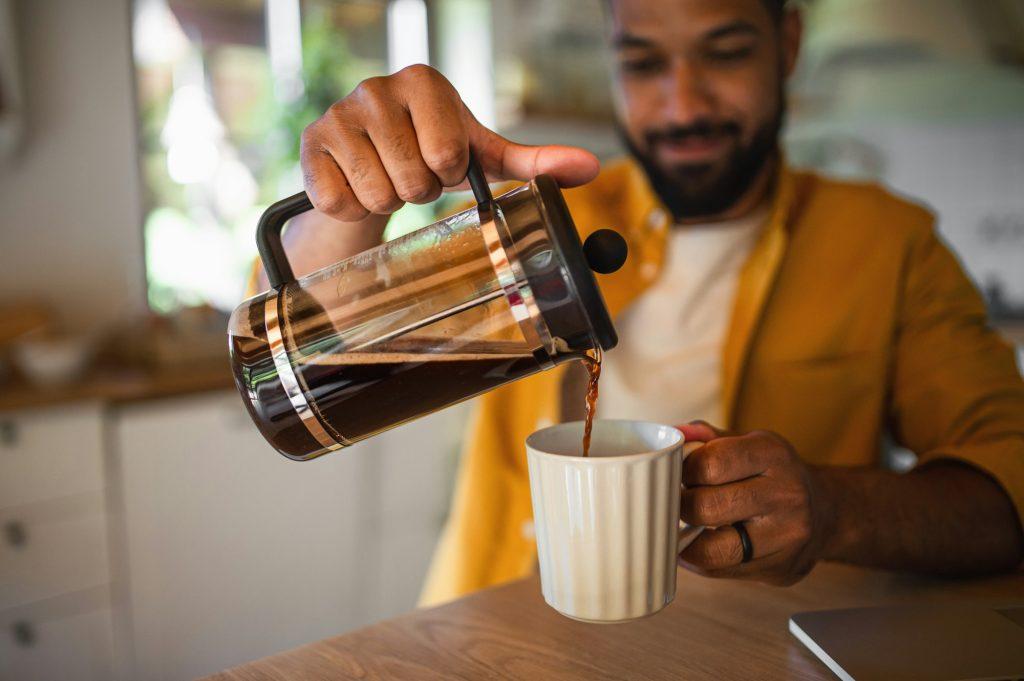
Young man pouring coffee from french press working indoors, home office concept
young man pouring coffee from french press working indoors home office concept

Ready to level up your French press game? Here are some pro tips I swear by:

Grind Matters
Aim for a coarse grind, like sea salt or coarse sand. Too fine and your coffee will be bitter and muddy; too coarse and it will taste weak and under-extracted.

Ideal Water Temp
The Goldilocks zone for French press brewing is 195-205°F (90-96°C). Boiling water will scorch your grounds, while tepid water won’t extract fully. Pro tip: Boil your water, then let it sit for 30 seconds before pouring.

The Bloom Technique
Here’s a pro “secret” that might sound crazy, but trust me…

Blooming your coffee – aka pre-wetting your grounds – allows CO2 to escape, leading to a more even extraction.

Pour just enough water to saturate the grounds, let them bubble for 30 seconds, then add the rest of your water. This simple step makes a HUGE difference, especially with cheaper beans.

⁉️ Why this works: CO2 trapped in coffee can repel water, causing uneven extraction. Releasing this gas before brewing promotes a balanced, flavorful cup.

☕️ Bonus Tip! A Pinch of Salt

Here’s another pro “secret” that might sound crazy, but trust me…

Add a pinch of salt to your grounds before brewing. This simple trick can neutralize bitterness and enhance flavors, particularly in less-than-ideal beans.

Why this works: Salt is a natural flavor enhancer and can help to block bitter compounds in coffee, resulting in a smoother, more balanced taste.

Back at the Boat Basin Cafe, we had a regular who always requested a pinch of salt in his Bodum French press. I was skeptical at first, but after trying it myself, I was amazed at the difference it made, especially with our budget-friendly blends.

💁🏻‍♂️Remember, a little goes a long way – start with 1/8 teaspoon per 8 oz of water and adjust to taste.

☕️ French Press Fun Fact

Did you know the “French press” isn’t actually French? The first patent for this style of coffee maker was filed by Italian designer Attilio Calimani in 1929.

It wasn’t until the 1950s that a refined version was patented by Swiss Italian Faliero Bondanini and manufactured in France, likely leading to the “French press” moniker we know today.

So, next time you brew with your Ikea or Bodum French press, raise a cup to our innovative Italian friends!

Wrap Up
There you have it – your ultimate guide to mastering the 34 oz French press. We’ve covered everything from the ideal coffee-to-water ratio to pro tips on grind size, water temperature, blooming, and even a surprising salt trick.

Say goodbye to French press roulette! You now have the tools for consistently delicious, cafe-quality coffee at home. All that’s left is to experiment, trust your taste buds, and enjoy the journey to finding your perfect brew.

How Long Does It Last in Fridge & Freezer?

John Bird here, former chef at New York’s iconic Boat Basin Cafe. Today, I’m sharing my expert tips on storing chili to keep your leftovers tasting as fresh and flavorful as the day they were made.

How long does chili last in fridge? + 5 Storage Tips & Much more!
How long does chili last in fridge pin

How long does chili last in the fridge?

How long your chili lasts in the fridge depends on the type.

Here’s a quick breakdown based on my experience:

Chili TypeFridge Life (Max)
Homemade Chili3-4 days
Canned ChiliUp to 1 week
Vegetarian Chili3-4 days

Homemade chili spoils faster due to its fresh ingredients and lack of preservatives. At the Boat Basin Cafe, we made our chili fresh daily to ensure optimal flavor and safety.

Storing Chili in the Fridge

  1. Cool It Quickly: Chili should reach below 40°F within 2 hours of cooking to prevent bacterial growth. Use shallow, sealed containers for rapid cooling. This was a golden rule in our cafe kitchen.
  2. Choose Airtight Containers: Airtight packaging blocks contaminants and keeps chili fresh. Our go-to: Zilpoo food storage containers.
  3. Keep Your Fridge Cold: Set the temperature to 40°F or below. Use a thermometer to check it regularly, as bacteria multiply faster at higher temps. Food safety was always priority #1 for us.
  4. Reduce Moisture: To slow bacterial growth, simmer chili uncovered to evaporate excess liquid or stir in a cornstarch slurry before storing. Chef’s secret for extending fridge life!

Freezing Chili Leftovers

How Long Does It Last in Fridge & Freezer? 8
ong chili black board

Too much chili? Freeze it! Chili can be frozen for up to 6 months. Divide it into single or family-sized portions in freezer-safe containers or bags. Pro tip from my barista days: Freeze some in ice cube trays to easily add chili flavor to future dishes.

To reheat, thaw frozen chili in the fridge overnight. Then heat to 165°F on the stove or in the microwave, per USDA guidelines. This kills bacteria, but not toxins, so frozen chili is best enjoyed within 4-6 months.

Chili Gone Bad FAQs

How to know if chili is bad?
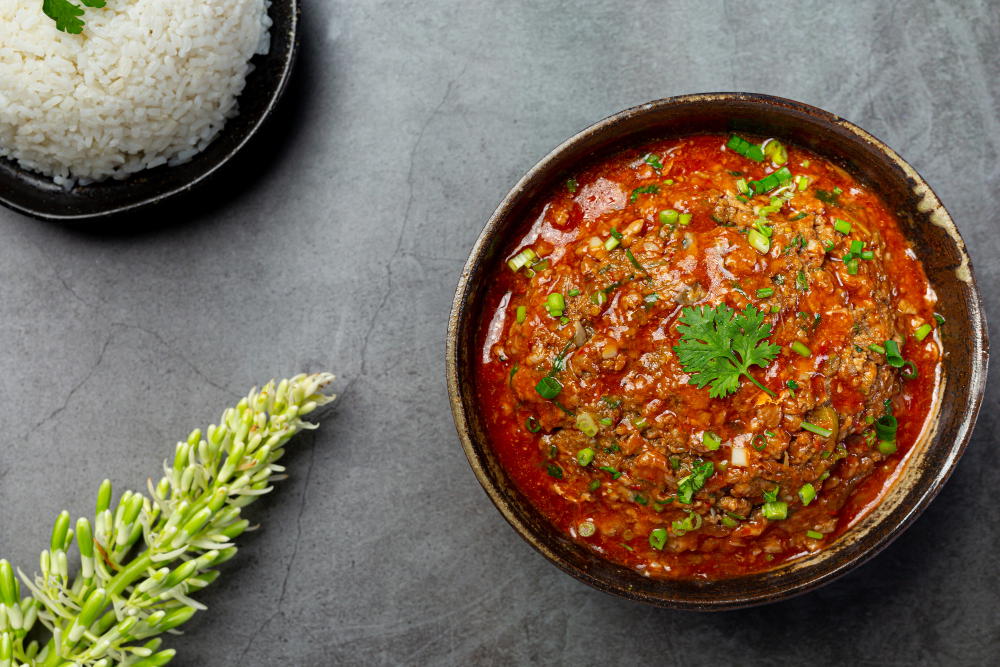
How to know if chili is bad

Can chili get moldy?

Yes, chili can develop mold, even in the fridge. If you see any mold growth, even small spots, discard the entire batch immediately.

Does slimy chili mean it’s gone bad?

Absolutely. If your chili has turned thick, slimy, or developed a watery texture, it’s a sure sign it’s spoiled and should be tossed out.

What does spoiled chili smell like?

Spoiled chili will often have a foul, rancid smell. If it doesn’t smell appealing anymore, it’s best not to risk it. As we used to say at the cafe, “When in doubt, throw it out!” Food poisoning is never worth the gamble.

Chili Storage FAQs

Can I eat chili that’s been in the fridge for 5 days?

As a chef, I’d say vegetarian chili may be okay, but always toss meat chili after 3-4 days. Better safe than sorry with leftovers.

Does freezing chili make it last longer than refrigerating?

Absolutely. Freezing halts bacterial growth completely, while the fridge only slows it. Frozen chili stays good for 4-6 months.

Is it safe to freeze chili with beans or dairy?

Definitely! Bean and dairy chilis freeze perfectly. Just thaw and reheat thoroughly. We always kept some bean chili on hand in the Boat Basin Cafe’s freezer for busy nights.

How long will chili last in the freezer?

In my experience, frozen chili tastes best within 4-6 months. It remains safe longer but quality may decline.

“The key to safely storing chili leftovers is all in the cooling process,” advises chef Jenn Louis, a sentiment I wholeheartedly echo from my Boat Basin days. “

Get it from steaming to below 40°F as quickly as possible – that’s where shallow containers and fridge temp really come into play.”

For more expert guidance on food storage safety, visit the USDA’s Food Safety Guidelines.

You Might Also Like:

Thick Crockpot Chili: Pro Secrets Revealed

How Long Does Coffee Creamer Last? Get the Answers

Love adding a little something special to your coffee? Coffee creamer is a quick and easy way to get that rich, creamy flavor you crave.

About BoatBasinCafe

Hi there, coffee lovers! I’m John Bird, former chef and barista at the late, great Boat Basin Cafe in NYC. Even though the cafe is no more, I’m still obsessed with crafting the perfect cup of coffee.

I started this site to share everything I’ve learned over the years about choosing the best beans, perfecting your pour, and of course, extending the life of those tasty coffee creamers we all love. Consider me your personal guide on your quest for the ultimate coffee experience. Cheers!

What is a Coffee Creamer?

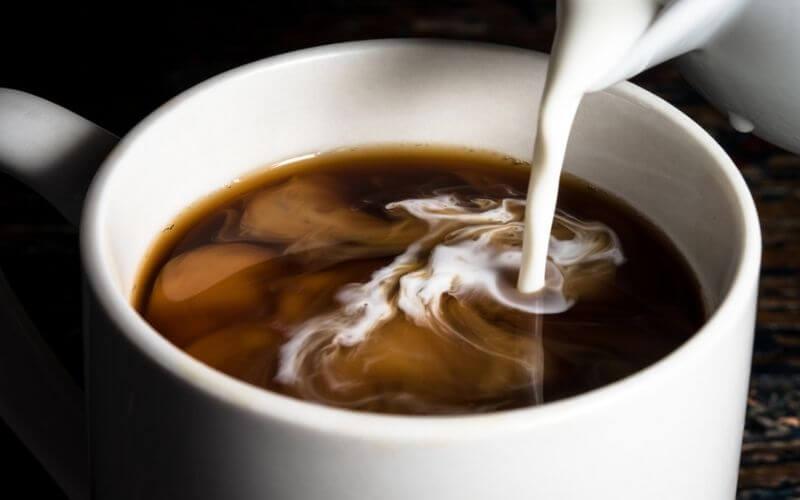
how long does creamer last
does creamer last

The name itself is pretty self-explanatory. Coffee creamer is a heavy, condensed cream for your coffee. But unlike other dairy creams, this one comes in both liquid and powdered form.

Coffee creamers are basically milk-based products. Dairy versions contain milk but they are mostly sugar and corn syrup.

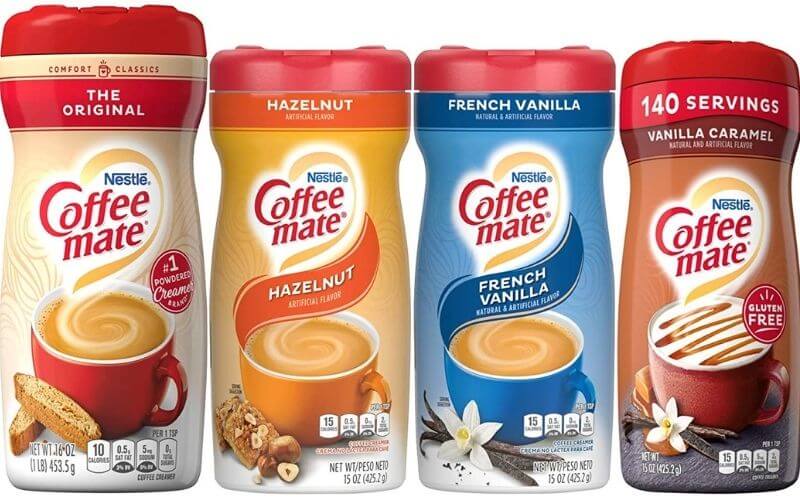
Coffee creamers come in various different types:

  • Liquid creamers
  • Powdered creamers
  • Flavored creamers (chocolate, vanilla, hazelnut, etc.)
  • Non-dairy and vegan versions

The main attraction of coffee creamer is how it makes your coffee smooth and silky. It adds richness and texture which can be very enjoyable especially when you are making it at home. Creamers are basically a cheat option for making a café-esque latte without any barista skills.

Creamer vs Milk: The Key Differences

drinking expired coffee creamer

This totally depends on what you are looking for. If you want a healthy option, coffee creamer is not the best choice.

There is no doubt that coffee creamer is not as healthy as plain milk, in fact, it’s not even close to being healthy in any way. Coffee creamer is basically fat, sugar and preservatives. They are not ideal if you have diabetes or high blood pressure level.

Coffee creamer also is high in bad cholesterol so if you gain weight easily, this is not something you want to consume every day.

But if you are simply looking for something that will make your coffee taste the best, creamers are the way to go! Milk can water down the coffee. Sometimes all we want is a dollop of rich creaminess on our strong espresso. Milk does not provide that. The best and quickest way to make your homemade coffee taste rich and luxurious is to add creamers.

Here are the key differences between coffee creamer and milk:

  • Health: Creamer is higher in calories, fat, and sugar. Milk offers more nutritional value.
  • Taste: Creamer adds richness and sweetness, milk is more subtle.
  • Convenience: Creamer is grab-and-go, milk often needs measuring.

Coffee Creamer Shelf Life: A Quick Guide

So, does coffee creamer go bad? Of course they do. The shelf life of coffee creamers varies from brands to brands. Each different type of creamer has different storing methods too. But how long does creamer last for real?

Creamer TypeUnopened Shelf LifeOpened Shelf Life
Dairy CreamerUp to 2 weeks past ‘best by’1-2 weeks
Non-Dairy CreamerVaries (see label)Up to 10 days
Powdered Creamer6-12 months6-12 months
Individual CupsUp to 1 monthUse immediately

*Refrigerate all creamers after opening, even non-dairy.

How to Store Coffee Creamer

How you store your coffee creamers affect greatly on how well they will last. Different types of creamers require different storage methods. We are going to talk about three main types: liquid, powdered, and mini cups creamers.

Liquid Creamer (Dairy and Non-Dairy):

Both dairy and non-dairy liquid creamers need to be stored in the refrigerator at all times. These creamers are usually made using milk, oil for non-dairy ones, sugar, cream, artificial flavoring, and preservatives.

All these ingredients can go bad if the temperature is too hot or cold. So keeping them in the refrigerator at a specific temperature ensures a longer shelf life.

Powdered Creamer:

Powdered creamers are the ones that can last the longest. You can store them in your pantry next to other seasonings and rice. That’s how easy they are. Powdered creamers are also great for traveling as they are more resistant to environmental changes.

Make sure to keep powdered creamers in an airtight glass container. Moisture can cause powdered creamer to clump together. So keep them on a dry shelf far away from any water sources.

  • Powdered creamer is shelf-stable. Store in a cool, dry place.
  • Don’t leave any creamer type in direct sunlight.

Mini Creamer Cups:

Mini creamer cups are super convenient especially if you don’t use creamers every day. These creamers come in single-serving size cup containers. They can be stored at room temperature.

These mini cups are sealed and then heated through to kill any bacteria inside. This process is called ultra-high temperature processing. So you can store them in both the refrigerator or in the cupboard.

Whatever you do, don’t keep them somewhere with direct sunlight. You can also buy individual half and half creamers and store them in the same way.

How to Tell if Creamer has gone Bad

Coffee Creamer is Bad

Knowing whether your coffee creamer has gone bad or not is fairly easy. Especially for dairy options, you can tell right away.

Here’s our guide on how to tell if coffee creamer is bad or not! Drinking expired coffee creamer can cause stomach ache and bloating.

  1. Smell It: Start with checking the smell of your creamer. Does it smell acidic? Does it have an odor? Does it smell sour? If any of those is yes, then the creamer has gone past its safe consumption period. Throw it away as soon as possible.
  2. Taste the Creamer: If you are unsure about the smell test, tasting is another option. Sometimes with some non-dairy or powdered versions, you can’t tell if it’s bad simply by smell. Most times powdered creamers don’t have any smell at all. So take a tablespoon of creamer and taste it. If it’s bad, you will be able to tell right away.
  3. Texture Difference: Liquid coffee whiteners have a smooth texture. They look a lot like heavy cream. So if you find your liquid creamer to have lumps or clumps, it’s definitely not edible anymore. Always make sure to notice whether there is any texture difference or not.
  4. Expiration Date: Checking the expiration date is a no-brainer. In fact, most of us start with this step. While the expiration date is a great way to know how long they will last, you can’t depend on them too much. Many things can affect the condition of your creamer – how it was packaged, how it was delivered, how you stored it. All of these factors affect the longevity of your coffee creamer. So use this data merely as a suggestion.

Shelf Life of Popular Creamer Brands

How long your coffee creamer lasts depends a lot on the brand. Here’s a quick guide to the typical shelf life of some of the most popular coffee creamer brands:

  • International Delight: Refrigerate and use within 1-2 weeks of opening. Unopened bottles can last up to 1 month past the best-by date.
  • Coffee Mate: Liquid creamers can be refrigerated for 1-2 weeks after opening. Powdered Coffee Mate has a shelf life of 6-12 months.
  • Nestlé: Most Nestle coffee creamers need to be used within 7-10 days of opening. Check the label as this varies by specific product.

Making Your Own Homemade Coffee Creamer

Homemade Coffee Creamer

As much as we all love the rich creaminess of coffee creamers, they are not the healthiest thing to drink every day. Once you build the habit of using creamers in your coffee, it’s very tough to go back. Instead of using regular milk, you can make your own homemade version of it!

Here’s how you make homemade coffee creamers:

Ingredients:

  1. 1 can sweetened condensed milk
  2. 1½  cup almond milk
  3. 1 tablespoon maple syrup
  4. 1 teaspoon arrowroot powder
  5. 1 tablespoon vanilla extract

Instructions:

  1. Take a saucepan and put it on medium-low heat.
  2. Add condensed milk and almond milk together onto the saucepan. 
  3. Once the mixture is heated through, add the other ingredients one by one. 
  4. Wait for it to bubble while constantly stirring. 
  5. Take the pan off the heat and pour it into an airtight container. 
  6. Let it cool down completely then store in the fridge for up to 8 days. 

And that’s it! Your homemade coffee creamer is ready to enjoy. 

FAQs

Can Coffee Creamer Go Bad?

Whether you are using a dairy coffee creamer or a non-dairy alternative, it will eventually go bad at some point. Just like any other food item, a coffee creamer needs to be kept under a certain temperature for a certain amount of time.
Coffee creamer’s shelf life depends on how you are storing it. It can be influenced by temperature, moisture level, sunlight, packaging date, and processing method. Some of them you have control over and some you don’t. But needless to say, coffee creamer can go bad.

How Long is Coffee Creamer Good for?

If you keep your coffee whitener unopened and intact, it can survive up to 2 weeks very easily. Non-dairy cream lasts even longer. A jar of unopened non-dairy creamer can be kept up to a month without any issue.
Dairy creamers are always sold refrigerated and need to be kept at a certain temperature. Non-dairy creamer, on the other hand, can be stored in the cupboard.

Can You Freeze Coffee Creamer?

Dairy creamers can be frozen very easily. As it’s a milk-based item, you can treat it pretty much like any other milk product. So, can you freeze liquid coffee creamer?
You can freeze your dairy creamer without too much fuss. All you have to do is put the bottle into the freezer and voila! It will be fresh for up to 6 months!

Is Powdered Coffee Creamer Bad for You?

Yes, they are. Powdered coffee creamers are bad for your health due to their high amount of sugar and processed chemicals. Even though these types of creamers add a certain convenience to our busy lives, they are very bad for our stomach and heart.
If you have high blood pressure or diabetes, avoid powdered coffee creamers at all costs. They can cause a spike in your blood sugar level. They also add to your bad cholesterol (LDL) levels. So you might struggle to lose weight.

Can You Use Non-dairy Creamer after the Expiration Date?

If the creamer was intact and properly stored, then chances are you can use a non-dairy creamer after its expiration date.
Unlike popular beliefs, the expiration date is not a black and white measurement of whether the food has gone bad or not. It’s a mere suggestion by the manufacturers.
All it indicates is the food will taste its best within that time period. It can go bad before that date alternatively it can stay fresh long after the expiration date. So the best way to tell is to smell and taste the creamer.

Why Does My Fridge Temperature Keep Changing? (And How You Can Fix This)

If your fridge temperature keeps changing, it’s more than an annoyance—it’s a risk to your food’s safety.

The ideal fridge temperature should be 40°F (4°C) or lower to prevent bacterial growth and food spoilage 🦠.

Multiple factors like frequent door opening and seasonal changes can affect it, but the good news is, they can be managed 🔄.

What is the Ideal Normal Fridge Temperature?

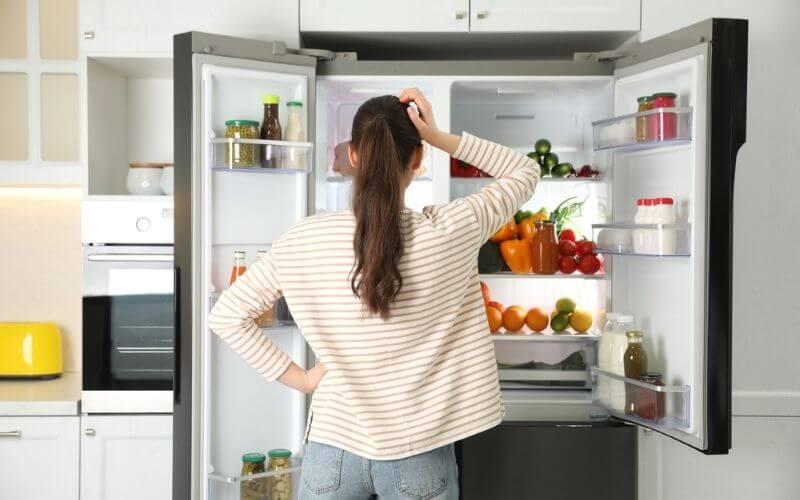
why does my fridge temperature keep changing
fridge temperature keep changing
ConditionTemperatureConsequences
Too Cold ❄️Below 40°F/4°CFreezes veggies and changes their texture.
Optimal 🟢40°F/4°CPrevents bacterial growth and spoilage.
Too Warm 🔥Above 40°F/4°CFood spoils easily.

Why Does My Refrigerator Temperature Keep Fluctuating?

A fluctuating fridge temperature is both annoying and risky. The constant rise and fall in temperature can result in bacterial growth and spoil your food quickly.

CauseImpactSolution
Frequent Door Opening 🚪Affects steady temperatureOpen only when necessary
Altered Thermostat Setting 🌡️Changes in coolingCheck and reset the thermostat
Faulty Cooling System 🛠️Fridge temperature can reach 50°F overnightCall a technician
Electrical Issues ⚡Voltage spikes affect temperatureCheck electrical setup
Blocked Thermostat Sensors 🍲Makes the fridge too cold or too warmDon’t place food near the thermostat
Blocked Vents 🌬️Warm air builds up, heating the fridgeEnsure proper ventilation
Dirty Compressor Coils 🌀Causes wild temperature fluctuationsClean the coils

You Keep Opening the Fridge Door🚪

If the fridge door is opened and closed repeatedly or is kept open for a long time, the fridge will be unable to maintain a steady and constant temperature.

The Thermostat Setting was Altered🌡️

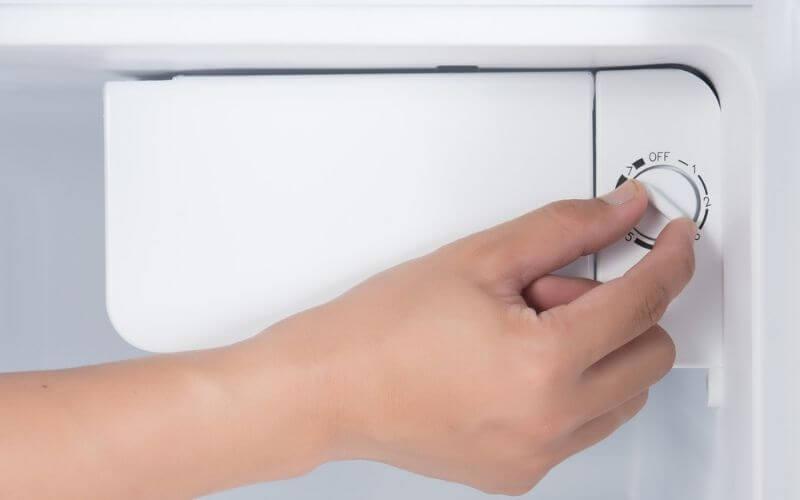
Check the thermostat if your refrigerator has a bad temperature sensor, you may need to contact the manufacturer for a replacement.

The Problem with a Refrigerator Temperature at 50 Degrees

Why Does My Fridge Temperature Keep Changing? (And How You Can Fix This) 9
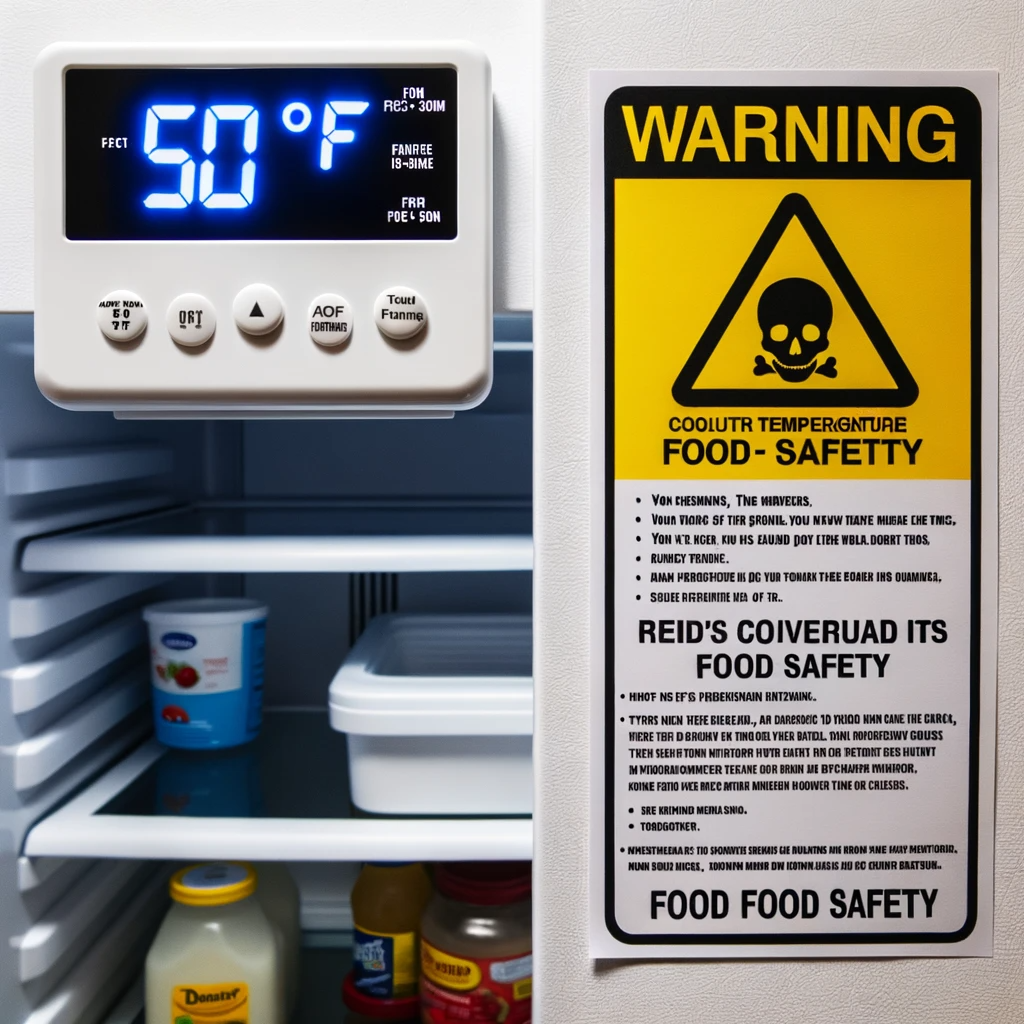
50 degrees Fahrenheit

Keeping your refrigerator at the right temperature is crucial for food safety. When your fridge is consistently at 50 degrees, you put yourself at risk of foodborne illness.

  • 50 degrees is not a safe temperature for food storage. At this temperature, bacteria can grow quickly, leading to foodborne illness.
  • To fix the issue, first check the thermostat setting. If the temperature is correct, but the fridge is still at 50 degrees, you might need to call a technician.

Importance of the Temperature Danger Zone

Normal Fridge Temperature

Why You Should Be Concerned Understanding the temperature danger zone is important for food safety. This range is usually between 40 and 140 degrees Fahrenheit. When food is in this zone, it is more susceptible to potentially harmful bacteria growth.

How to Avoid Risks

  • Store foods below or above the temperature danger zone to minimize the risk of bacterial growth.
  • Use a calibrated food thermometer to ensure your fridge and freezer are set at the correct temperatures.
  • Always keep hot and cold foods cold, and don’t leave food at room temperature for extended periods.

👩‍🍳 Read More: Refrigerator Maintenance Tips

FAQs

Below, you’ll find answers to questions we get asked the most about why is my refrigerator temperature not constant.

01. What is the Best Refrigerator Temperature?

The optimum temperature for a fridge is between 0°C and 4°C or 40°F and 32°F.

02. How to Test a Refrigerator Thermostat?

Put a glass of water with a thermometer in it in the middle rack of the fridge. Wait 5-6 hours before measuring to see what temperature the thermostat is set to.

03. What Would Make a Refrigerator Stop Getting Cold?

Food blocking the thermostat sensor, a dirty compressor coil, or even opening and closing the fridge door too often.

04. How to Check Fridge Temperature without the Thermometer?

You can put a glass or bottle of water in the fridge to estimate the temperature. After 5-6 hours, take it out of the fridge and look at the water container. 
Keep an eye out for condensation; the faster it appears on the surface, the colder the temperature.

05. Why is My Fridge Not Cold?

Ensure no food is at the back of the fridge, blocking any sensors. Also, blocked vents and coils can cause fridges to heat up.

06. How Do I Find the GE Profile Refrigerator Troubleshooting Temperature?

If your fridge isn’t cooling properly, ensure the thermostat and sensors are working properly, and the temperature is set to the correct number. If this doesn’t work, contact customer service.

07. What Should the Internal Temperature of My Fridge Be?

The internal temperature of your fridge should ideally be between 0C and 4C or 40F and 32F. Anything outside this range could lead to food spoilage.

08. What Is the Hot Holding Temperature for Foods in My Fridge?

While your fridge is not designed for hot holding, if you are storing cooked foods, the hot holding temperature should not exceed 140 degrees Fahrenheit to minimize bacterial growth.

09. Why Does My Fridge Temperature Exceed 140 Degrees Fahrenheit?

If your fridge temperature ever exceeds 140 degrees Fahrenheit, it is a sign of a serious malfunction and you should seek immediate professional help. This temperature is unsafe for food storage and could lead to foodborne illnesses.

In All

The next time your cold brew is too warm for your liking, you won’t have to ask yourself: why does my fridge keep changing temperature? You’ll know just what to do.

How Many Chicken Breasts in a Pound? Get the Answer Fast!

Wondering how much is a pound of chicken or what the average chicken breast weight is? Chef John Smith says on average, 1 pound of chicken breast equals 2-3 breasts. But size matters!

Here’s a quick guide so you’ll know exactly how much chicken per pound you need for any recipe.

[adthrive-in-post-video-player video-id=”O5sjXGnp” upload-date=”2024-01-14T22:45:35.000Z” name=”How Many Chicken Breasts Are in a Pound” description=”” player-type=”default” override-embed=”default”]

How Many Chicken Breast are in a Pound? No More Guesswork!
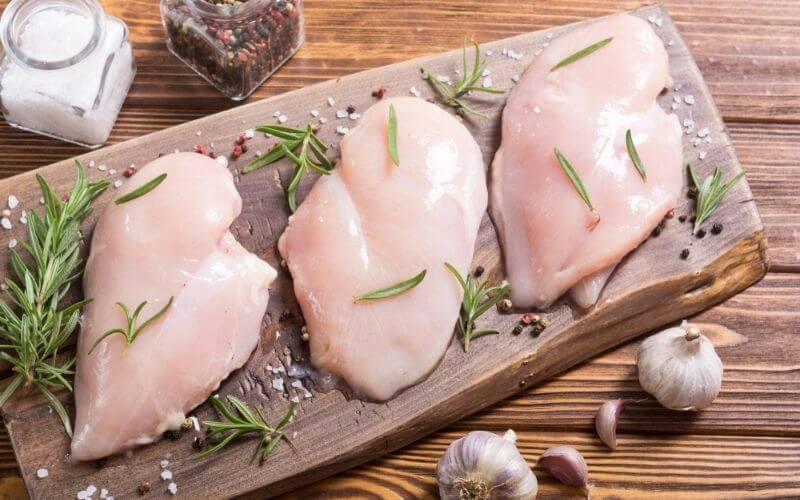
How Many Chicken Breast are in a Pound

How Many Breasts is That?

It depends on the size of your chicken breasts:

Small (3 oz)

1 lb Chicken BreastBreasts NeededCups Yielded
16 ounces (1 lb)5-61.5

Average (5-7 oz)

1 lb Chicken BreastBreasts NeededCups Yielded
16 ounces (1 lb)2-31.5

Large (8+ oz)

1 lb Chicken BreastBreasts NeededCups Yielded
16 ounces (1 lb)1-21.5

Bone-In, Skinless, Organic? What to Know

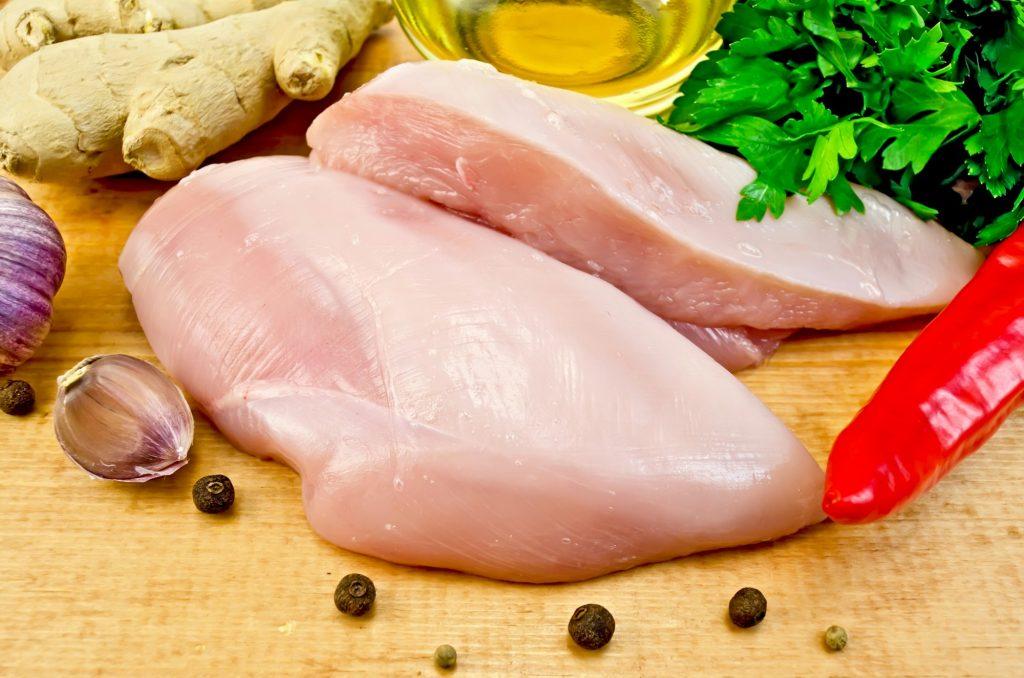
Chicken breast with vegetables
chicken breast with vegetables

The cut impacts chicken breast weight per pound:

  • Bone-in: Bones add weight. 1 pound of chicken takes fewer bone-in breasts.
  • Boneless: Bones removed, so more breasts per pound.
  • Skin-on: Skin is heavier than meat. Fewer skin-on breasts per pound.
  • Skinless: No heavy skin means more skinless breasts in a pound.

Size Matters: Palm Comparisons

  • 4 oz breast (1/4 lb chicken breast) = palm-sized
  • 8 oz breast (1/2 pound of chicken breast) = 2 palms

The 1 Pound of Chicken Breakdown

1 lb of Chicken BreastBreasts Needed
16 ounces (1 lb)4 small, 2-3 average, 2 large
32 ounces (2 lb)8 small, 4-6 average, 4 large
48 ounces (3 lb)12 small, 6-9 average, 6 large

1 Pound of Chicken Breast: The Healthy Choice

1 lb chicken breast is packed with lean protein. A single 4 oz breast (1/4 pound of chicken breast) provides:

  • 284 calories
  • 53g protein
  • 0g carbs
  • 6g fat

Raw vs. Cooked Chicken Breast Weight

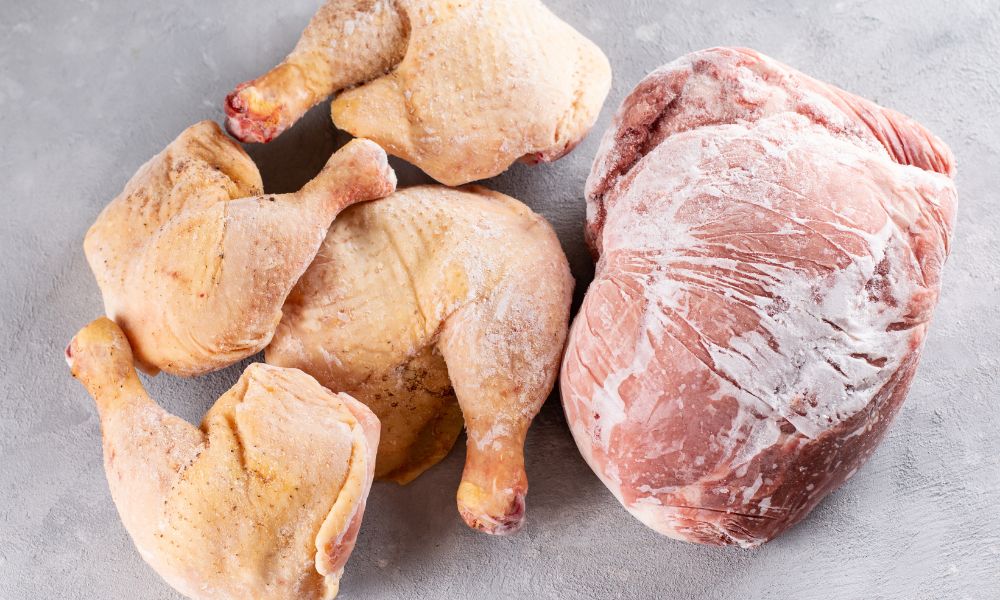
how long can chicken be frozen in the freezer
frozen chicken

1 lb of raw chicken breast will weigh less after cooking as it loses water and fat.

  • 1 pound of chicken breast raw = 12-14 oz cooked
  • Keep this in mind for accurate portions!

💁🏻‍♂️ You may also like: How Long Can Chicken Marinate? (You’re Most Probably Doing It for Way Too Long.)

FAQs

I’m in a hurry! Just tell me how many chicken breasts are in a pound?

On average, there are 2-3 chicken breasts per pound. But it depends on size:
Small breasts (3 oz): 5-6 per pound
Average breasts (5-7 oz): 2-3 per pound
Large breasts (8+ oz): 1-2 per pound

How does the type of chicken breast (bone-in, skinless, etc.) affect the weight?

It makes a difference! Here’s the gist:
Bone-in: Weighs more for the same size.
Skin-on: Skin adds weight.
Organic: Can vary, but generally similar to conventional.

Does a frozen chicken breast weigh the same as a thawed one?

Nope! Frozen breasts have extra water content. You may need fewer frozen breasts to make a pound compared to thawed.

What’s the difference in weight between raw and cooked chicken breasts?

Chicken shrinks as it cooks! A raw pound of chicken breast might weigh only 12-14 ounces after cooking due to moisture loss.

Is chicken breast a healthy choice?

Absolutely! It’s lean protein, low in fat, and versatile. A 4 oz breast has around 280 calories, 50+ grams of protein, and almost zero carbs.

I only have a kitchen scale. How do I measure a pound of chicken breast?

Easy! One pound equals 16 ounces. Weigh your breasts until you hit that 16 oz mark.

The Bottom Line

Now you know how much is chicken per pound and can easily measure 1 lb chicken breast! With average chicken breast weights of 3-8 oz, 1 pound of chicken takes 2-6 breasts depending on size. Use this guide to buy and portion 1 lb of chicken breast perfectly every time.

Chef’s tip: Always cook chicken to 165°F for safe eating!

Happy cooking!